Hi there Fox Hollow Cottage readers! Happy New Year!
I don’t know about you, but since the holidays are over, all I can seem to wrap my mind around is organizing. It could possibly be because my office looks like a hot mess, but this time of year always brings a fresh start, which makes me want to tidy everything up. Thank goodness!
I enrolled my husband to help me make a large galvanized & metal wood wall organizer to start our office out right.
Diy Office Wall Organizer Message Center Tutorial
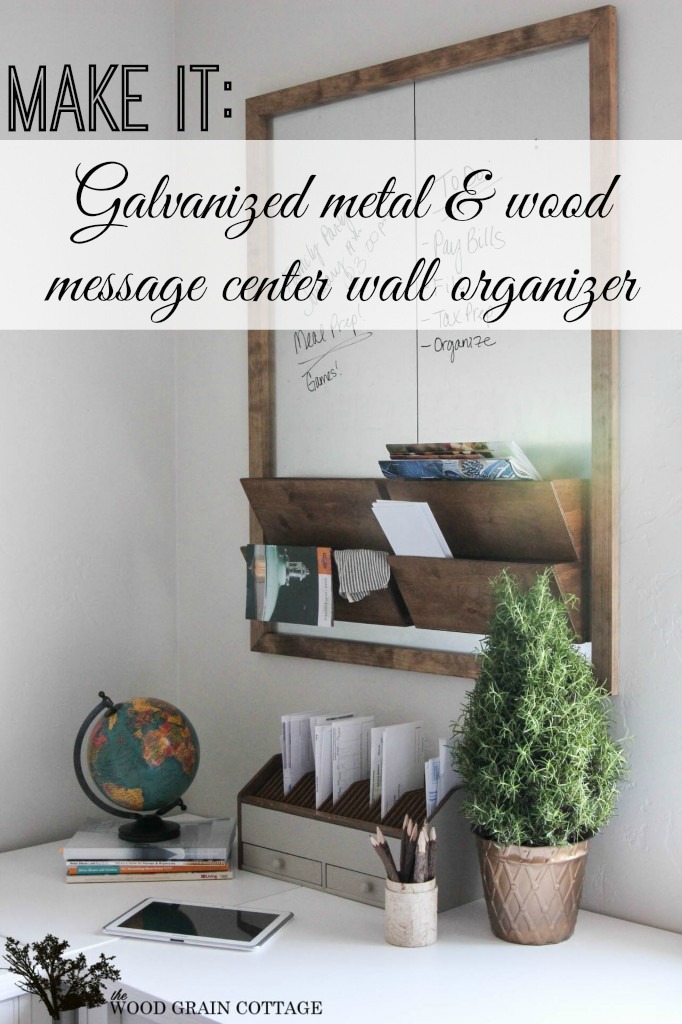
Here’s how we made it:
We started with a normal piece of galvanized sheet metal. It measures 32 1/2″ wide x 42″ long.
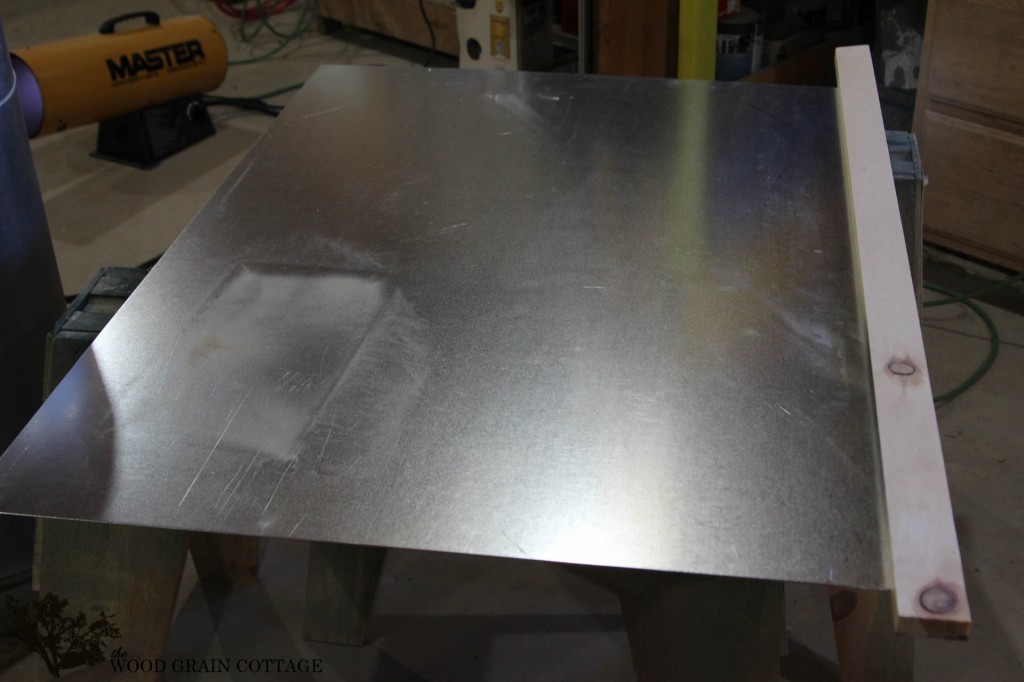
Then we made a frame out of pine 1″ x 2″s.

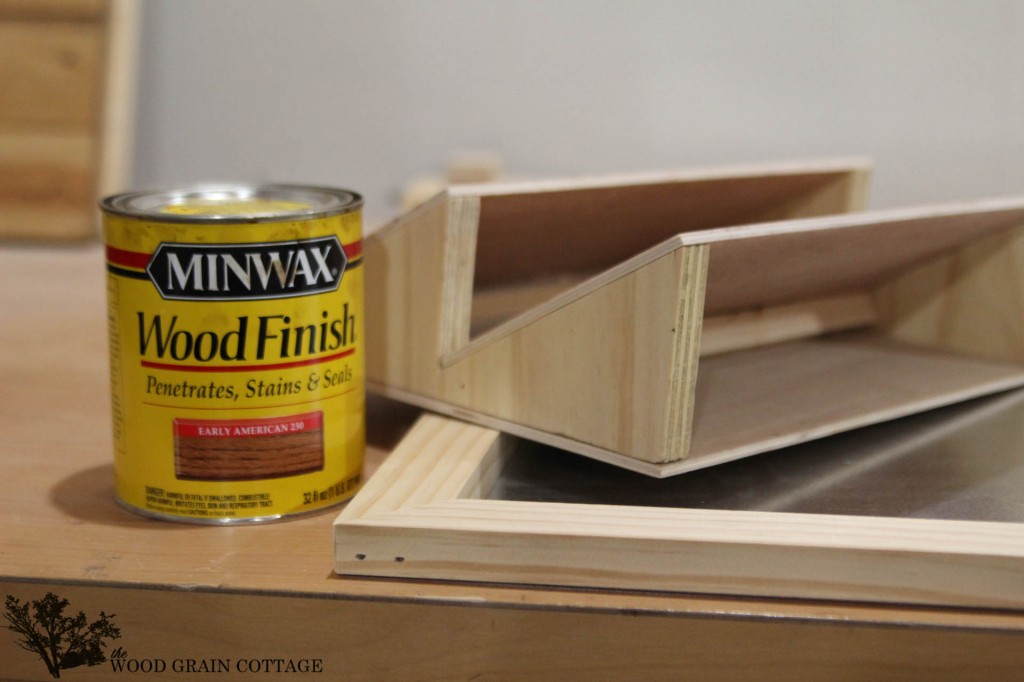
And my hubby made these cute wooden file hangers, which I’ll be sharing the tutorial for a bit later.

I used my favorite go to stain, Minwax Early American, to stain the frame and wooden file holders…

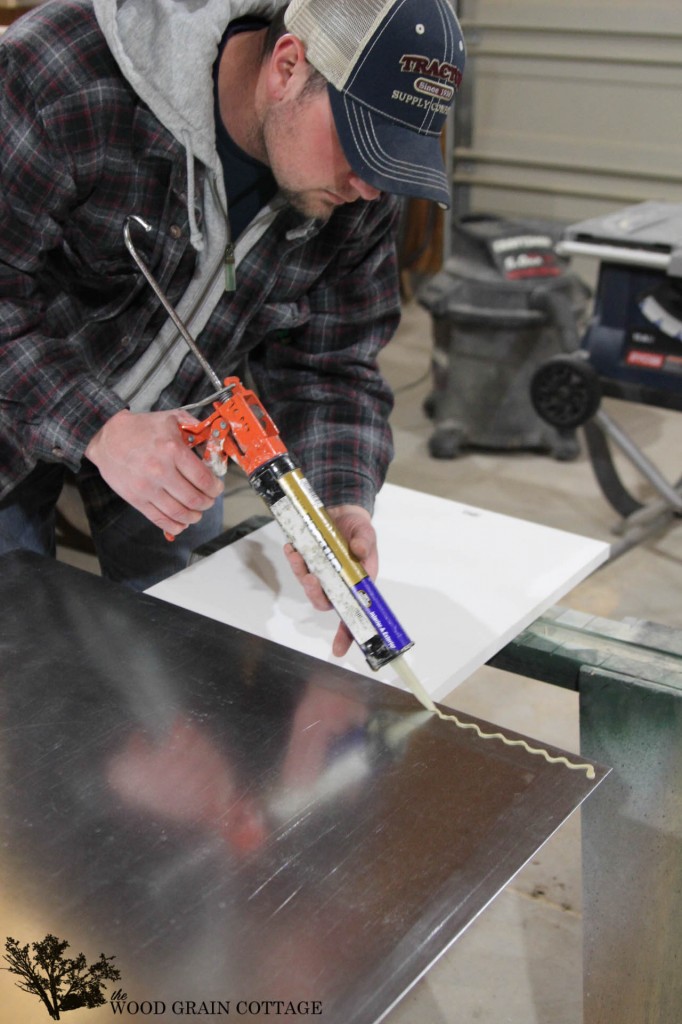
To attach the frame, we used liquid nails. Anthony squeezed a bit of it all around the outer edge…

Then we carefully set the wood frame on top…
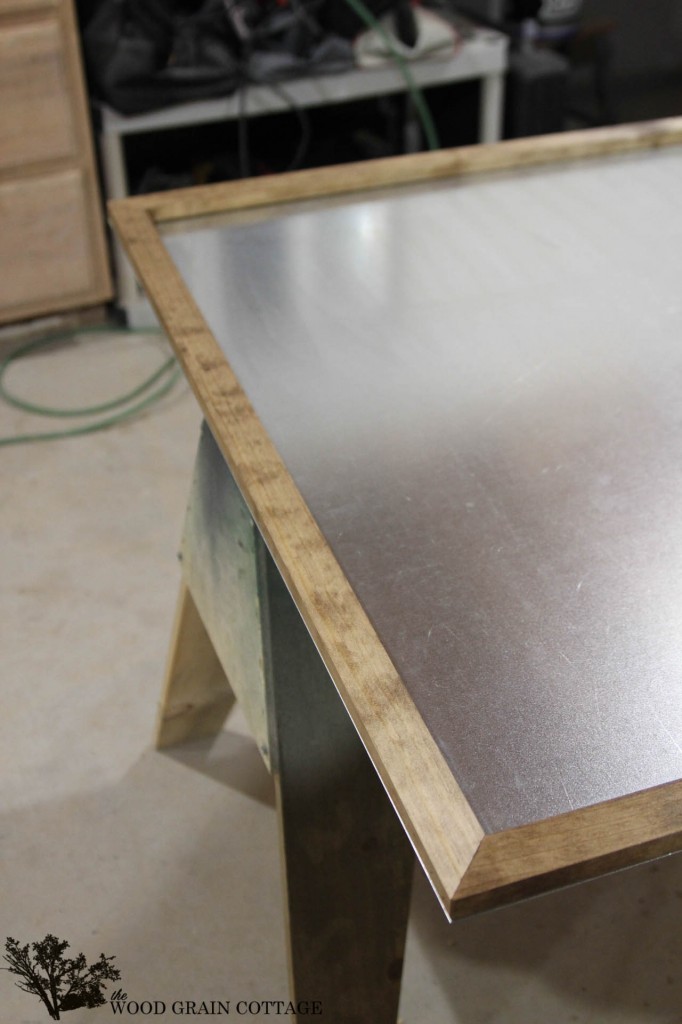
And used clamps to hold it together…

*Note, if any liquid nails squeezes out, don’t wipe it. Wait until it dries and use a razor blade to cut it off.
Then we lined the file folders up…

And marked the corners…

Then we squeezed on more liquid nails, being careful to stay well inside the marks…

We carefully set the folders on top, and used anything with a heavy weight to hold them down…
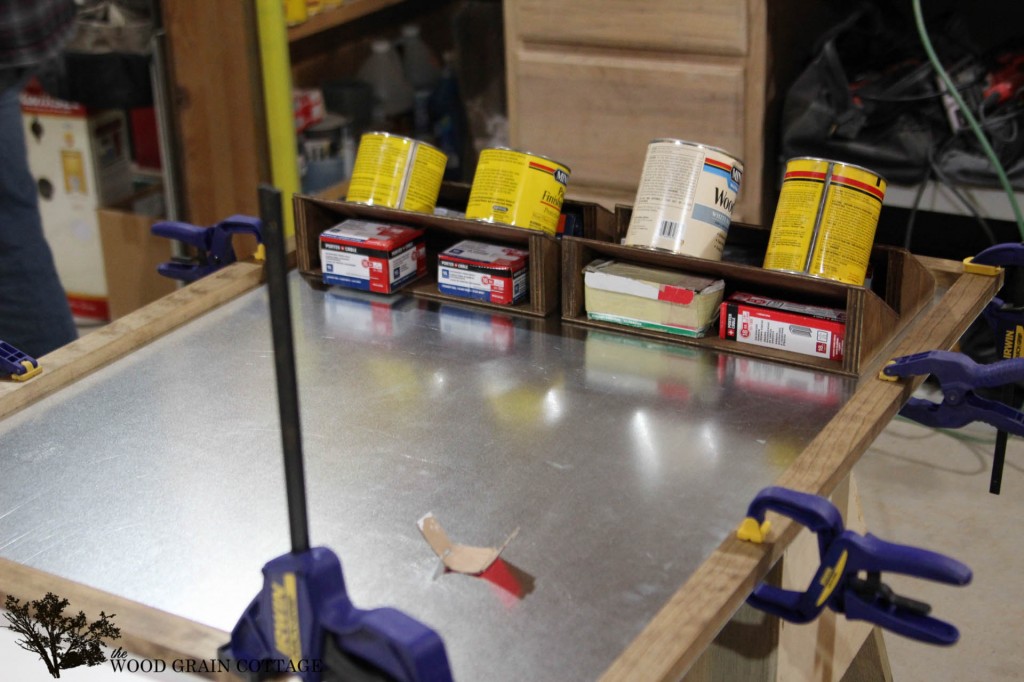
We left everything to dry for a solid 24 hours, then removed the clamps and installed the metal picture hangers with rivets.
Then we just hung it up!
I am obsessed with it, and that’s not an understatement!

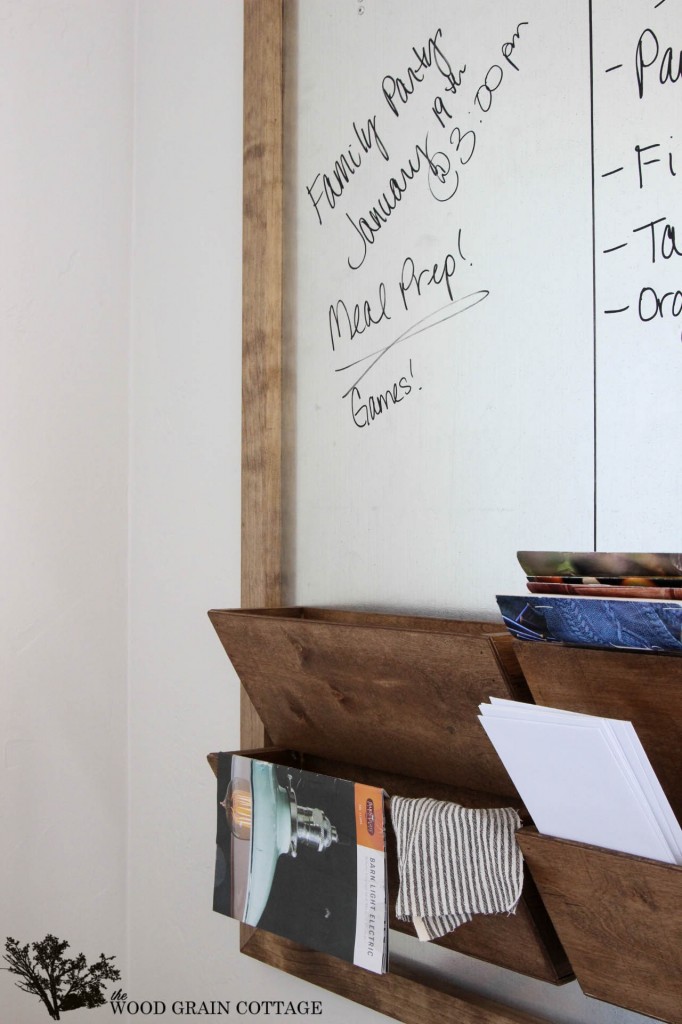
Those wooden file folders, goodness they are pretty!

For now I’m just using the galvanized metal as a memo board, but I can’t wait to add a big custom calendar.

Chalk markers work perfectly and they erase right off with water!
This little corner makes me super happy…

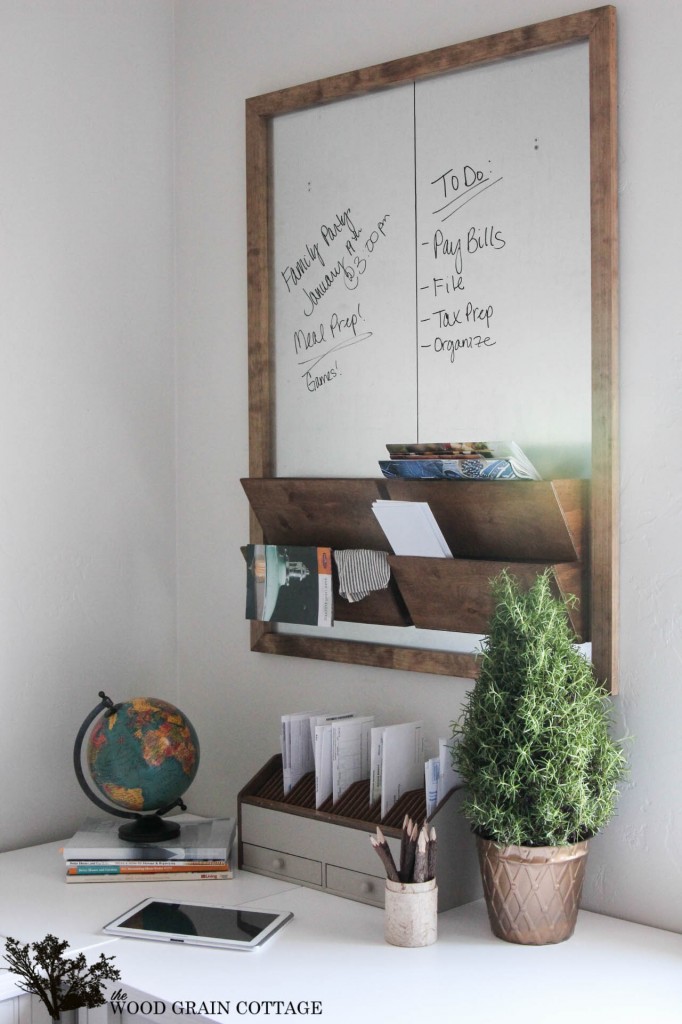
I can’t wait to add a few more custom pieces to our office. This has definitely been a spring board for inspiration!
Until next time… You can find me on Pinterest, Facebook. and Twitter!
And be sure to stop by The Wood Grain Cottage to say hi!









I don’t trust myself to diy this but it sure is gorgeous!
This is better than anything I would have ever seen in a PB catalog. I am in love!! You two make a very good team. This is supreme. Sharing tomorrow!
KAREN! THANK YOU so very much for the super sweet comment! I’m so happy you love it… ME TOO! 😀
-Shayna
This is a great DIY, love it! Thanks for sharing!
Debbie
THANK YOU so very much, Debbie! 😀
-Shayna
This looks so amazing Shayna and fits so perfectly with your home and style. I would love to have an organized command center with that – pinning the tutorial! Thanks for it:)
THANK YOU so very much, Krista! I am loving my little command center… now I can actually find a few things! 😀
-Shayna
This turned out so great and thanks for the tutorial!!!
Cynthia
THANK YOU so much, Cynthia! 😀
-Shayna
Great tutorial! I’ve been considering a small drop-center on a wall in my kitchen. I love the look of yours!
Perfect match for your style too. They did a great job on it! I’m glad you like it (:
THANK YOU so much, Brandi! I’m glad you love it! Me Too! 😀
-Shayna