Easy DIY Plantation Shutter Installation
And when I say easy. I mean it. Come see how simple it was to install our Norman Woodlore Plantation Shutters from our collaboration partners at blinds.com and you’ll be ordering your own before you finish reading this. No joke. If I’d known how painless this was going to be I’d have ordered them a long time ago.
You know how sometimes you build something up, then look back and think what was I nervous about? This was one of those times.
I just envisioned it being more complicated.

I was so wrong. (oh, I said the W word. )
I ordered my shutters after working with a design specialist to ensure I was measuring correctly and we would get the right fit on our windows. For anyone with wonky windows or an older home like we have, you can read more about that process and how we altered one set of our old house windows to accept the new window coverings by clicking here.
After our shutters were done being custom made, the big day came and the truck arrived to deliver them!!!
I like deliveries.

The Plantation Shutter Frame
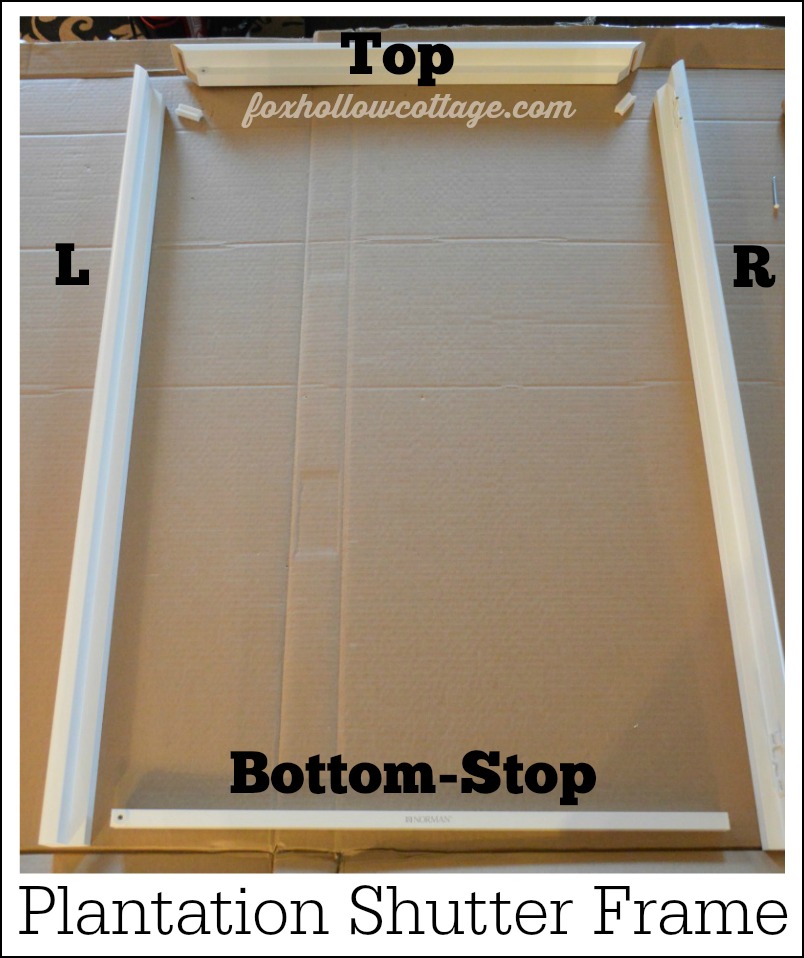
The frame came in four pieces. The left, top, right and bottom (or the stop).
I think it may have taken longer to unbox and unwrap each shutter from the protective coverings than it did to actually install.
Not complaining. I love that. When you are shipping, it’s all about proper packing. I’m a big fan.
Everything arrived in perfect condition and with the coolest bubble wrap I’ve ever seen! I should have taken a picture.
We unboxed one shutter at a time for the two windows flanking the door. We figured there was no reason to get ahead of ourselves and it lessens the chance of pieces getting mixed up. If you have a larger house and room to lay each frame set out in front of the window you’ll be installing it on, lucky you. hehe.
Each box was marked to match the window it was ordered for. We numbered the windows like you would read, left to right. That helps avoid any confusion and was simple to recall. If we were doing multiple rooms and had more going on I would make a map. We’ve done that in the past, but it was not necessary for this project.
How To Put Your Plantation Shutter Frame Together
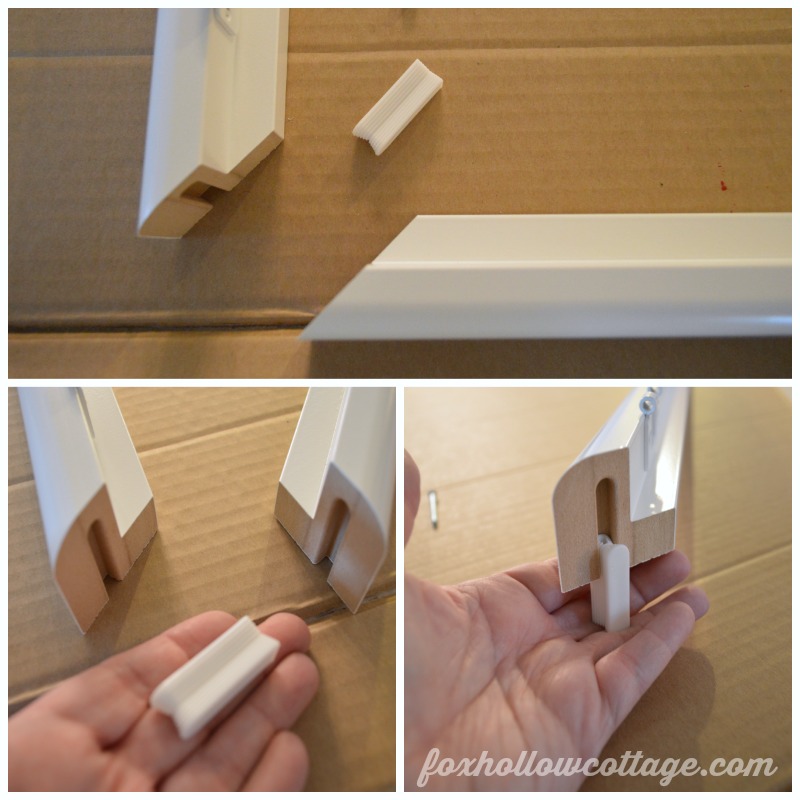
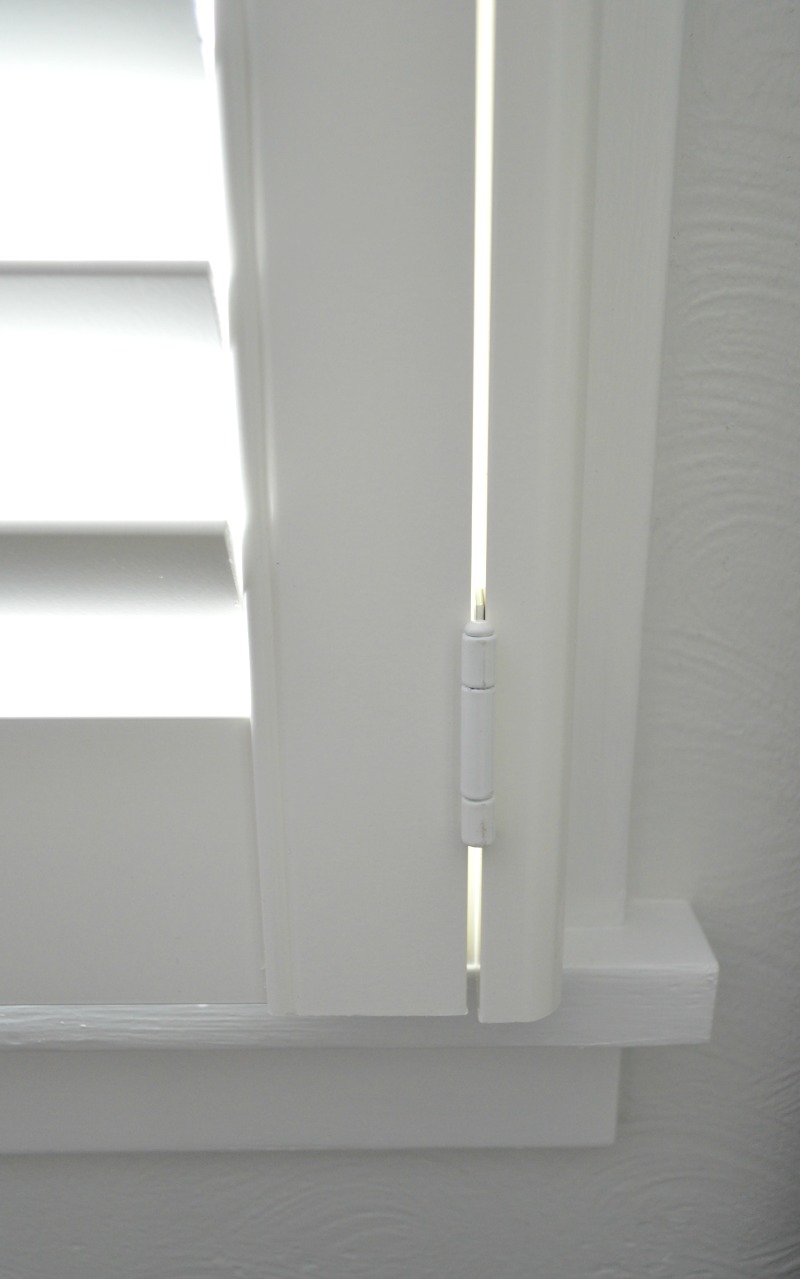
To connect your left and right side pieces with the top, you marry them at the mitered cut with a plastic connector that is provided.
Place the connector in left side frame trim and connect it to the top portion.
At some point in the insertion you will meet with some resistance.
Gently tap the connector into place until it is flush with both side of the frame body using a rubber mallet.
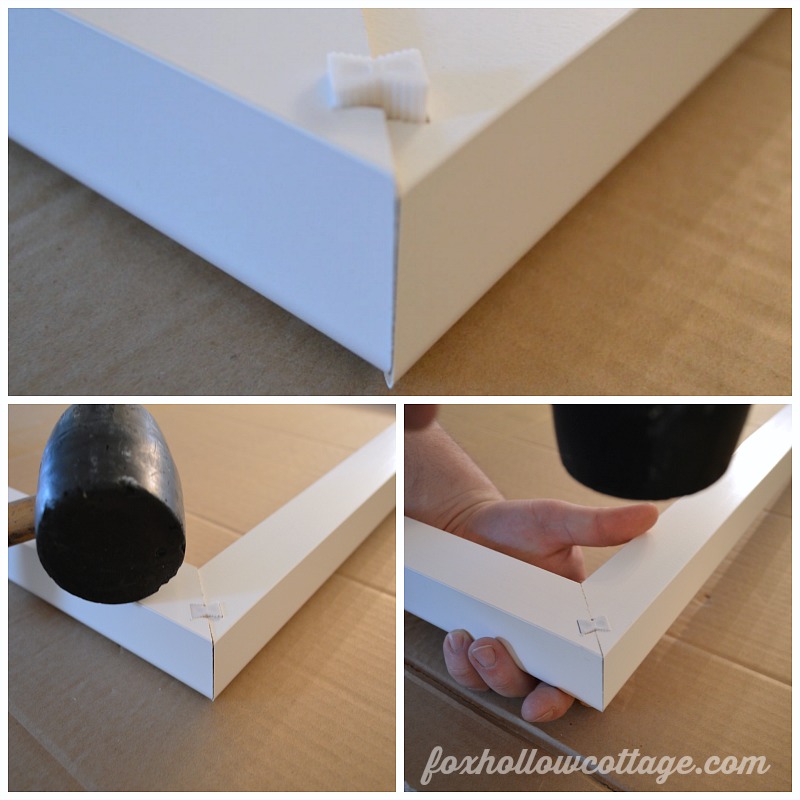
Once the sides and the top of the frame are put together you are ready to install it.
Since you have taken perfect measurements, your frame should follow your window opening and line up perfectly!
If not, use a level and make any minor adjustment to how the frame sits.
Using the bottom stop/frame piece as a guide helps to ensure the frame is square and tight before installing, so make sure to pop that in place too.
When you have everything where it needs to be affix the shutter frame to the window frame.
We used a nail gun to install the frame.
We used 18 gauge 1.5 inch finish nails.
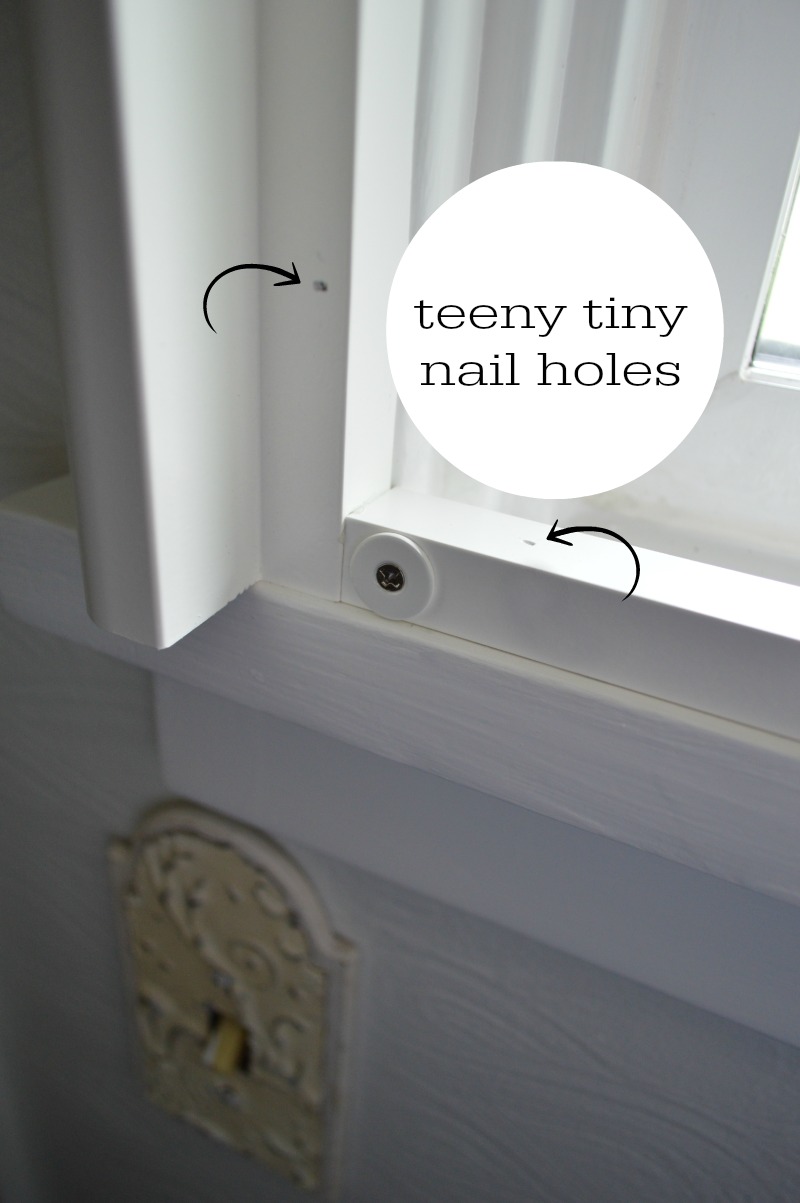
Or, you can use the hardware provided with your shutters.
Placing The Shutter In The Frame
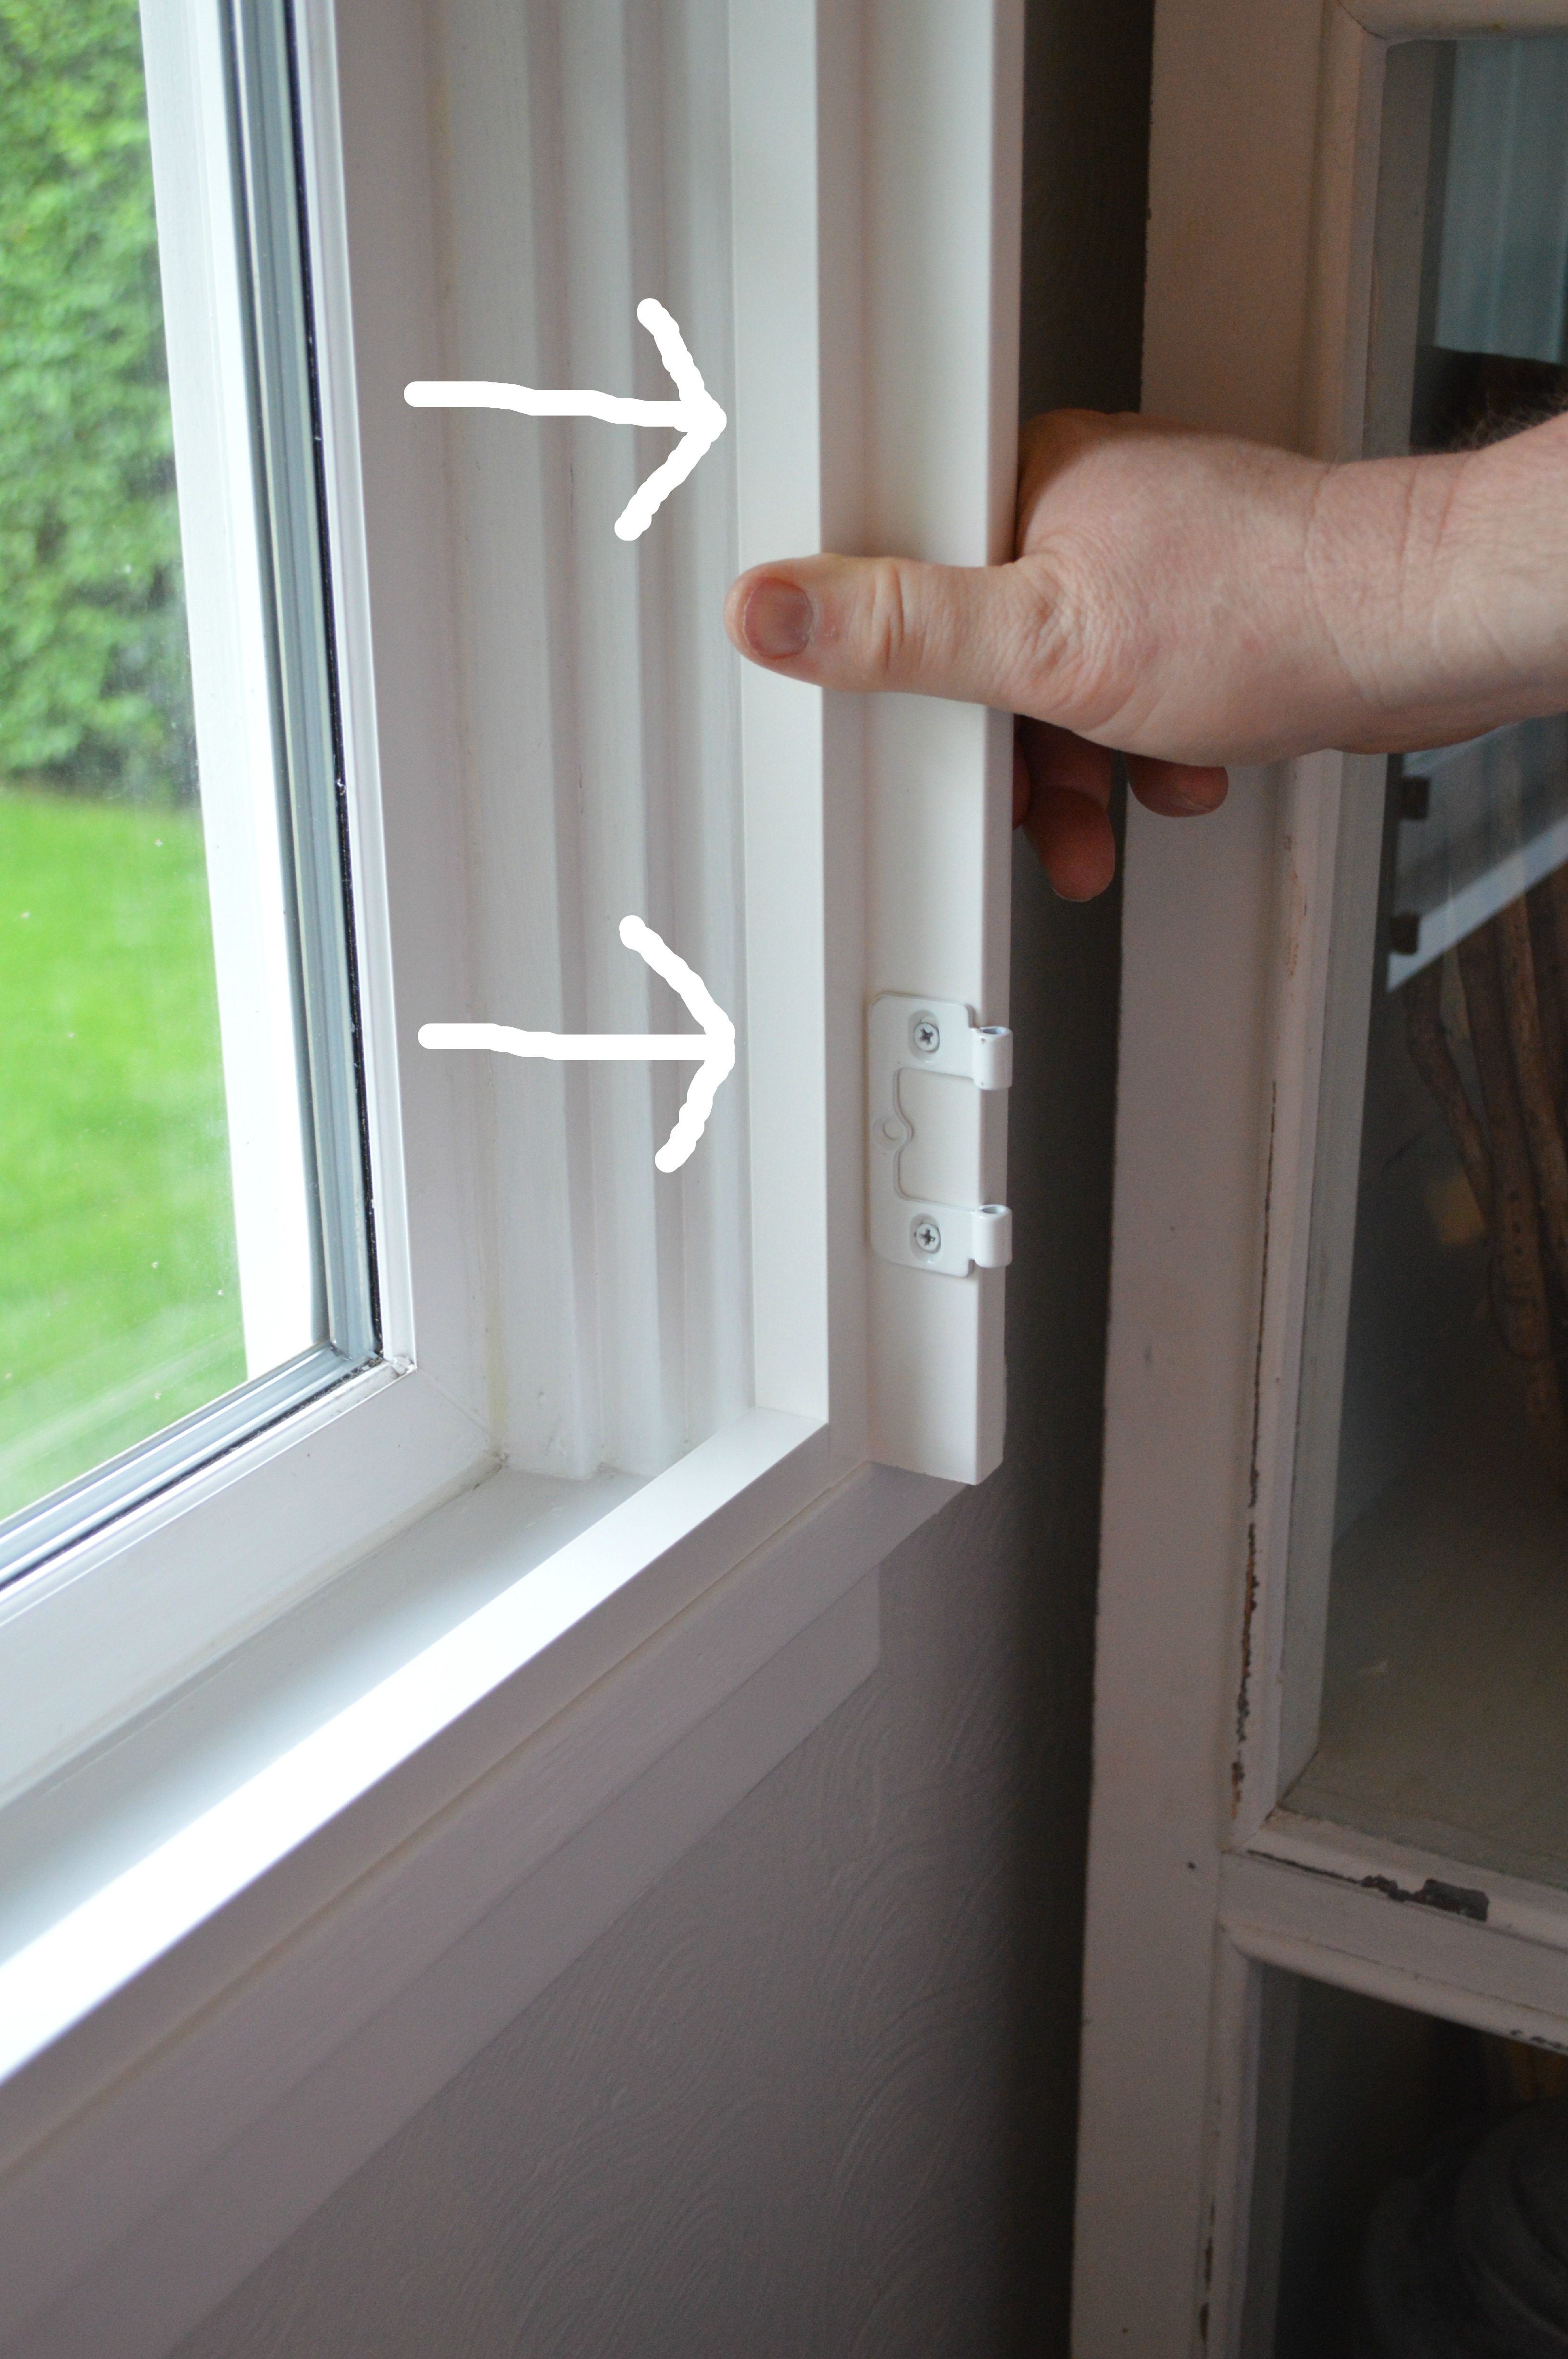
Next, you get to place the shutter in the frame!!!!
Align the hinges and drop the top pin in place.
Be patient and don’t worry if it doesn’t go all the way in. Place the bottom pin in, then shimmy or tap them both into place.
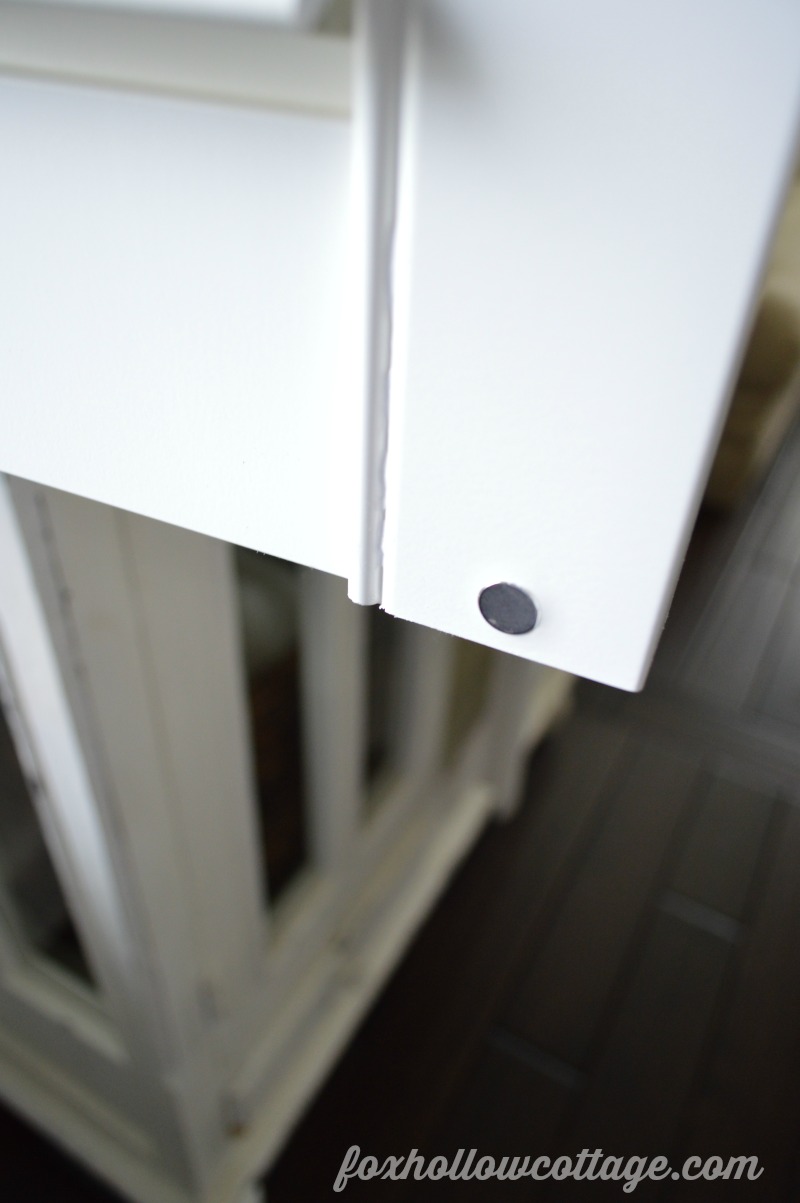
The top and bottom of the frame and door both have a tiny magnet to securely close the shutter door.
Close it and hear a soft little magical click.
Stand back. Ooh & aah. Admire. Grin like an idiot. Repeat.
It took about 30 minutes to put up each plantation shutter from unboxing to completion.
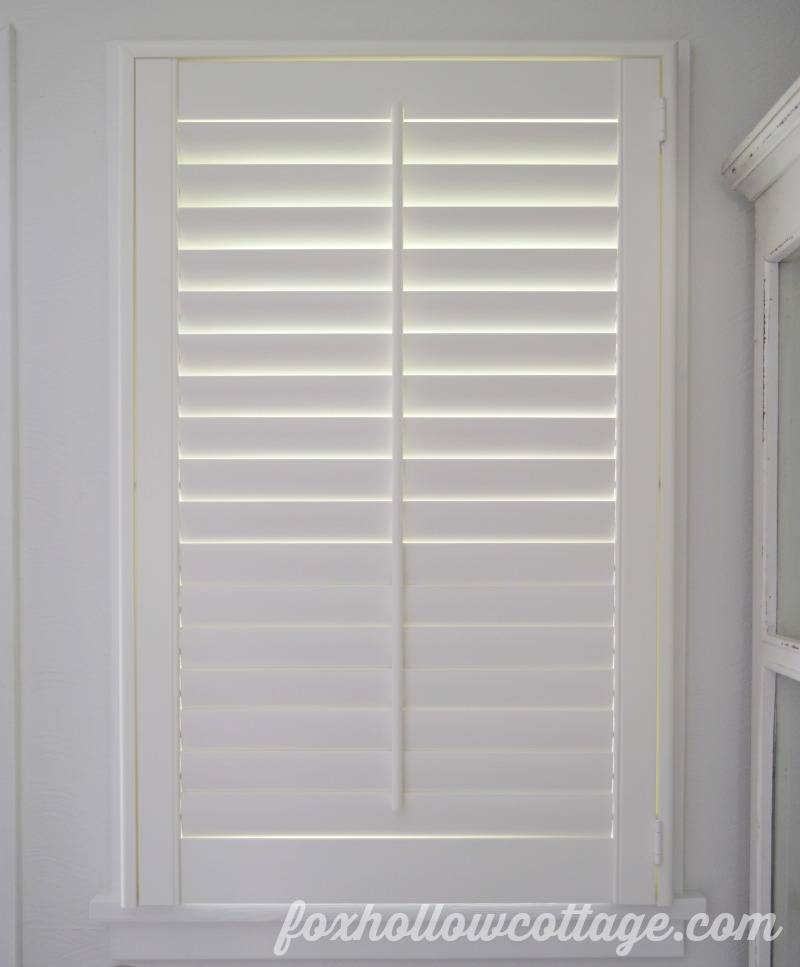
I can not even begin to tell you what I think these new shutters do for our living room.
But I’ll show you tomorrow.
I’m sure you are about done hearing me rattle on by now anyhow.
These how-to’s always get a little long winded.


More Ideas & Inspiration
 Painted Vinyl Linoleum Floor Makeover Ideas
 Farmhouse Flair Diy Wood Storage Shelf How To
 Simple Shiplap: How To DIY a Planked Wall with No Nails
 How To Make A Wood Fence Board Countertop
 Target Hack: Diy an Industrial Cage Light Wall Hanger
  Fence Board Planked Wall How To
 How To Make A Picture Ledge Shelf
 Diy Office Wall Organizer Message Center Tutorial
So great!! DO you know if they offer the kind that sets inside the existing window frame? I’m pretty sure our windows are set in deep enough that we would have room to do that. LOVE how they came out in your house!!
They do Karah! I like that style as well, and yeah, not an option fur us. Thanks, we are so in love with them. Well, I am anyhow 😉
Sold! Great tutorial, Shannon. You explained everything so well. I have always loved the look of shutters and can’t wait to see the whole room!
You make it looks so easy Shannon. Can’t wait to see the full reveal!