Proud to partner with The Home Depot as a sponsor to share this project with you.
How To Build A Beverage Station DIH Party
It’s finally the day! The day I get to share how to build a Beverage Station with you for The Home Depot as part of the #DIHworkshop virtual party. You guys don’t know how hard it is for me to actually have something done early, and have to wait to post it. I’m not a good waiter at all. As evidenced by my usual look I just made something same or next day posting style.
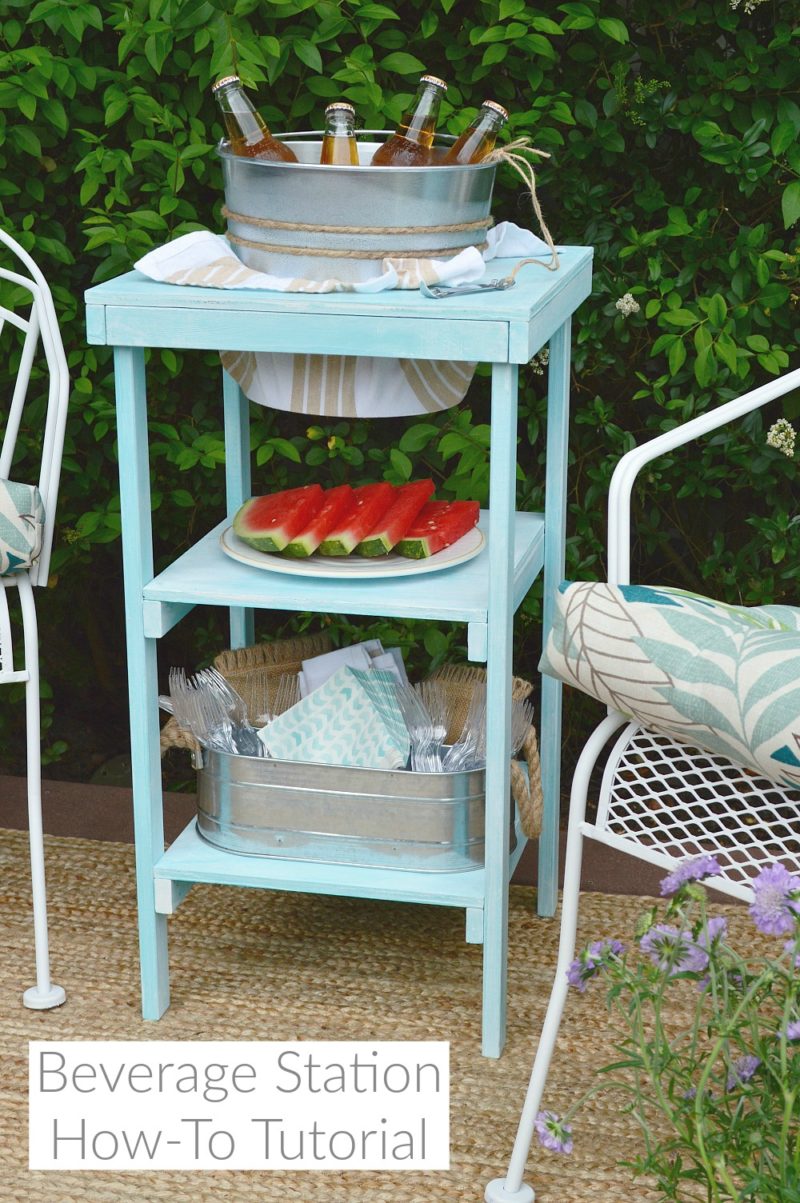
The beverage station was a nice, simple build that results in a super-cute little table! Perfect for indoor or outdoor parties and entertaining. Because you can never have too many places to hold food & beverages when you’ve got company! This would be darling on a patio, deck… or by the pool. And when you’re entertaining indoors, it’s nice to keep traffic out from under your feet in the kitchen. How easy would it be to pop some ice in the bucket and tuck it in just the right spot, no electricity needed and no bulky cooler!
Have any of you signed-up for the free DIH workshop at your local Home Depot yet? It’s this Thursday, June 16th – If so, you know I’ll want to scoop afterwards.
Okay guys… let’s do this!! The first thing we did was head to he Home Depot for our supplies. I took pictures of the tags for the exact lumber we used and the cut/sanded plywood area so you can locate your supplies with ease when you go to grab them. The estimated project cost for the beverage center is $38- and does not include tools, paint/stain or galvanized pail.
MATERIALS:
- 1 – 1/2 inch sheet of sanded 2 x 4 plywood
- 3 – 8 foot lengths of 1 x 2 boards
- 1 – 10 quart galvanized pail
- 1 – length of twine/string
- 1 – paint or stain
- 1 box – 1 1/4 x 18 gauge brad nails

We accidentally found a good road-side junk shop on the way back, so we came home with a bit more than our lumber.

That was the trip where I met my new goats pals. If you follow me on Instagram, you’ll have seen this.

But back to the build…
TOOLS:
- Circular saw
- 18 Gauge Brad Nailer
- Drill
- Drill bits
- Measuring Tape or Carpenters Square
- Pencil
- Safety Goggles
- Sanding Block
- Reciprocating Saw

SAFETY FIRST:
You can see I’ve shared a photo of my EYE & EAR protection. And because I built this myself, there were a few stages where it wasn’t safe for me to take photos and use power tools. Call me crazy, but I like my fingers.
THE CUTS:
-
4 LEGS: 1 x 2 x 28 1/2
-
2 LONG FRAME (for the table top): 1 x 2 x 16
-
2 SHORT FRAME (for the table top): 1 x 2 x 14 1/2
-
4 SHELF BRACE: 1 x 2 x 14 1/2
-
1 TOP SHELF: 16 x 16
-
2 MIDDLE SHELF: 14 1/2 x 13

I followed the cut list and ripped my plywood on the table saw. Next, I used a chop saw to make the cuts in the 1 x 2’s for my legs, support and to make the table top. You can see my cut list is a bit saw dust covered. I printed it out and took it out in the workshop with me.
CUTTING THE HOLE FOR YOUR ICE BUCKET:
- If you like where my bucket sits in my table, I cut a 9 1/2 inch hole in my table top. The Home Depot recommends a 10 inch hole.
- I outlined the cut for my hole by putting a nail in the center of the wood, and using a string and pencil to draw a circle.
- I secured my table top to my work surface with a clamp.
- Use a 1/2 inch drill bit and drill a pilot hole on the inside edge of the circle.
- Start cutting your circle, by beginning in the hole you made.
- I re-adjusted the wood table tops placement under my clamp as I made the circle.
- TIP: add a scrap piece under your clamp so you don’t mar the wood you are working with.

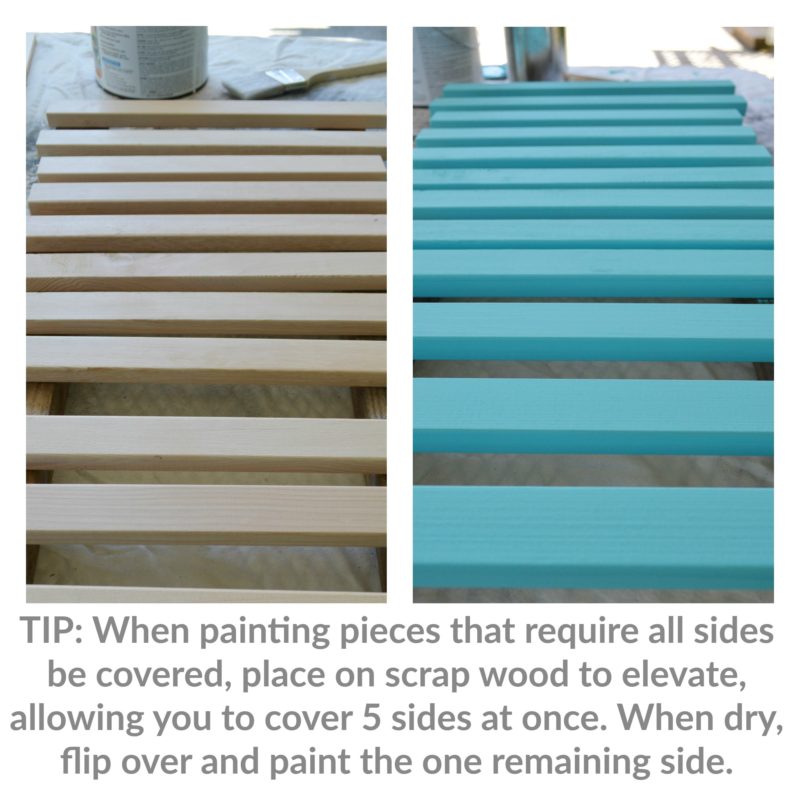
After all my cuts were made, I was ready to put my table together. You can paint/stain before or after, that is up to you. I found it easier to paint first with all the sides that need to be covered.
PAINTING/STAINING:
I’ve got oodles of paint so I just used an aqua color I had on hand. I did a double paint treatment, with the aqua base, and a white waterproof gel-stain finishing layer.
ASSEMBLY:
- I put my legs together first, then set them aside.
- You can see below that I laid them out, and placed the braces on top of the legs, using my tape measure & square to make sure both sides were evenly spaced and level. Make sure to leave enough space between the table top and your first shelf brace placement for the second shelf, so your drink bucket has room. I placed mine my first set of brace/supports at 11 inches from the top, and the bottom shelf brace/supports at 22 inches from the top. I gave me a little more shelf room, and I think it keeps your legs nice and stable that way.
- Nail in place.
- Repeat on the second set of legs.
- Next I put together the table top. I dry-fit it first, which means putting it together with out any nails. I laid it out, got it all square, then started nailing it all together.
- Then I placed the table top face down, and after making sure the legs were square and level, I attached them with the nail gun. Make sure your legs have the brace facing in. Those are you shelf supports and they need to be on the inside!
- Flip right side up.
- To finish, I set the middle shelf in, adjusted it into place, and nailed the shelf into the braces.
- Repeat with the bottom shelf.
- Your done!
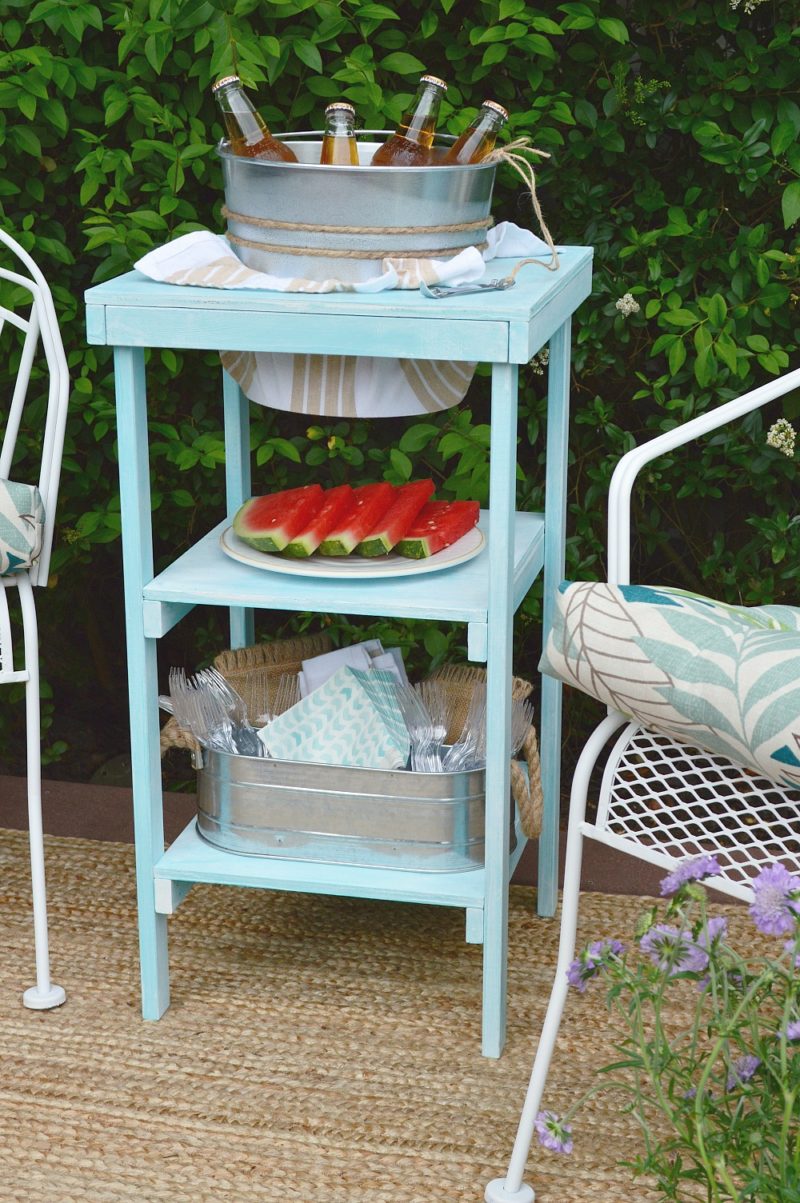
 Now you can pop your bucket in the hole, fill it with ice & drinks,
 sit back and get busy taking pictures so you can share your new table!

We had THE most gorgeous day for picture taking. I was super-thankful. And doubly so when it rained the next day. It’s hard to know what the weather will like on any given day here on the Oregon Coast.
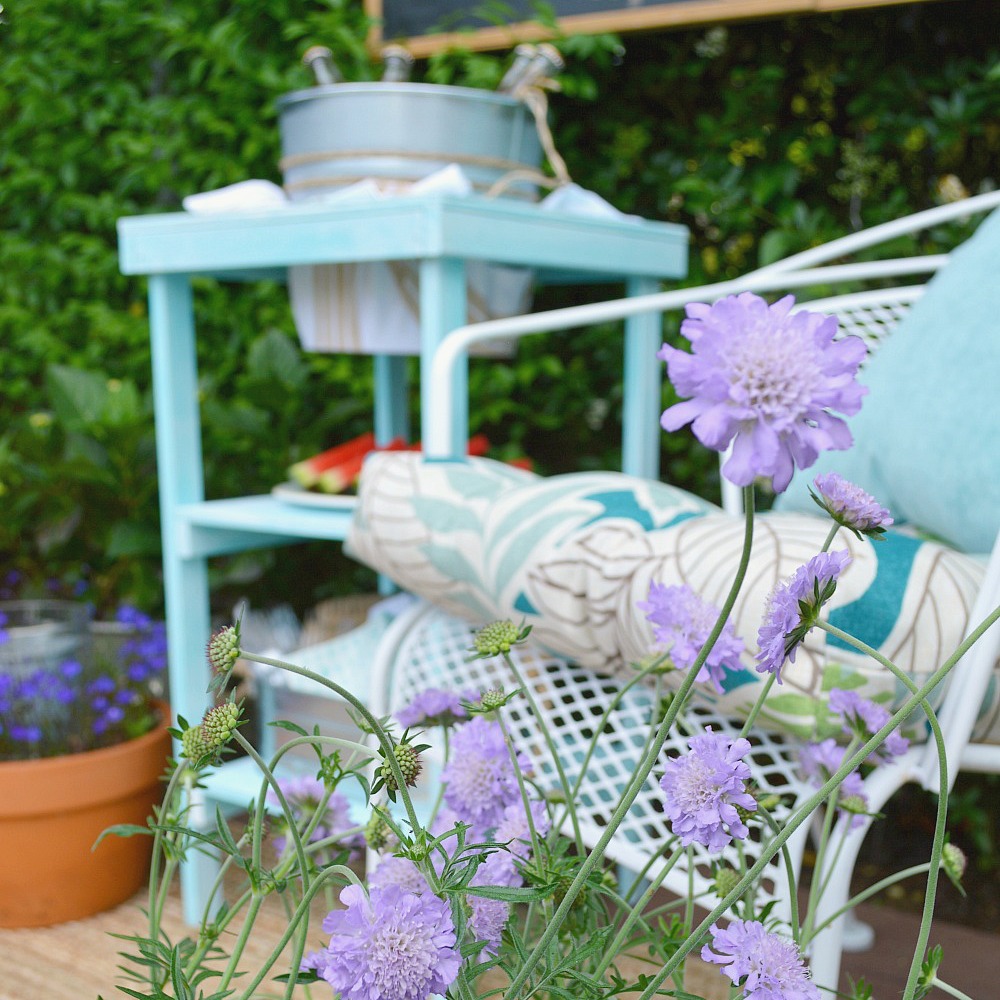
On picture day, it was actually so nice & warm outside, that I decided to place a tea towel across my table top, before I slipped the bucket in the hole. This worked great to catch any condensation. I added a bit of rope accent to my bucket as well, and some twine to the handle to hold my bottle opener.
I’ve got company coming this week, and it was fun to sort of mock-up a deck party feel. (plus I got to eat the Watermelon when I was done) This is going to be sooo handy! The table is light weight and easy to move around (which I love!) If you were to pop a tray on top instead of the bucket, it could be traveling side table too. Since I’ve got people coming over in a couple of days, I was also thinking about doing a deck wash to make the deck look a bit more presentable. I haven’t had it cleaned for a while and this seems like the perfect opportunity. The beverage station will look even better when it’s placed on my lovely, clean deck! I’m sure the guests will love it.
I’ve never participated in a Home Depot virtual party before and I wasn’t sure how creative I could get with the project, so I kept to the original specs and went simple. I think that is okay though! There is something nice about following directions, it make things easy. haha. Plus, I feel very confident in telling you, that you could re-create this. I made all the cuts myself, they were very simple and straight forward. And if you are nervous about making the cuts on the plywood, you can have a Home Depot associate make those for you, in the store.
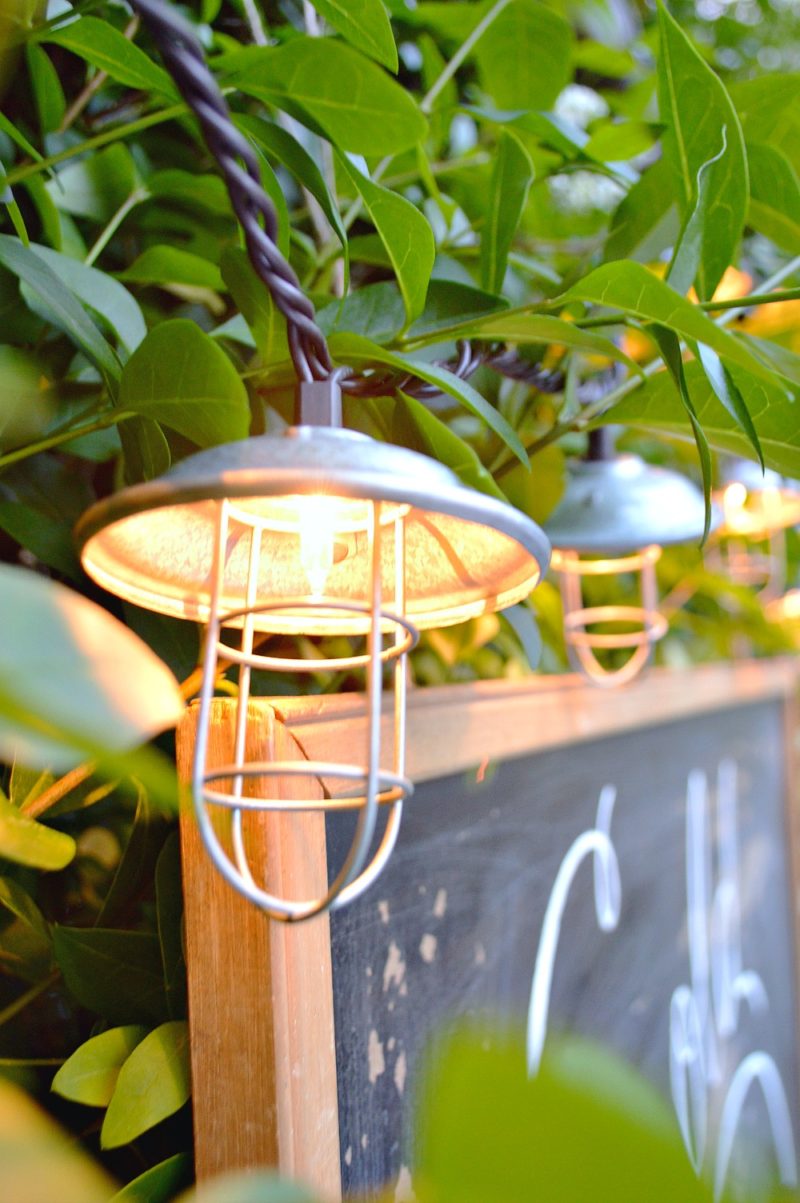
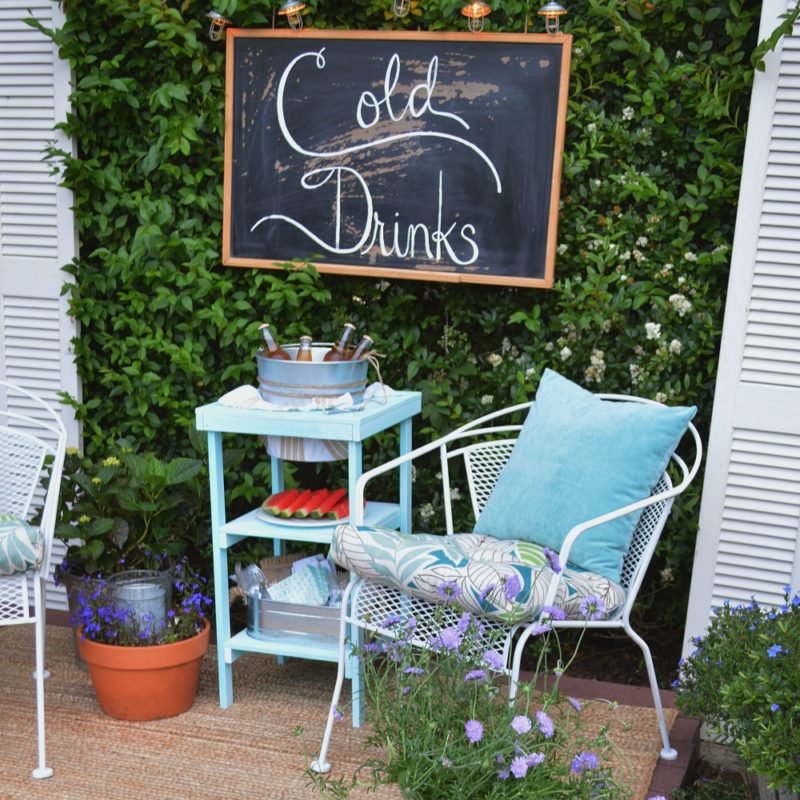
When I was in the store getting my supplies, I kind of maybe-sorta picked up these galvanized string lights too. They are so perfect for being outdoors! I pretty much love them.


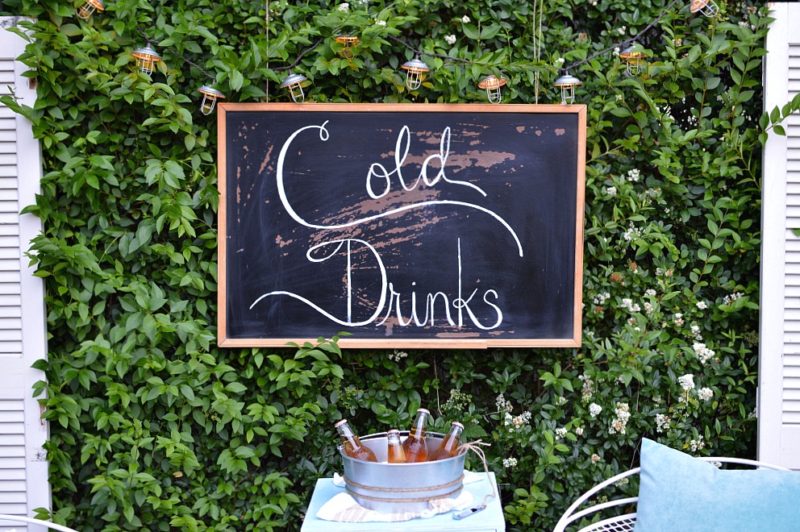
I’ve been saving the vintage chalk board forever. And I finally committed and painted something on it. “Cold Drinks” seemed fitting. Now I just need company & some music. I’m ready to host!

I had to include a shot of the busy little guy that kept me company (and was loving my flowers) while I was taking my pictures to share with you!

And now for my lovely teammates creations! Everyone put such a great personal touch on their Beverage Stations.

Twelve On Main The Casual Craftlete Blog
Live Laugh Rowe Little Glass Jar
And there are even more ideas on how to finish a beverage station below:
Just Between Friends One Horse Lane The Crafting Chicks Family Food Fun Inspiration For Moms
Petticoat Junktion Our Southern Home Artsy Chicks Rule Iris Nacole The Rustic Life Domestically Speaking
The Creative Mom Little Vintage Nest One Artsy Mama Dagmar’s Home Fancy Farm Girls All Things Thrifty
Whipperberry Lolly Jane Landee See Landee Do
Here is a reminder of what the original beverage center example looks like.

I hope you enjoyed seeing my spin on this cute project! Are you ready to create your own Beverage Station now? You can sign up for the free June Workshop by clicking right here. And just as a reminder, The Home Depot’s Workshops are designed to provide a mix of associate-led instruction, demonstration, and some hands-on learning. The workshops are also for do-it-yourselfers of all ages and experience levels! Materials can also be purchased so that you can make your own project too. For more information, contact your local Home Depot store. Register today!

You can also find me on
Facebook | Instagram | Pinterest | Twitter
*The Home Depot partners with bloggers such as me for DIH Workshop program. As part of this program, I received compensation for my time. They did not tell me what to purchase or what to say about any product mentioned in these posts. The Home Depot believes that consumers and bloggers are to form their own opinions and share them in their own words. The Home Depot’s policies align with WOMMA Ethics Code, FTC guidelines and social media engagement recommendations.


More Ideas & Inspiration
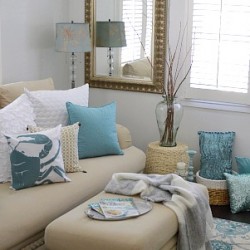 Coastal Cottage Summer Living Room
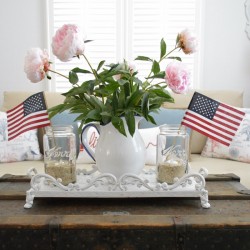 Coastal Cottage with a Patriotic Summer Twist
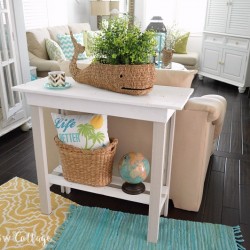 More Summer Decor and a DIY Paint Makeover
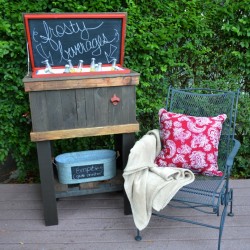 How To Build A Wood Deck Cooler
 Nod To Nautical Bathroom Makeover Reveal
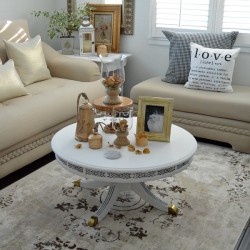 Decorating With Neutrals – A Cottage Living Room Makeover
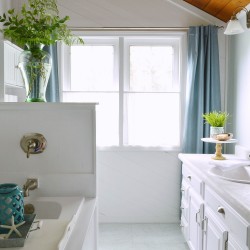 Coastal Cottage Bathroom Makeover
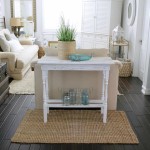 DIY White Washed Wood Table
This brilliant Shannon! I invite you to share at my Thursday link party ( you can link up until Saturday at midnight) xo
I love the lights in your photos with the chalkboard. Where did you find those?
HI Alicia, I found those at Home Depot. I bought a set there, then came home and ordered another one. haha. So if you don’t find them in-store, try online 🙂
Hi Shannon, your beverage station turned out so nice! Can’t wait to make mine this week at Home Depot. I know the workshop is free, are all the materials provided if you go to the workshop?
Hi Megan 🙂 The instructional/teaching works shop is free, the supplies to build a beverage station of your own can be purchased in the store. You can get help with cuts and locating them – The cost is roughly $38 without paint and pail. Call your Home Depot and see if you’ll be able to build it during the class, and if so. Go early to get your supplies!
Beautiful! I love the blue, such a pretty summer color! Well done!!!
Thanks so much, we like it. And I wanted to match my cushions 🙂 haha
I love the aqua! So bright and summery!!
Thanks a bunch Heather!! 🙂
I signed up and cannot wait to make one! Love yours, my fav color!
I can’t wait to see it Debbie! I cut another one out, will probably build it with my mom & sis 🙂
Oh that color is just perfect Shannon! 🙂
I just love what everyone did.
Thanks, had to get a little aqua in there 😉
Hi Shannon, yours turned out so cute! Love the color and the robe accent on the bucket. I had fun building mine!
Thank you! I got two buckets, they make cute planters too 🙂