Simple Shiplap:
How To DIY a Planked Wall with No Nails
Yep. You read that right. I just installed a shiplap accent wall without using a single nail. That means no filling a zillion nail holes and no sanding them before you can paint.
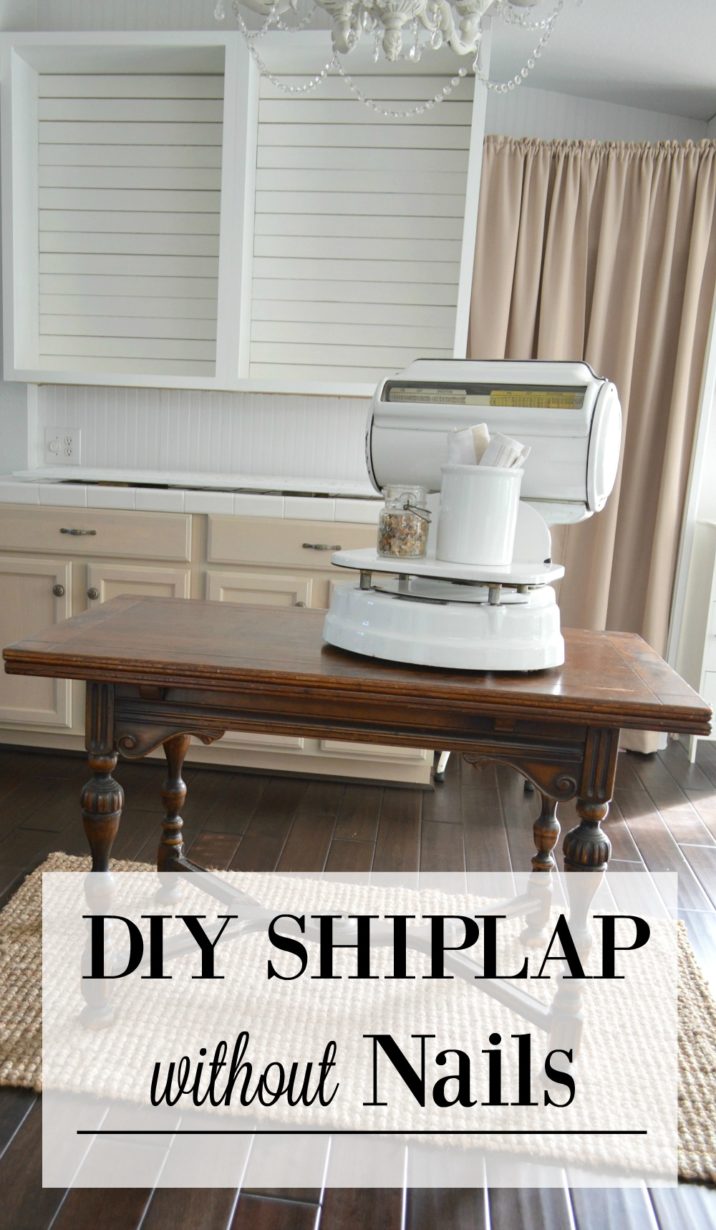
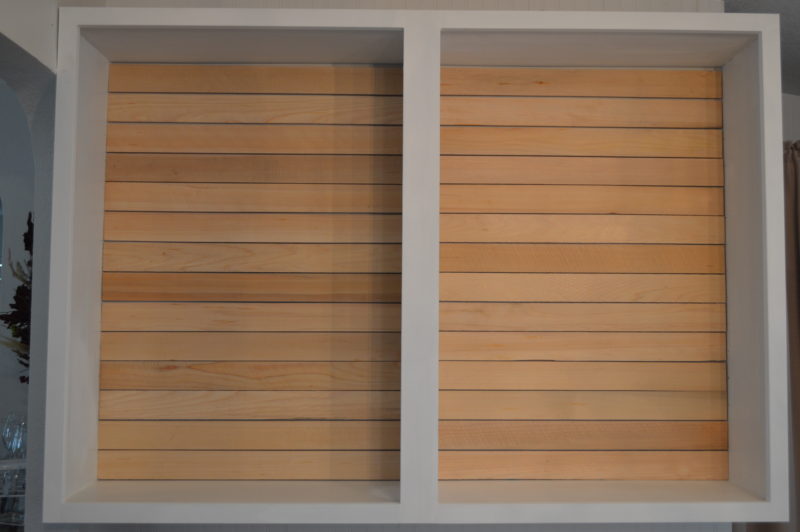
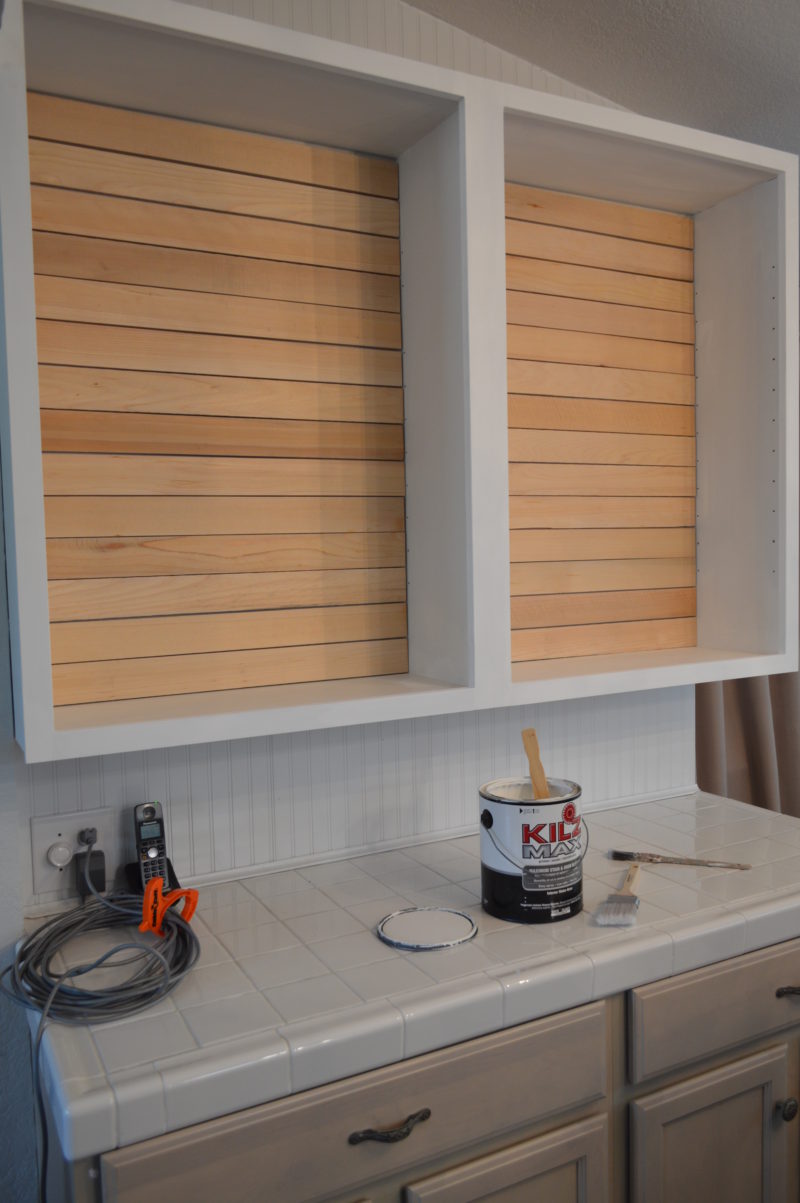
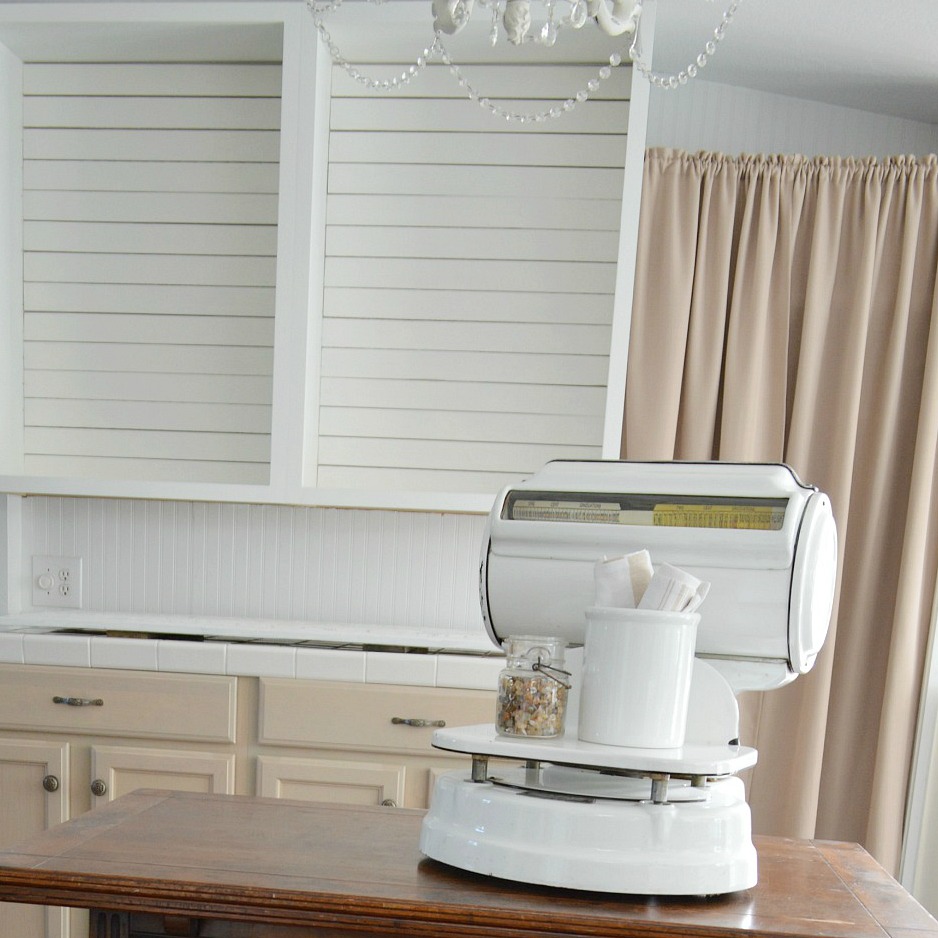
After toying with the idea for a long time, I finally decided to add a wood plank, or shiplap, or shoplap… whatever you want to call it, accent feature to my open cabinets. So I wouldn’t have to drag the air-hose up a story, over the deck and in through the sun room door to use our pneumatic nailer, Jim picked up some mounting tape for me.
I’m going to tell you, I was really hesitant that this was going to work. I should have known with all my successful Command projects, that it would. I also should have had more faith in my hubby, because it worked awesome! And, I did it 100% myself while he was busy down in the workshop.
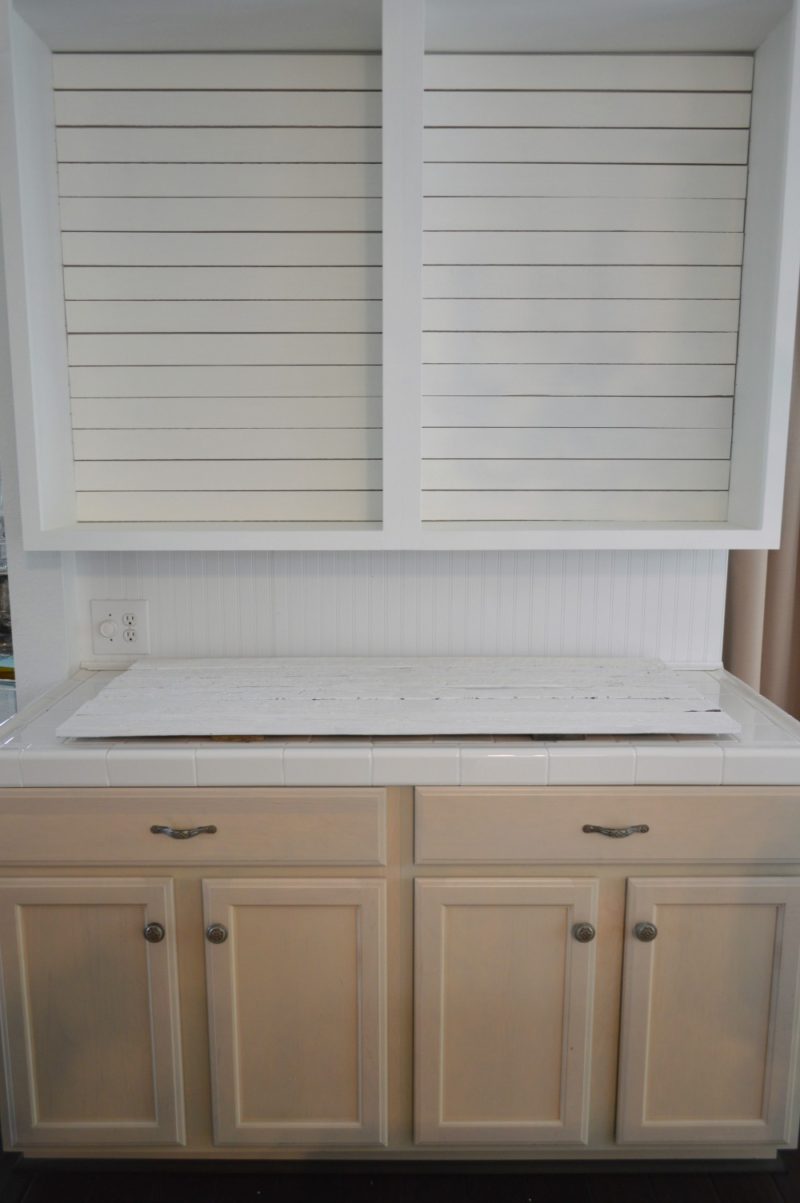
I’ll share the before & during now, and then I’ll share with you how easy it was to do.
Okay, half a before. I got eager.
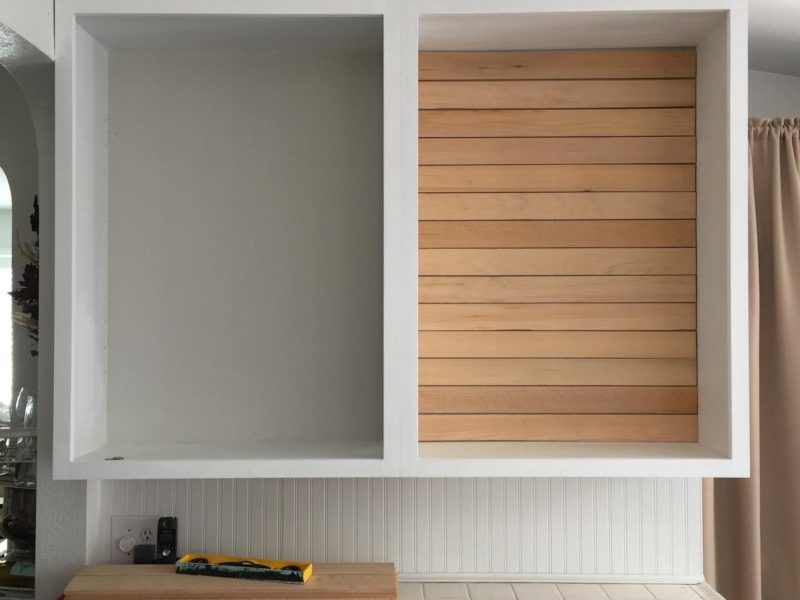
It was so easy, and went so fast, I painted them the same day.
Two coats and they were ready to go!
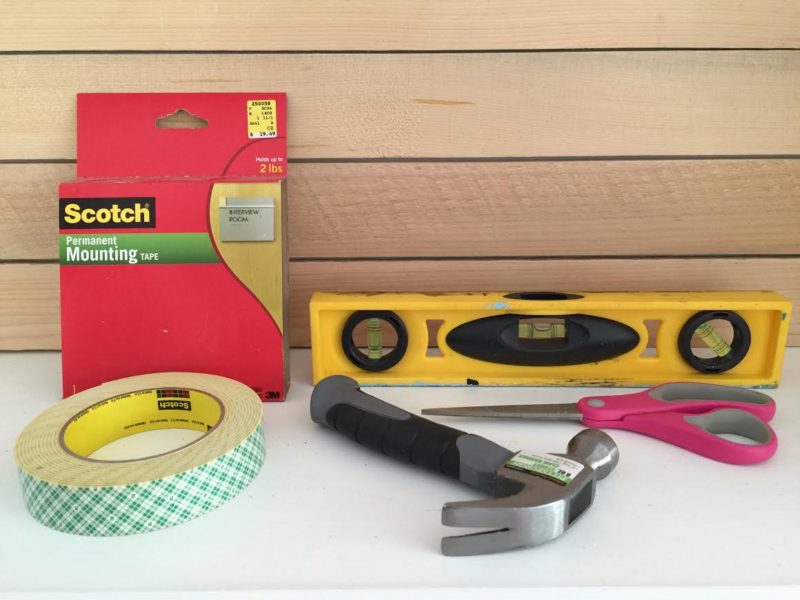
What you’ll need for this project:
(some affiliate links provided)
- Wood [I used 1/4 inch, 3 inch Pine boards cut to length]
- Saw [similar to this]
- Sanding Block, medium grit.
- Level [similar this one] It’s light and easy to use, even with one hand.
- Mounting Tape [find it here] for heavier boards up to 5 lbs try [this] & 15 lbs [this]
- Scissors
- Hammer [to burnish tape] I love my short hammer!
- Two Quarters
- TSP optional
How to install no-nail shiplap:
- Make sure the area you will be working on is clean & dry.
- My wall was painted in a matte finish paint, and free of dirt or oils due to it’s location. If you need to clean your walls I suggest wiping them down with a TSP solution.
- Measure your work area and cut wood accordingly.
- Use a sanding block to remove any rough edges.
- Prepare your first board for installation by cutting 2 lengths of tape a bit shorter than the width of your board.
- Remove tape backs and stick to board, vertically (up & down), a few inches from the end of the board. Place one piece on each side. Press firmly. I used a hammer head to apply pressure to the tape in the middle and along all edges.
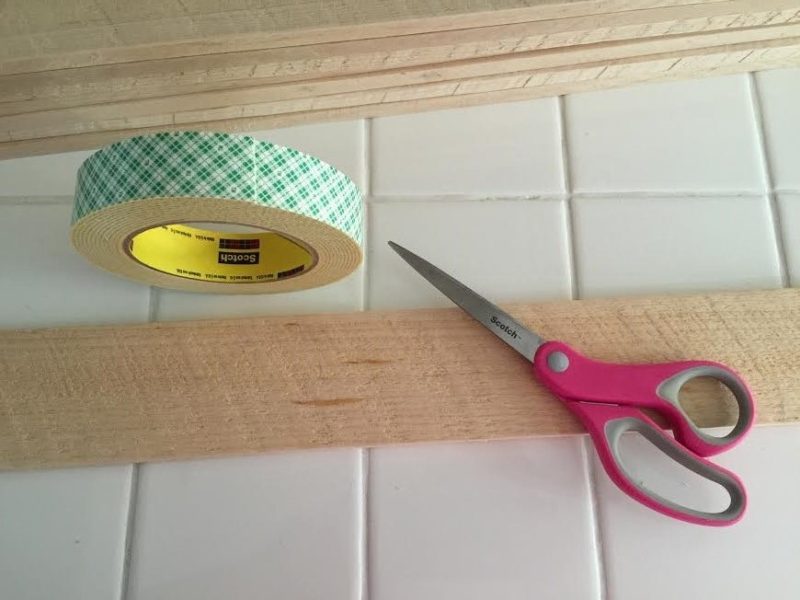
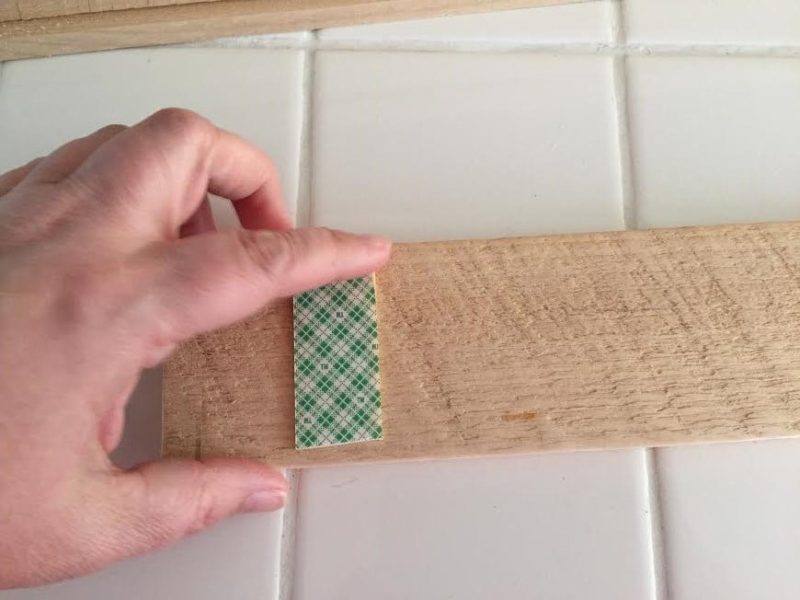
- Remove the second pieces of tape backing.
- Check for level and install your first board, or first course (a run of boards covering one row of your surface) by pressing firmly with even pressure on both ends. Hold and push.
- Repeat until complete, checking for spacing (you can use the quarters) and level with each board.
- Since every surface area is different, you will need to figure out your cuts and board length/width for your particular project. Depending on the height of the project and how wide you want your boards, you may need to trim your last board.
I got super lucky, and with my spacing, was able to use full width boards all the way up! I also eye-balled it after the first few quarter spacers, but I’ll leave that one up to you! I’m a rebel. And lazy. And was feeling pretty good about how it was looking. You might be more precise.
I hope you liked my easy way to shiplap tutorial and that this might be something that could work for you! While mine was installed in a smaller space, I feel confident this would easily work on an accent wall, bathroom, above a fireplace, or even a whole room! I shared different strength mounting tapes in my “what you’ll need for this project” section.
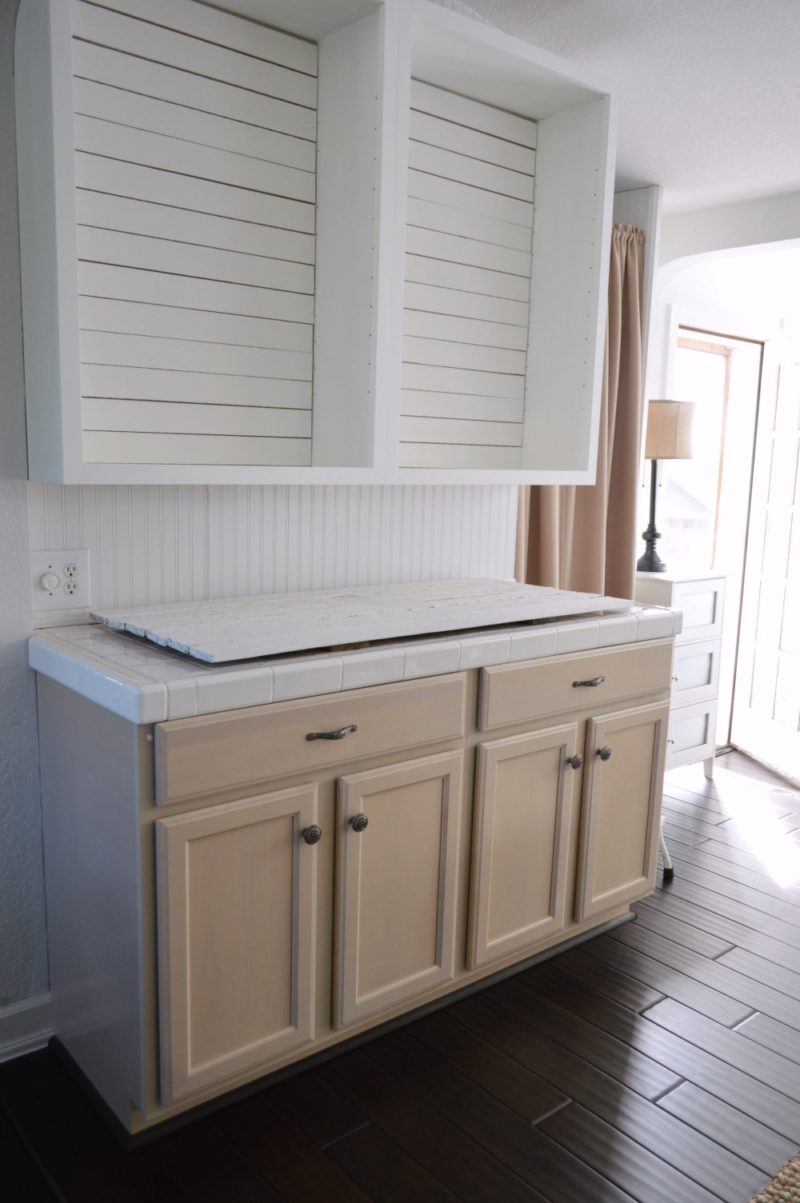
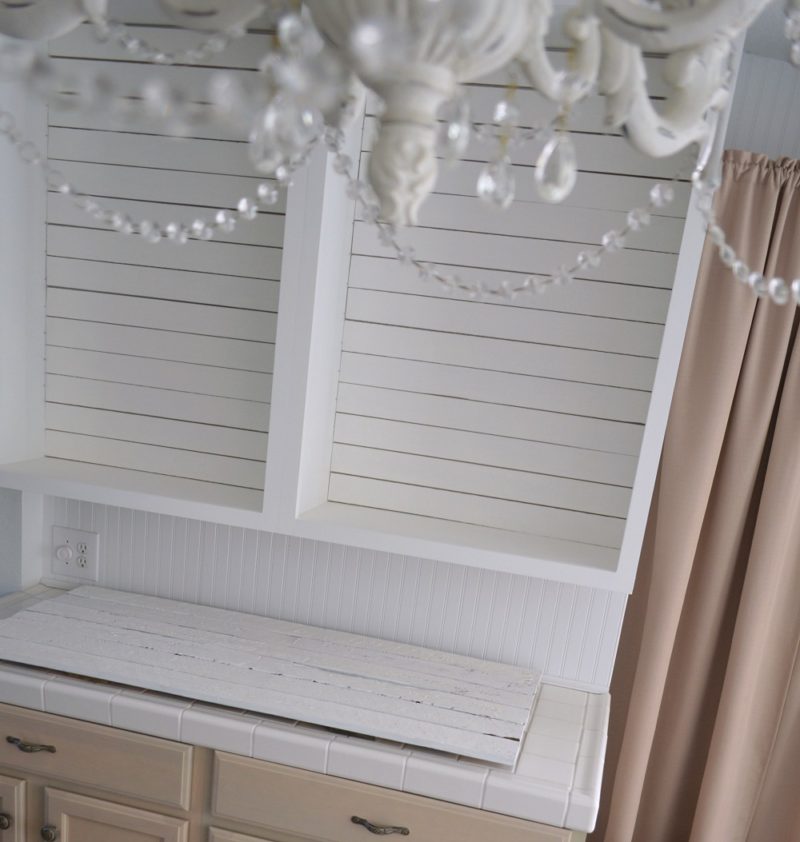
I’m loving mine! It’s all painted & pretty & I can’t wait to decorate it. Just in time for the Autumn’s In The Air Fall home tour on Wednesday! See you all soon.
xo Shannon







One word–BRILLIANT! Wonder how it would work with full boards on a wall? and a lot more mounting tape!
Hey Karen, I bet it would! There are several types that’ll hold more weight. I linked to them in the post. If I use them, I’ll for sure let you guys know 🙂
terrific tutorial my friend,t hank you for sharing xo
P.S I hope you will share at my Thursday link party too
Thanks friend!!
I don’t really seem to have time for link parties, but thank you so much for the invite!!
do NOT ever attempt to remove this project. that stuff sticks like the dickens … need to mud and texture a wall that had a zillion pieces of this stuff adhering 12×12 mirror tiles. 🙁
I tested it first, sticking a piece to the wall overnight. It came off by scrapping with a razor blade. Plus, I could always use my orbital sander and eat of the rest with that if it was a problem, but thanks!! 🙂
You nailed it! Wait, never mind … no you didn’t! LOL. Love it, friend and can’t wait to see it all decorated!
I totally didn’t nail it. hehe. Thanks, I’m fiddling now. We’ll see. Might take a bit for me to fall in love with something. I kind of have one more idea for the space.
Sweet deal… And making it even easier, look up SIMPLE MAT (available only at Home Depot last time I checked). It its a sheet of adhesive, intended for mounting ceramic wall tiles. It’s very strong! You can arrange tiles (or wood) and see how it looks before pressing the finished look to a permanent bond. I LOVE IT… used it to add moulding and faux “posts” to my blah island recently. It went up easily and I will definitely use this product again for gluing permanent trims.
Oh good to know. I love cheaty stuff. lol – I’ll make sure to check it out!!
You ARE GENIUS!!! I’m sooo trying this in our living room on one of our beat up walls!! Your cabinets look amazing & shiplap with tape??! I mean seriously Shannon AMAZING, because who wants to use nails haha NOT me! Love it!
Happy Tuesday!!!!
Paige.Rose
from
http://www.TheQuaintSanctuary.blogspot.com
It was so simple Paige! If you do, make sure to tag me in your project (on IG or whatever) so I make sure to see it!!
Good luck 🙂