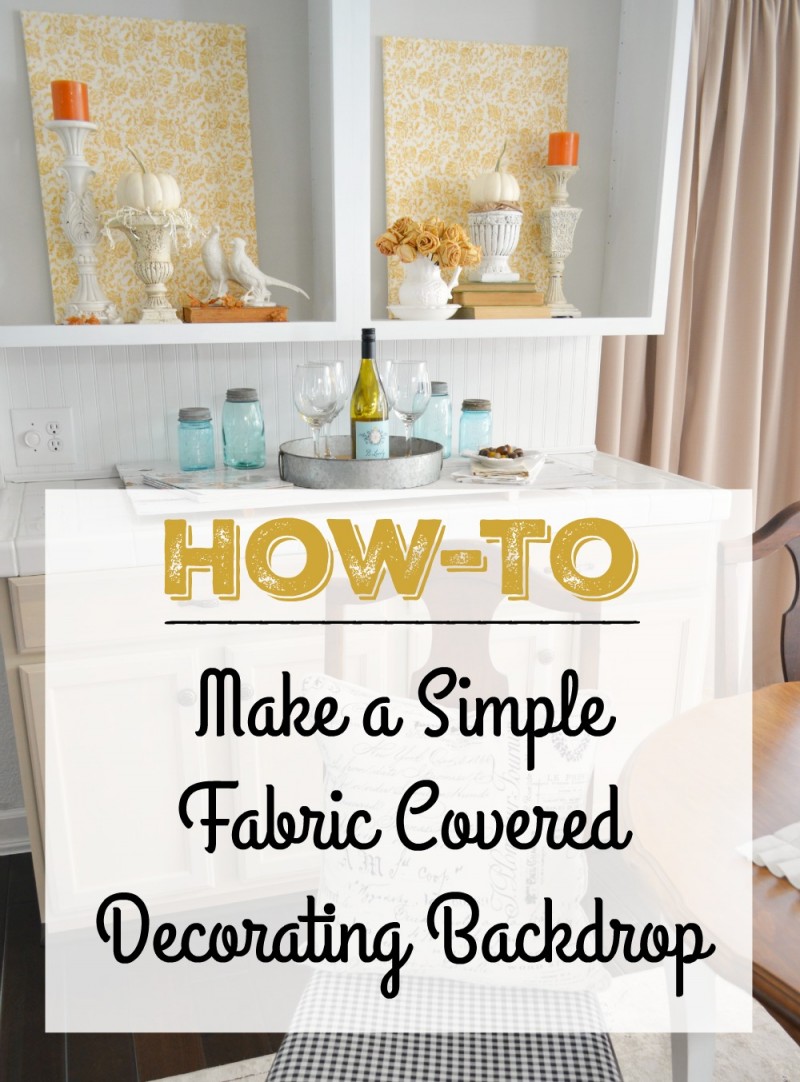
How To Make a Fabric Covered
Decorating Backdrop
Hello~Hello!
I hope everyone had a great weekend! We did some junking, I got over a nasty headache, we procured a new vehicle to replace the one that got totaled… & Jimmy is pulling the ceiling out of our shower!
It’s just all magic & rainbows over here! hahaha.

Real quick though, before I jump into How To Make a Fabric Covered Decorating Backdrop project I’m sharing… while I was trying to shake that headache, we snuggled up on the sofa and watched SPY. The new DVD release starring Melissa McCarthy. Have you seen it? Well, I swear the laughing is what made me headache go away. I’ll be watching that again for sure!
Now then, are you ready to move onto my super simple fill-a-big-blank-space “backdrop” layering filler-y thing project. About time right? Sorry… you guys now I am a talker!
What do I even call this!?!? Typing in a title for a post is one of my most hated tasks. Ugh. Is “How To Fill Empty Spaces When Decorating” searchable, so someone can find what I’m sharing? Um… I don’t know… maybe? hahaha
I’m telling you, this blogging is HARD. Making me use my brain and stuff. Pfft…
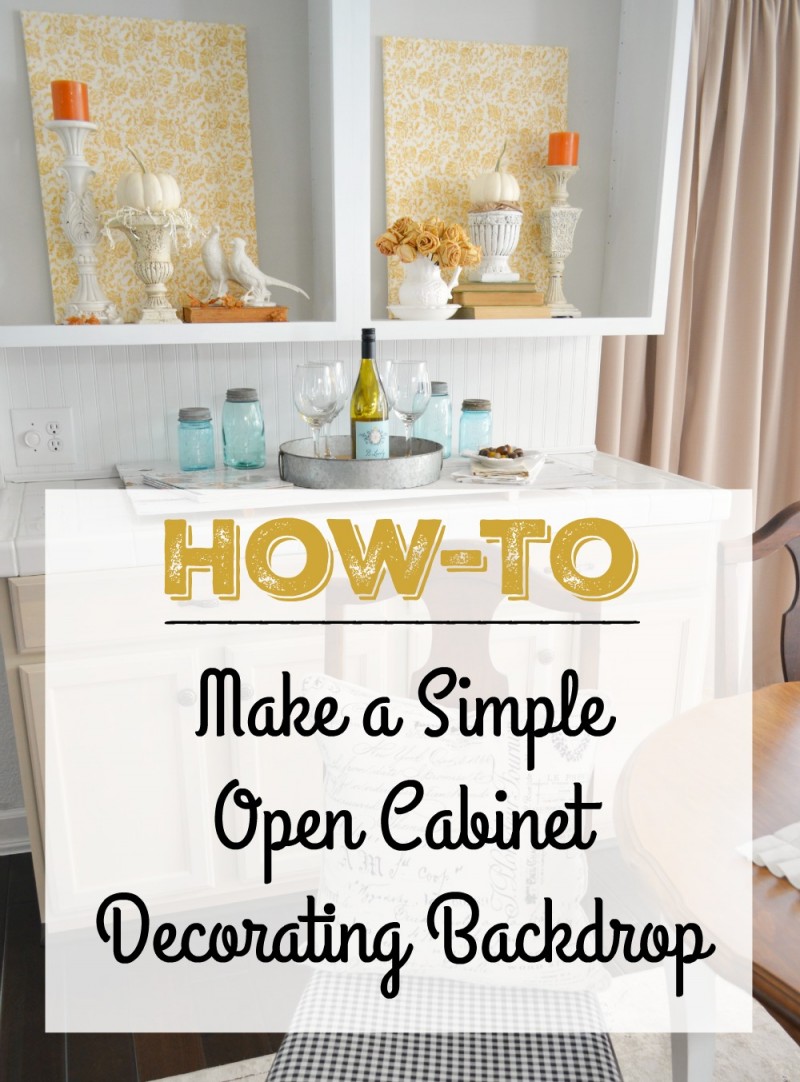
Here is the deal – I’ve got open cabinets in my kitchen. There is a lot of blank space above the shelf and I was trying to figure out what I could put there that would be kind of there-but-not-there. A space filler. Something temporary. I like removable, then when I change my mind five minutes from now, I can.
I know it’s great if you’ve got some reclaimed lumber just laying around… or some super-fabulous architectural element, or shutters… etc… to use those for layering when decorating, but if you don’t have that handy, then this might work for you!
I knew what I did have, I had a few blank canvases that I picked up real cheap. I thought why not cover them with some really neutral fabric and see how that worked? So I did! I was easy and they are light, and they don’t take up much room to store!!
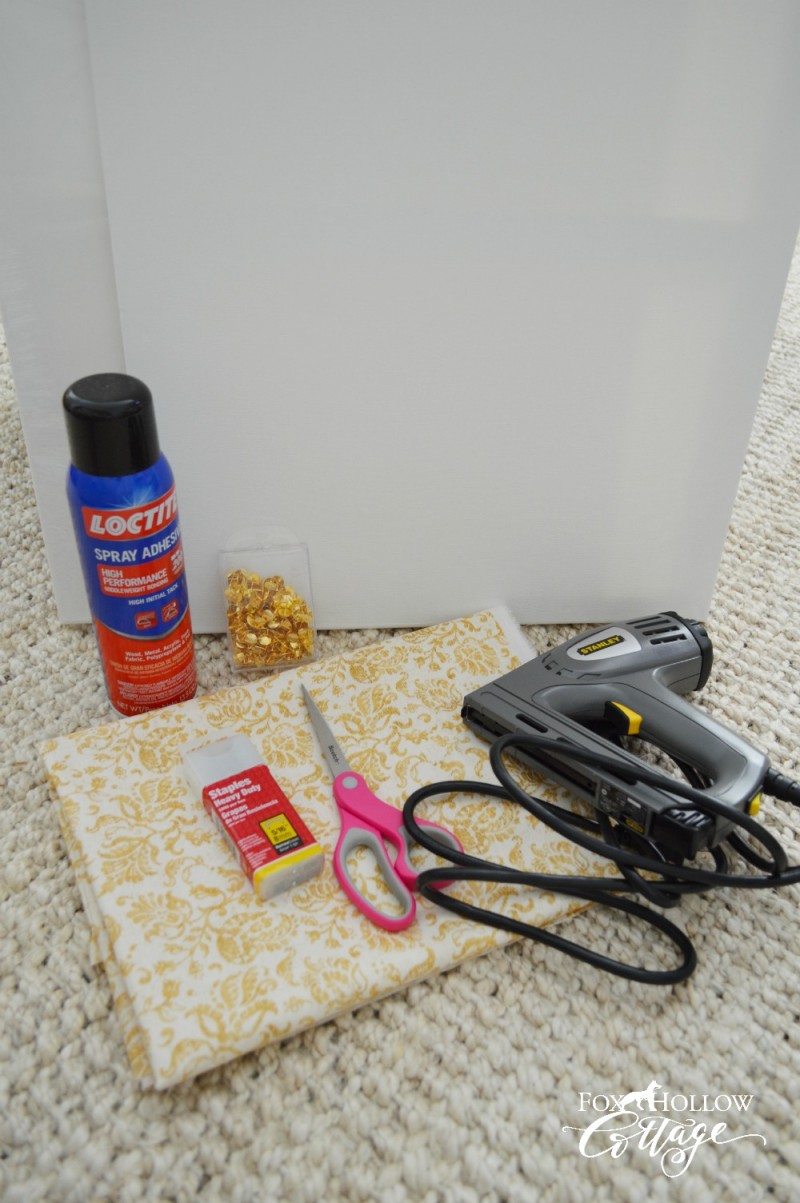
YOU WILL NEED:
- Blank Canvas
- Fabric
- Scissors
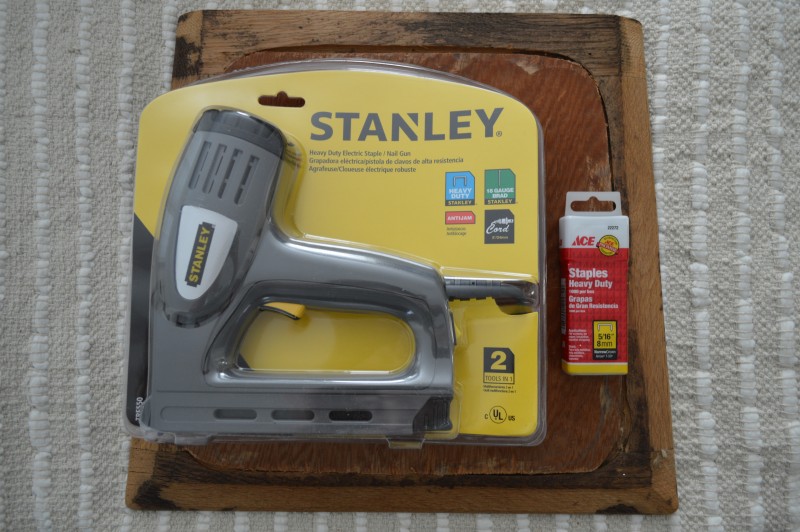
- Staple Gun (I specifically bought an electric one [here] affiliate link and I loooove it.)
- Staples
Optional:
- You might also try; tacks, spray glue and/or possibly a glue gun to secure your fabric. I grabbed them and popped them in the photo too so your could see what I was thinking.
- If you have an old canvas with a painting on it you don’t care for, paint a primer coat on it so the scene doesn’t show-thru your fabric and use that!
- You can also build a wood frame and cover it with fabric.
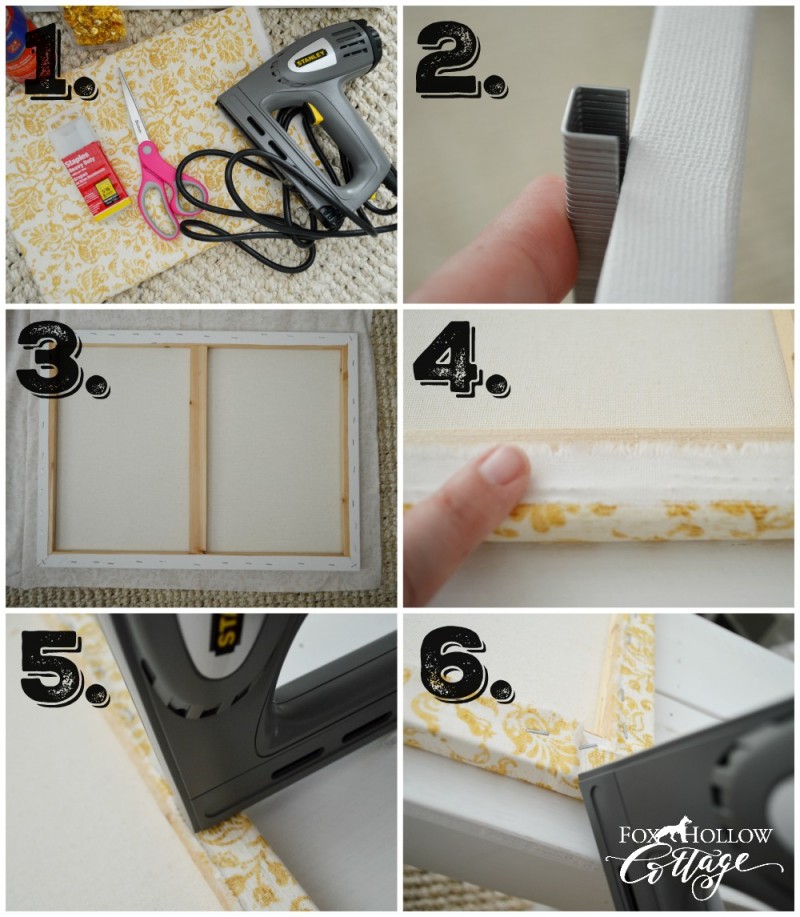
1 – Gather your supplies.
2 – Ensure your staples are the correct size.
(long enough to grab you fabric well & short enough that they do not go through the wood frame)
3 – Lay out your fabric, place frame on top, cut.
(leave enough length so the fabric covers the side and folds over the back to attach)
4 – Get ready to staple.
(work on a smooth, flat surface)
5 – I like to start at the bottom. Work from the middle to your corners.
(for continuity, complete all your corner folds in the same way)
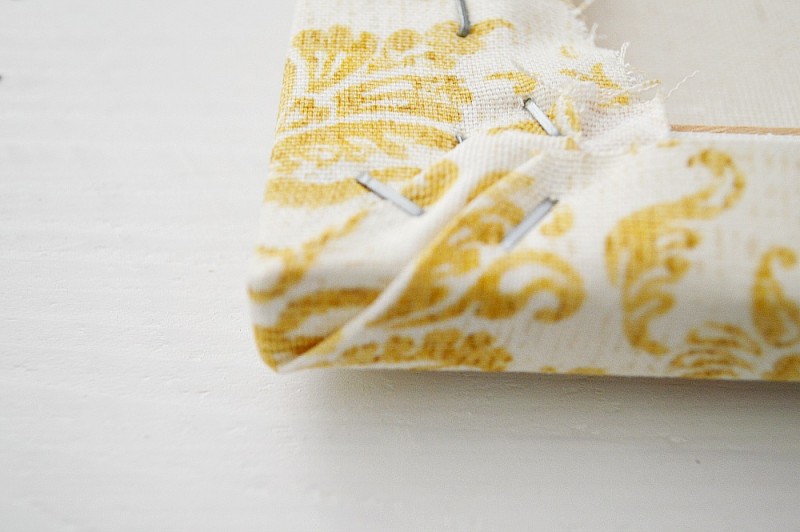
6 – Next do your sides, middle to the corners and then finish up with the top.
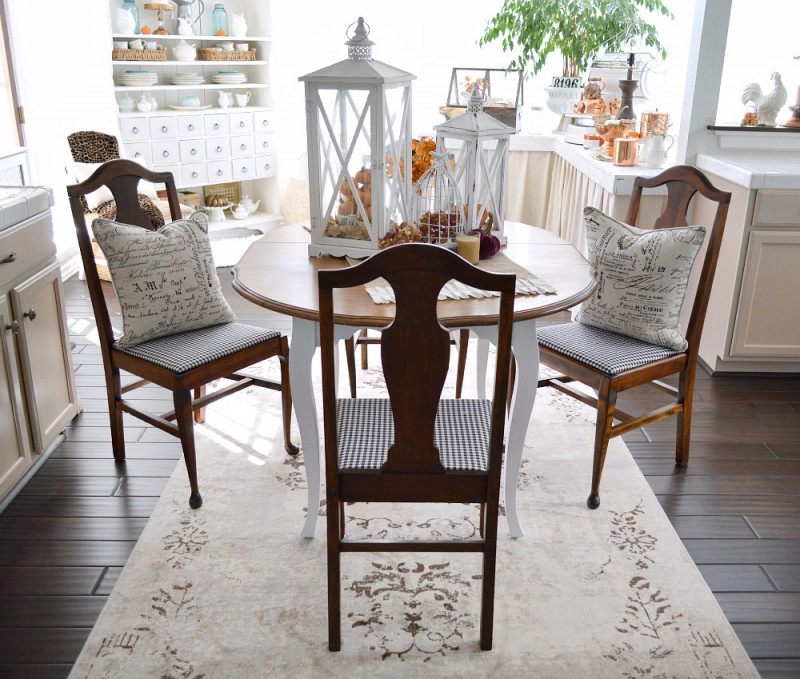
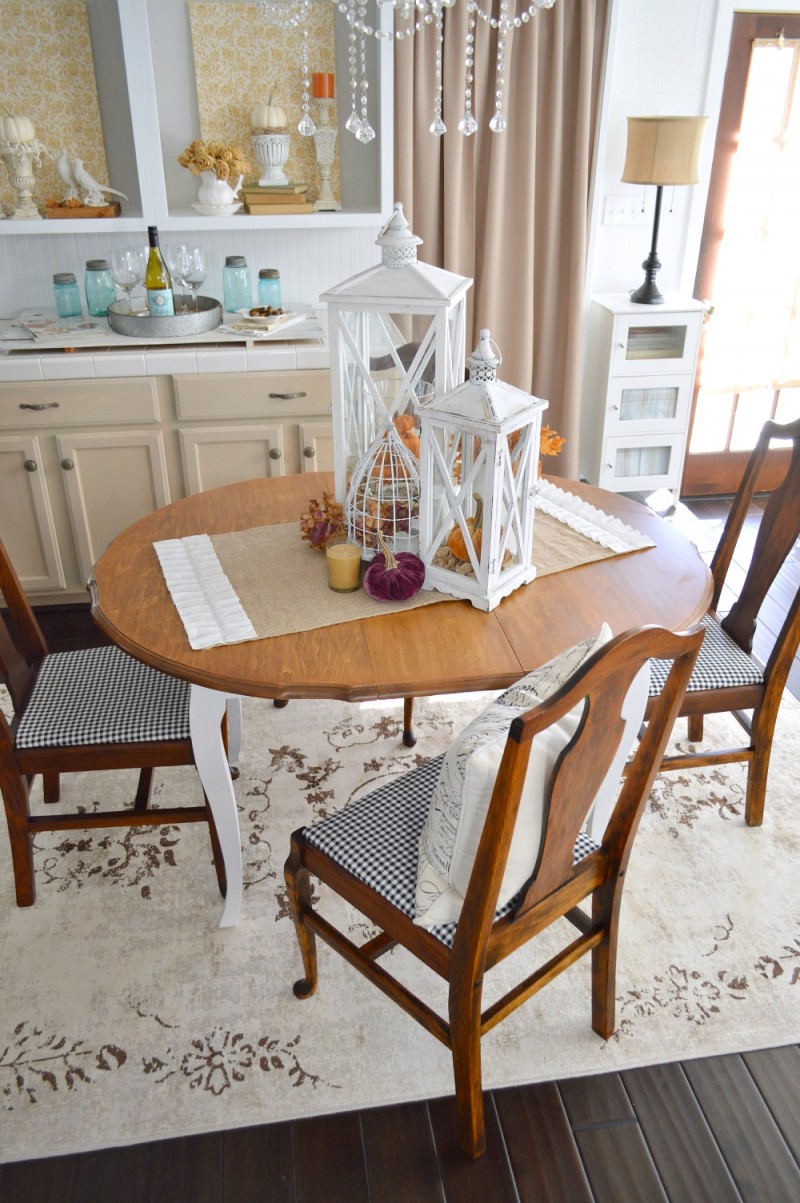
If you have any staples that didn’t go-in all the way, no biggie, just tap them down with a hammer. I get a lot less of that with my new stapler. I just used it to recover my dining chairs [here] and it’s so nice to work with.
It takes staples and brads! I got it at Ace and I just picked up the less expensive Ace brand staples to use in it.
I hope I never have to use a manual one again. I had no hand fatigue after using this one. I see many more “staple-y” projects in my future!! I hate to say “this isn’t sponsored” because I give my honest opinion regardless… but this isn’t sponsored. The electric stapler/nail gun was like ten bucks more that the manual ones. And when I saw that cord, it was a no-brainer for me. Last time I recovered chairs, Jim had to help me because I couldn’t hold the fabric and use both hands (which was necessary) for me to even use the stapler. Damn man tools! hahaha.
I hate to admit it, because most tools are not a problem but that one required man-hand strength. And I can hold my own most times when we are doing DIY but I don’t have the world’s strongest hands.
The new, fabric covered canvases do just what I wanted, so all-in-all, I’m pretty pleased with how it turned out!! As soon as I’ve got somewhere to work, I can definitely see making a much larger version for the fireplace!
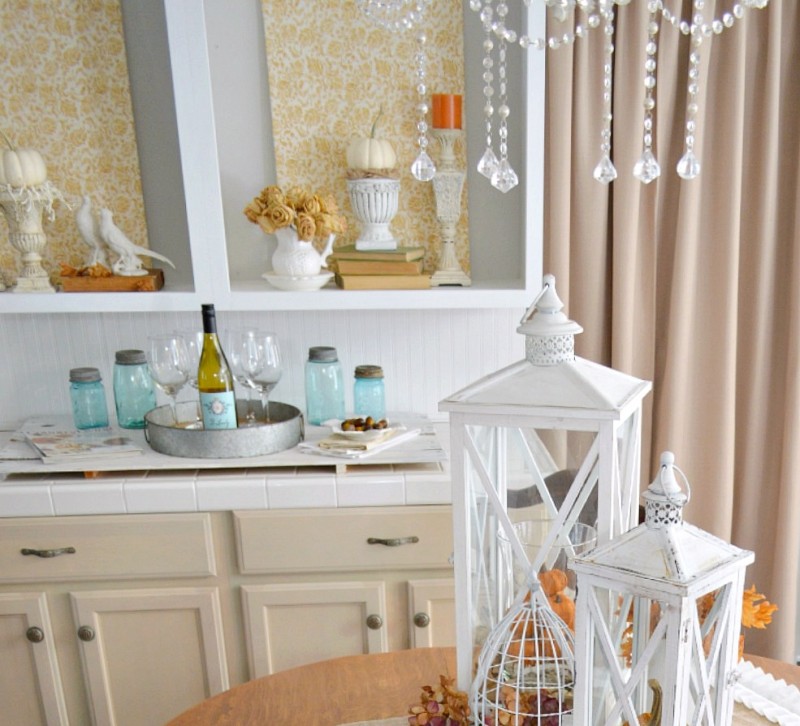
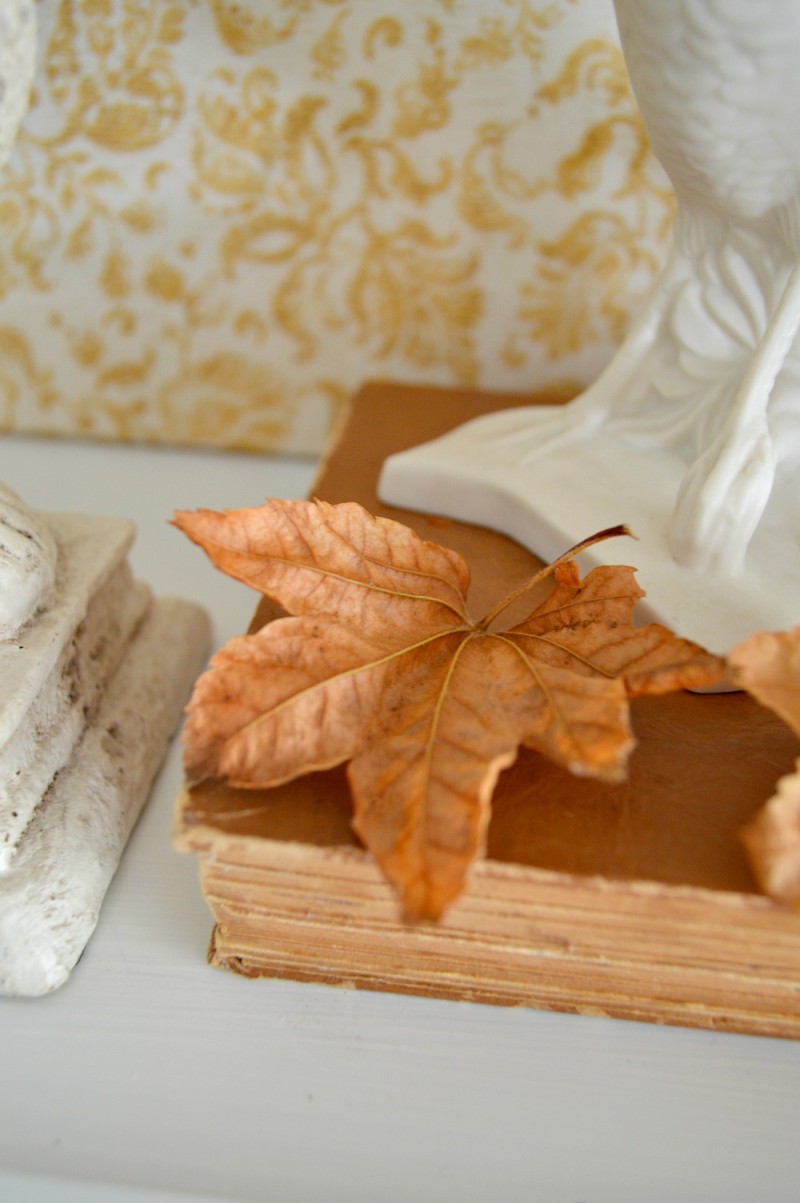
The fabric is such a pretty, soft gold and the pattern is very calm. It should blend beautifully with my decor all through the Autumn season.
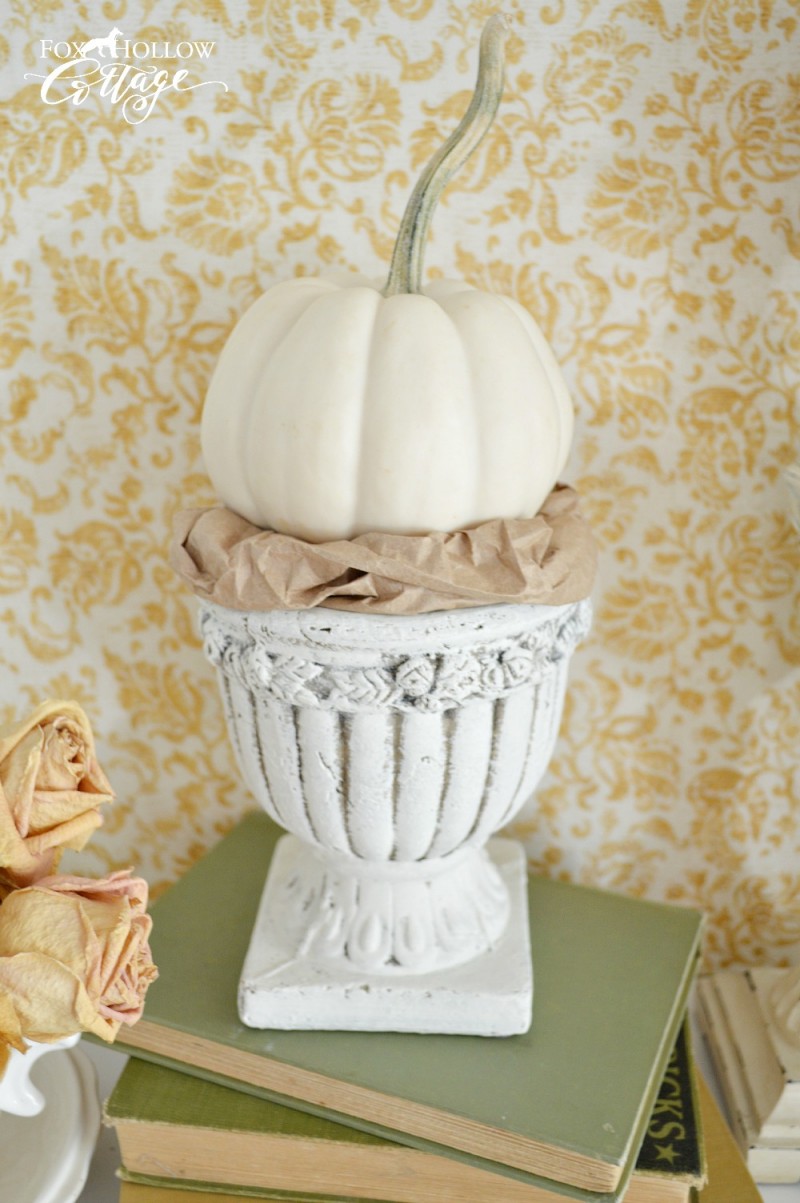
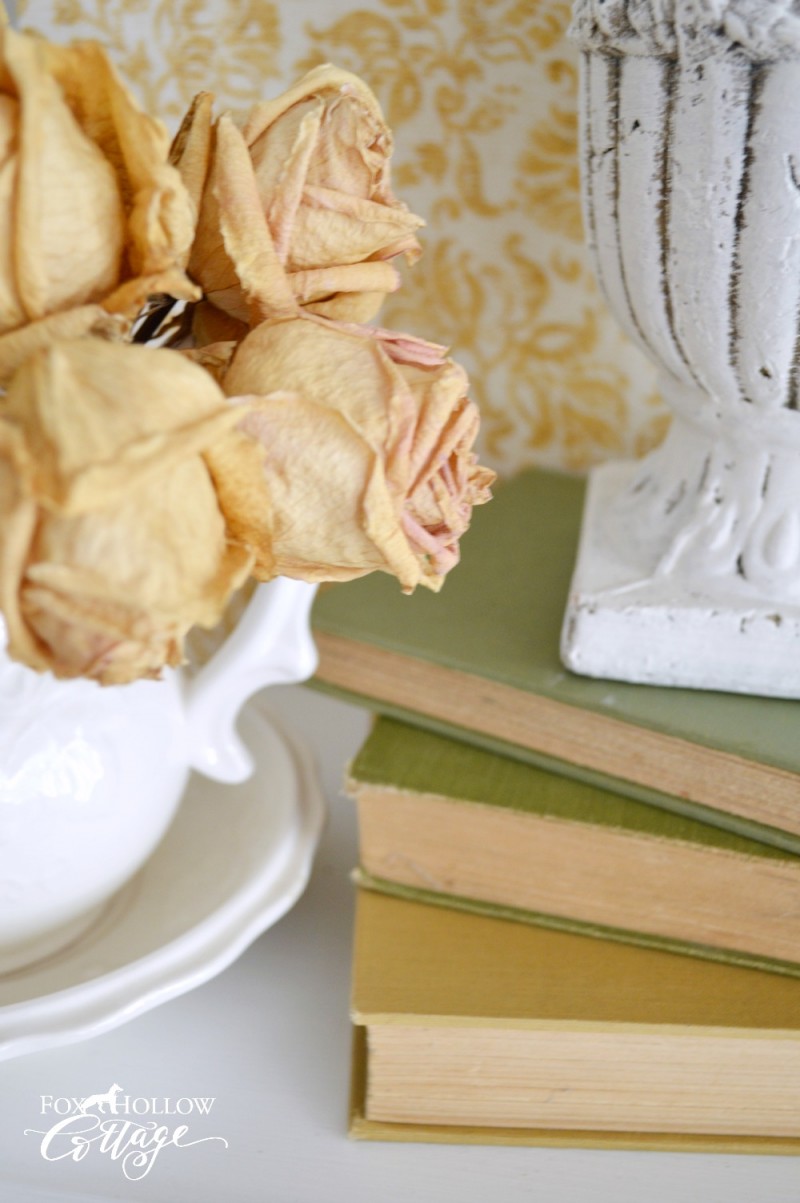
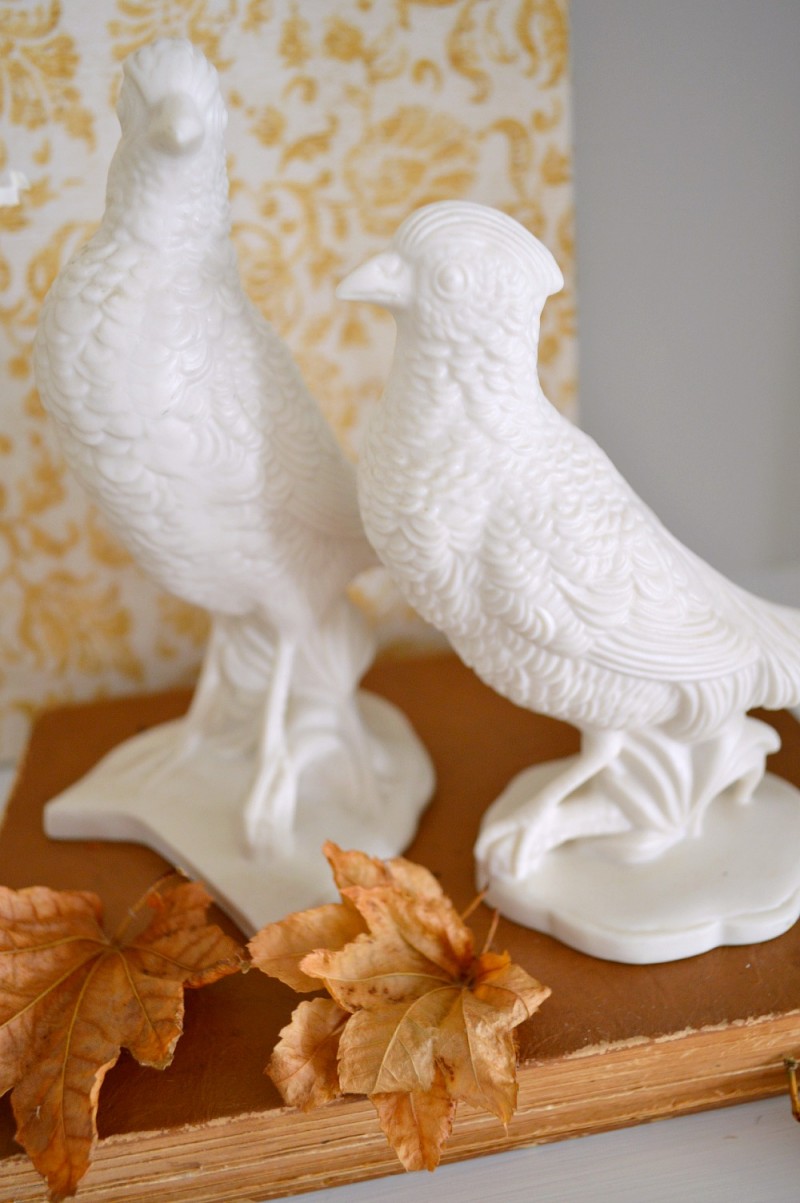
As you can see, the decor I paired them with is really simple. A candlestick on each side, an urn with a pumpkin and the Pheasants on one side and the pitcher & roses on the other. It’s muted… and, I like it.
I hope you do too!
If you decide to make a fabric backdrop after seeing this, I really hope you will share it with me!! I’d love to see it. You can email me at foxhollowcottage@gmail.com or tag me on Instagram!
Have a great week!! If I get a spare minute, I might throw a little something up for Halloween before it’s actually here… I still can NOT believe I haven’t done anything? Inconceivable. (read that like it sounds in The Princess Bride) You know, just for fun.
Really though, it might not, and I am okay with that.
Take care now!! xo Shannon

Click [here] for Halloween past!
.
SOURCES:
- Staple Gun – Stanley Electric Staple Gun [order online here] affiliate link
- Fabric – Waverly
- Candlesticks – HomeGood [here]
- Urns – Thrifted
- Pheasant – Vintage 101
- Galvanized Metal Tray – HomeGoods
- White Leaf Dish – HomeGoods
- Lanterns – HomeGoods
- Linens – HomeGoods
- Casper Pumpkins – Safeway
- Roses – Safeway
- Velvet Pumpkins – Safeway
- French Script Pillows – HomeGoods
- Pallet Runner – DIY
- Dining Table – Estate Sale
- Dining Chairs – Goodwill
- Seat Fabric – Waverly
- Rug – Rugs USA [here] (direct link)
THANK YOU FOR VISITING FOX HOLLOW COTTAGE TODAY!


More Ideas & Inspiration
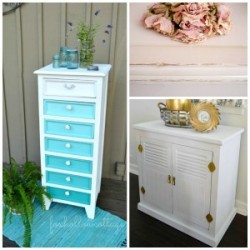 Beginner Friendly Painted Furniture Makeover Ideas and Tips
 Painting Tips and Ideas to Save Time, Money and Inspire
 Guest Room Essentials {tips and ideas to play the perfect host}
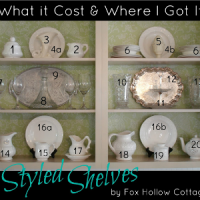 Styling Open Kitchen Cabinets; the cheap truth
 20 Ways to Make Thanksgiving Extra Special
 Simple Fall Decor Ideas
 Little Cottage Kitchen Dreams
 How To Paint A Door Fast and Easy

What a super smart idea. I love this idea because it can be changed depending on the season–very cool! I watched SPY a couple of weekends ago and loved it!
Me too, you know I like to change things. I liked the movie too and we laughed!! I plan to watch it again for sure 🙂
I love the fabric with the script writing that you did the pillows in. I have been looking for this fabric without any luck. I want to make some valances for my great room. Could you email me where you found this fabric? Thank you in advance,
Carolyn Creager
I’m so sorry….I didn’t make those. I bought them at HomeGoods.
Try onlinefabricstore.com they have a huge selection.
I like your creativity
Thank you so much!
I think your idea is perfect. I’m learning that it’s all about the layering! 🙂 Sometimes it’s the easiest projects that make the biggest difference. Large pieces of art can be horribly expensive so I really like this idea of using fabric…endless choices and easy to swap out (I’m always changing things in my home!)
Thanks so much. I know, art is so expensive!! I like the neutral/switch-ability factor too.