How To Make a Garden Trellis on Glass
If you’ve heard me say it once.. you’ve heard me say it a million times.
“The Deer love my flowers!”
… and while I think they are sweet and cute. I think my flowers are too.
I’ve dreamed of having climbing, vining flowers but my space (away from the Deer) is really limited. In the future I may have to try and distract the Deer from my flowers with some ideas from feed that game, but for now I’ve taken to growing most of our flowers on our deck off the sun room, but that provides me with only so many options.
Having used the Command Brand products several times now, I’m really getting the feel for what they can do!
I got the idea one day that hey, why not use them on my windows to create a trellis!? So I did. Now I’ve got a vertical growing surface, away from the wind and Deer. Plus, when my plants mature, I’ll be seeing double. I’ll get to enjoy two times the bloom view from inside and when I’m outside.
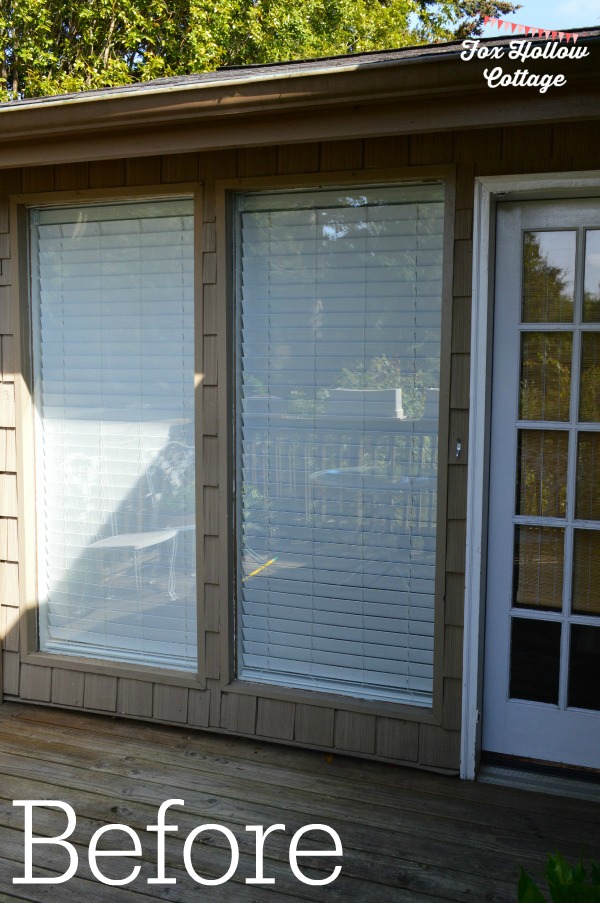
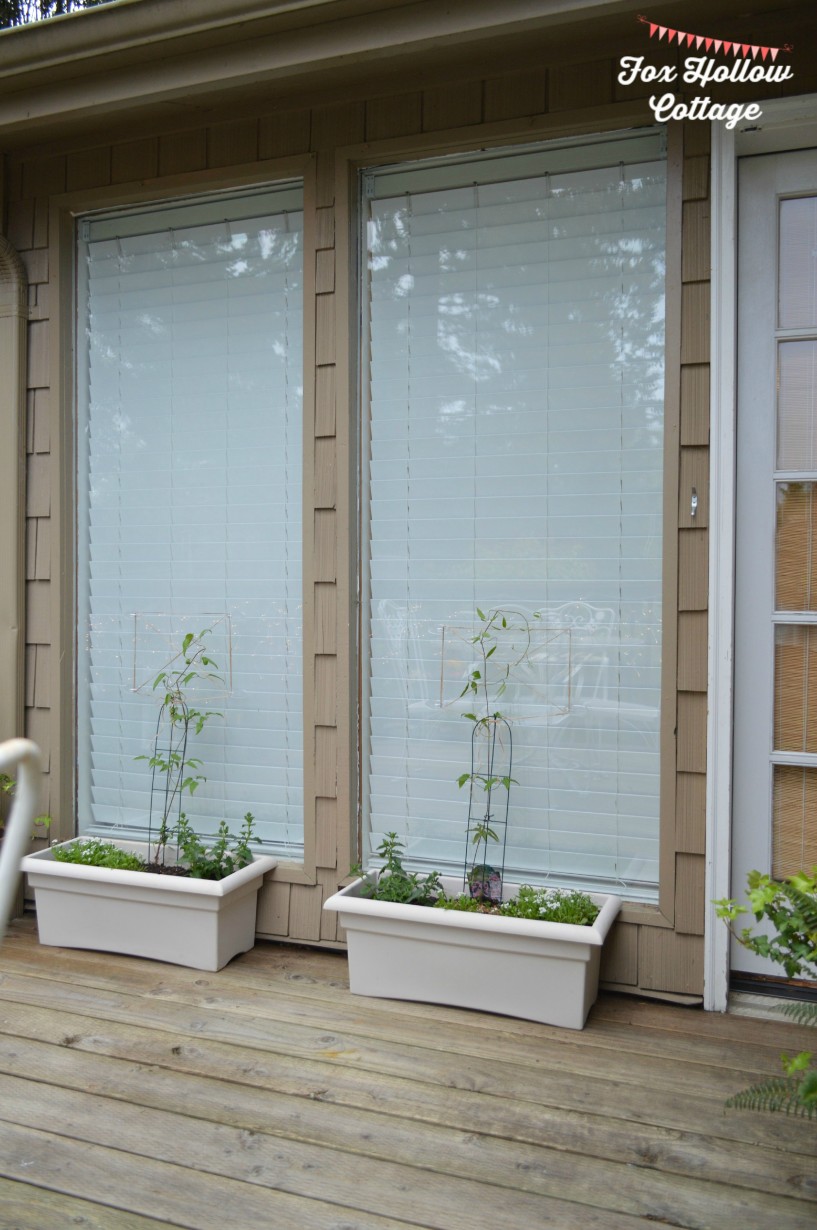
This is the space I picked to work with. I pre cleaned and cleared but I have to thanks the boys for this one! They were nice enough to scrub the green slime of a wet, Oregon Winter off the deck for me. Then, I was ready to go!
I knew these big windows would be the perfect place to let my new Clematis vine their little hearts out!
If you like this project and want to recreate it, you will need:
- Planters
- Soil
- Optional: Osmocote
- Vining Plants (Clematis, Jasmine, Honeysuckle, etc..)
- Filler plants – if desired, so the planters look nice and full
- Twine
- Scissors
- Isopropyl Alcohol
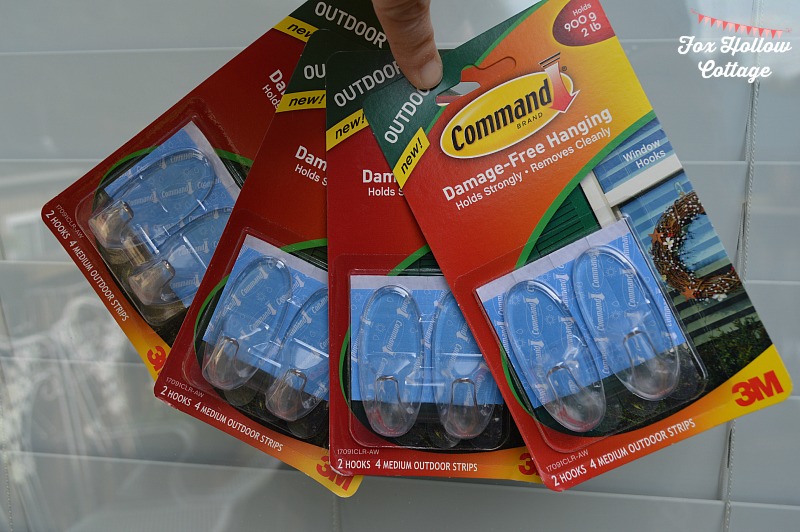
- Command Brand Outdoor Window Hooks.
I started with 2 planters I had on hand and empty in my potting shed. They needed a good scrubbing though because I was lazy and put them away empty, but not cleaned.
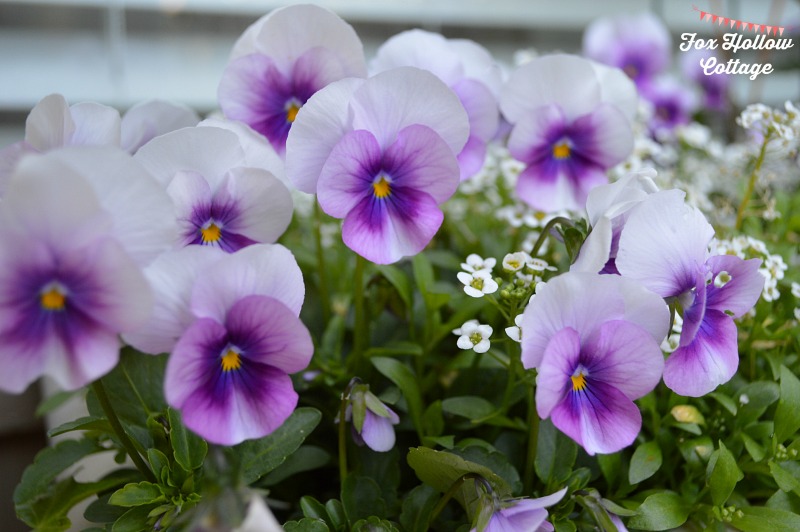
Once I had clean planters to work with (kicking self for being lazy), I added my potting soil, slow release fertilizer, and potted the plants. I picked Clematis as my main focus and planted some Alyssum, Verbena and Johnny Jump-Up mini Pansies to fill the ground level section of my planter since the Clematis would be vining up and away!
When your planters are all done, set them aside and get ready to create your super cool new trellis!
Step One
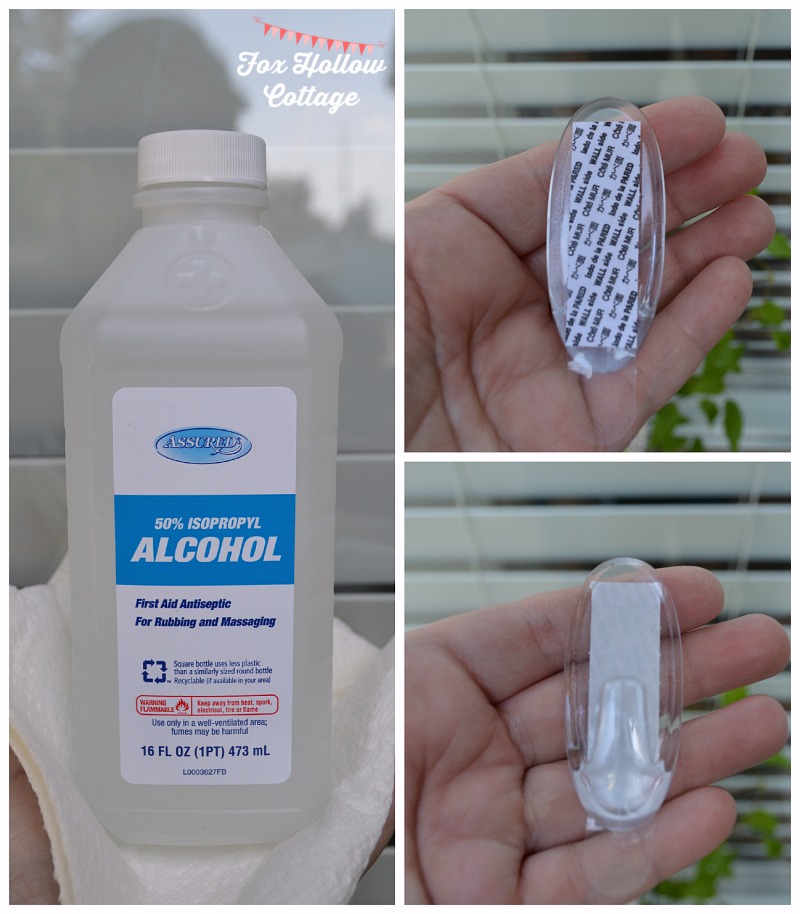
Even though I just cleaned the windows, I still made sure to clean the spots I was going to place my Command Brand window hooks with Isopropyl Alcohol, just to make sure and get a good stick. Always follow the directions on the back of the package and you’ll be just fine.
Step Two
TIP: A good trick to remember for putting the strip onto the hook right is to put the blue on the back.
I sing song “blue backs” and that helps me remember.
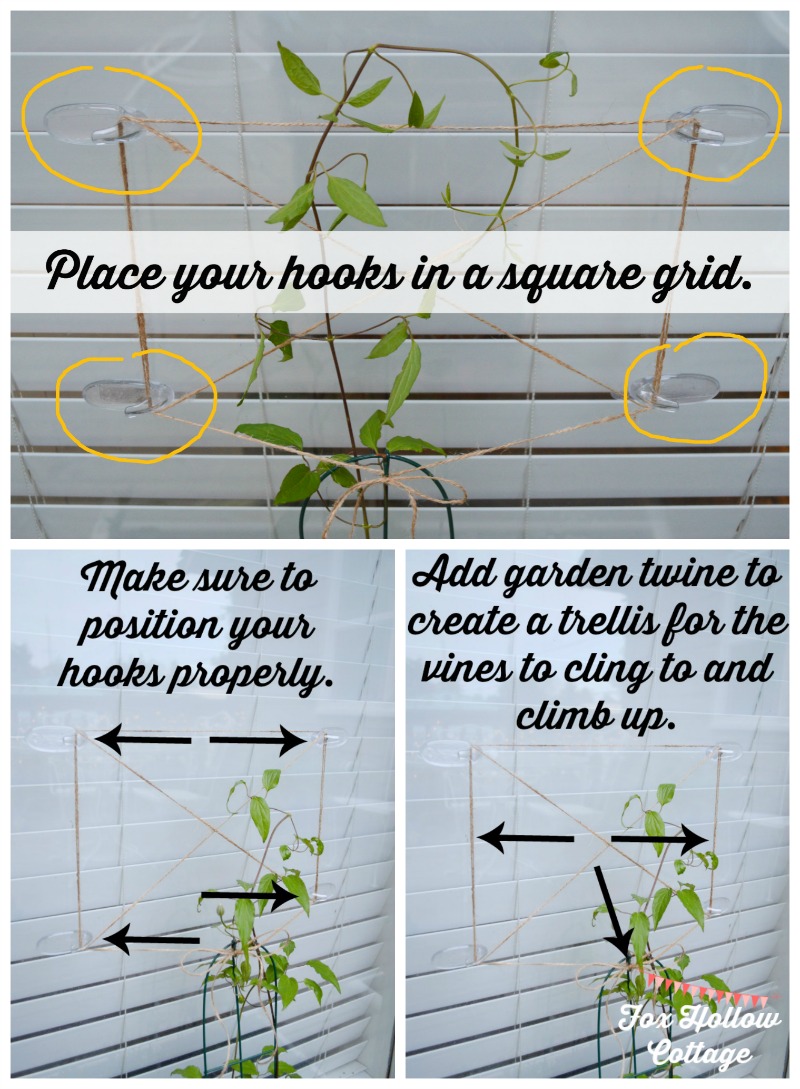
Place your hooks on the glass creating a grid style pattern.
Also, make sure to point your hooks in the right direction. (see image above)
This will make for a corset lacing type effect when you add the twine.
I used garden twine. I know fishing line would have added to the whole “invisible” thing, but I’m afraid it would bite into the delicate Clematis vine too much.
I double laced my twine in places to make an “x” and a square, thus giving the plant more area to cling to and climb on. I can’t describe in a zillion words or less how I did that, so just play around! I know you’ll figure it out.
Once your trellis is in place, gently weave your plant into and onto the trellis.
Let nature take its course!
This was day one.
(I added some pansies a few days later).
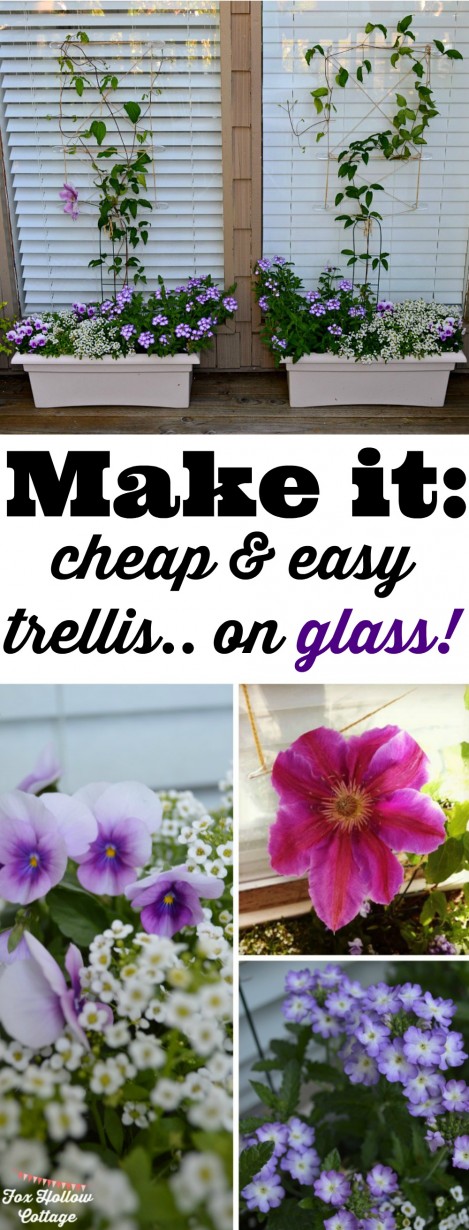
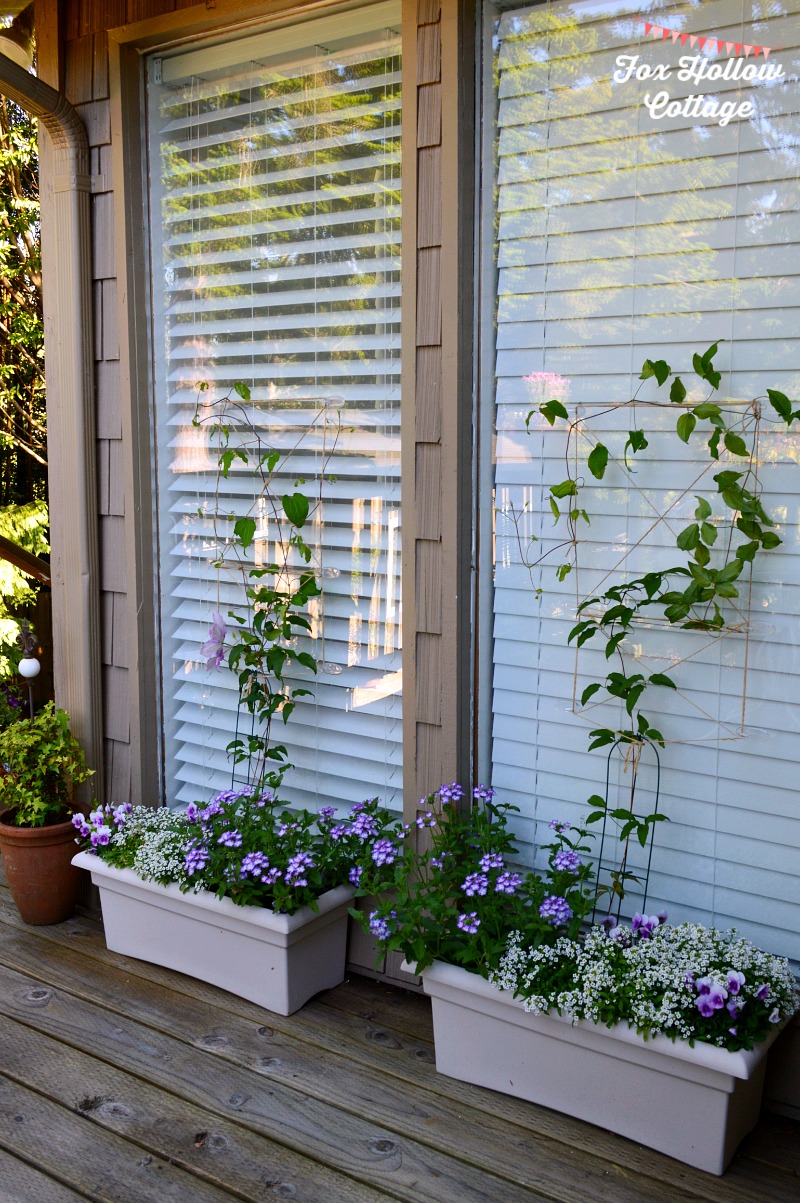
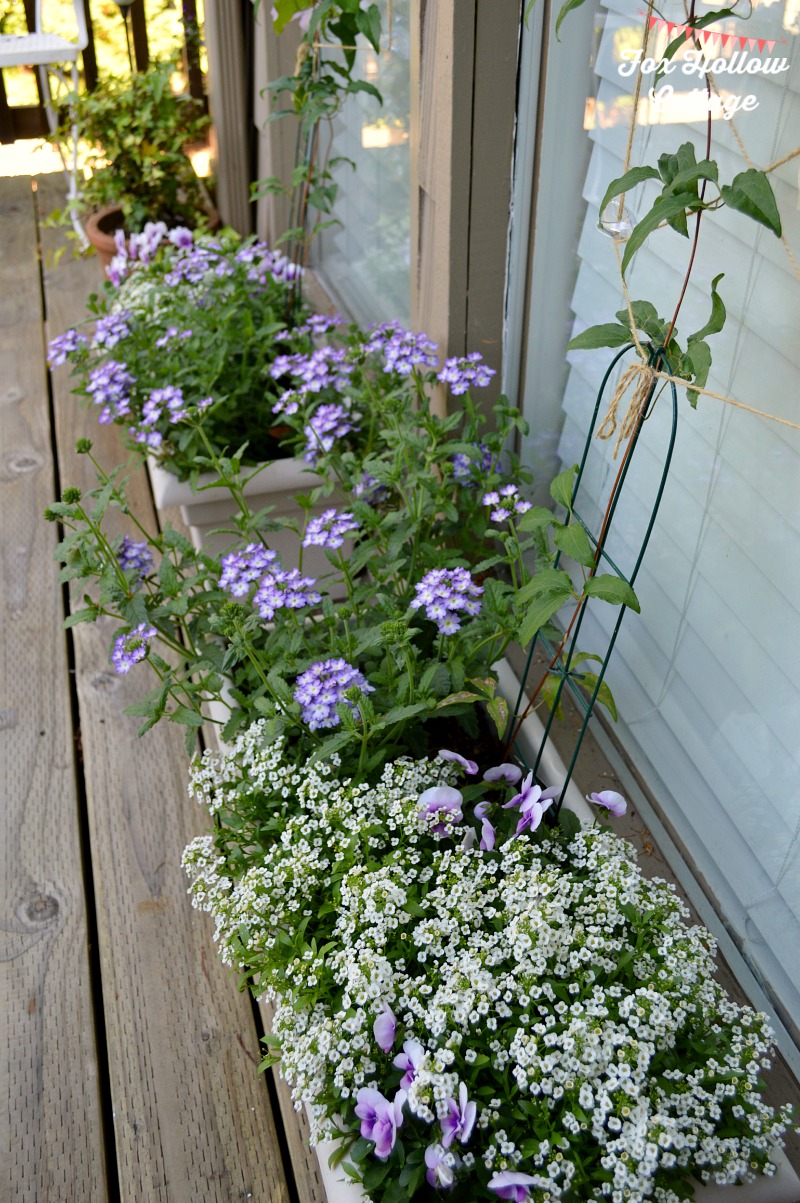
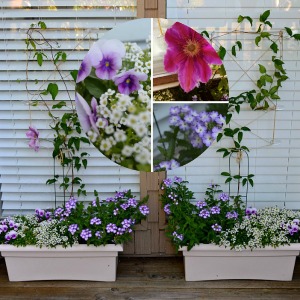
And… right now! (about 4 weeks later)
Oh my gosh, it is filling in so well!
I had to add another level of hooks and twine for the Clematis to climb.. and I even got a bloom!
If I’m lucky I’ll have to add more.
The Verbena is loving it too and blooming like crazy.
This is the perfect Deer free and wind protected spot to give them.
The wonderful thing is, in the event I need to move them, I can. All I have to do is snip the twine and the hooks can be easily removed.
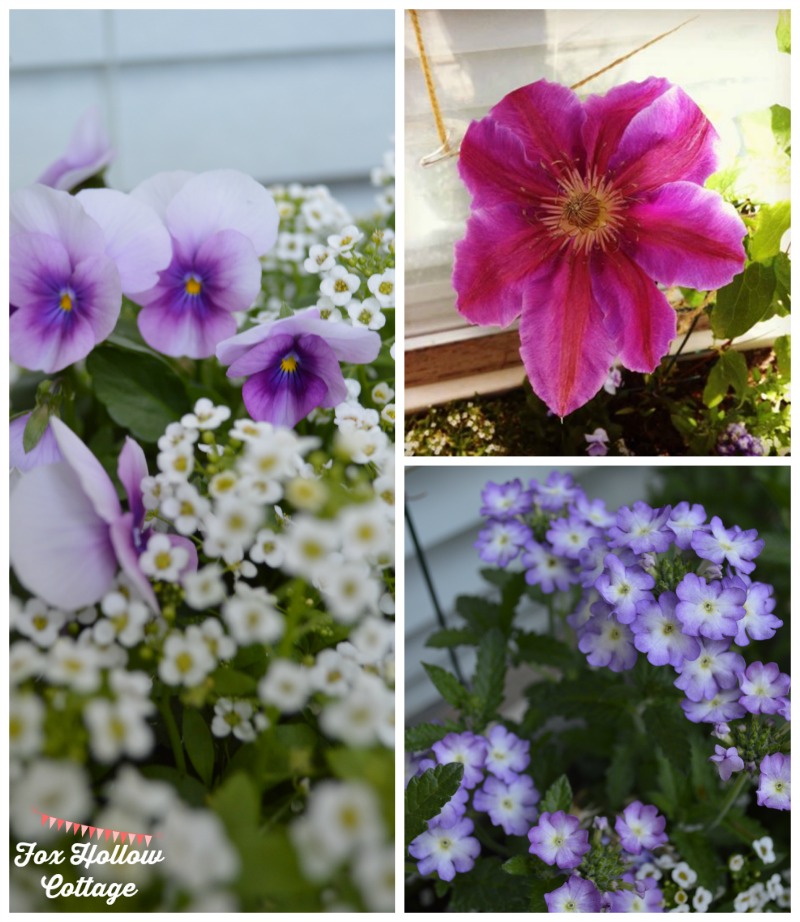
I’ll make sure to report back as Summer progresses on how it’s doing. In my mind.. I see this.
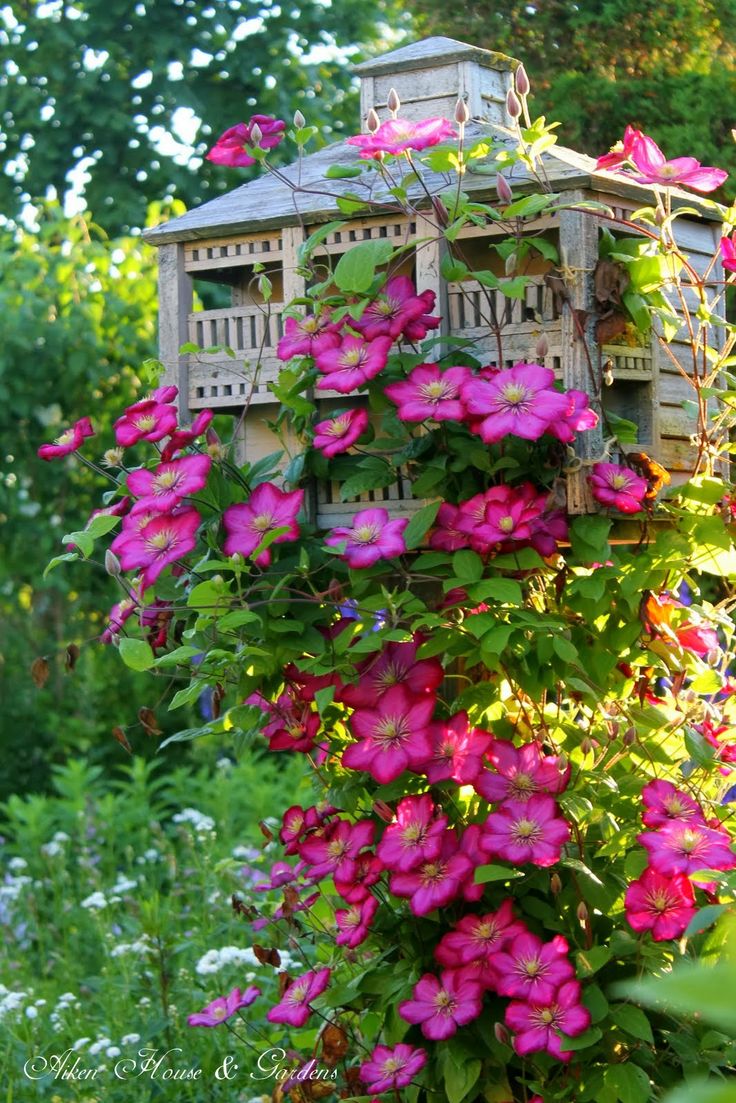 (photo via Aiken House & Gardens – If you want a treat, go visit!)
Even though I know that plant is well established and I am sure a few years old. I can dream though…
Hope this idea opens up new possibilities for you and you can think of a fun way this might work for you!
I am having a great time acting as a Command Brand ambassador. Getting a chance to test out a variety of the products and seeing what I can come up with, and then sharing it with you has been wonderful. I have been totally tickled with everything I’ve been able to do with them so far!
In fact.. I already have my next project completed and I can’t wait to share it next month. I think it’s going to be extra useful for those of us that don’t have really big homes!!
It’s so hard to wait.
See you next time!
More Handy Command Projects:






Totally fabulous awesome idea Shannon! You’re a genius girl! 🙂
Very cool Shannon. I really love this ingenious idea of yours. Going to be so pretty in a short time..already so pretty and you just did it!