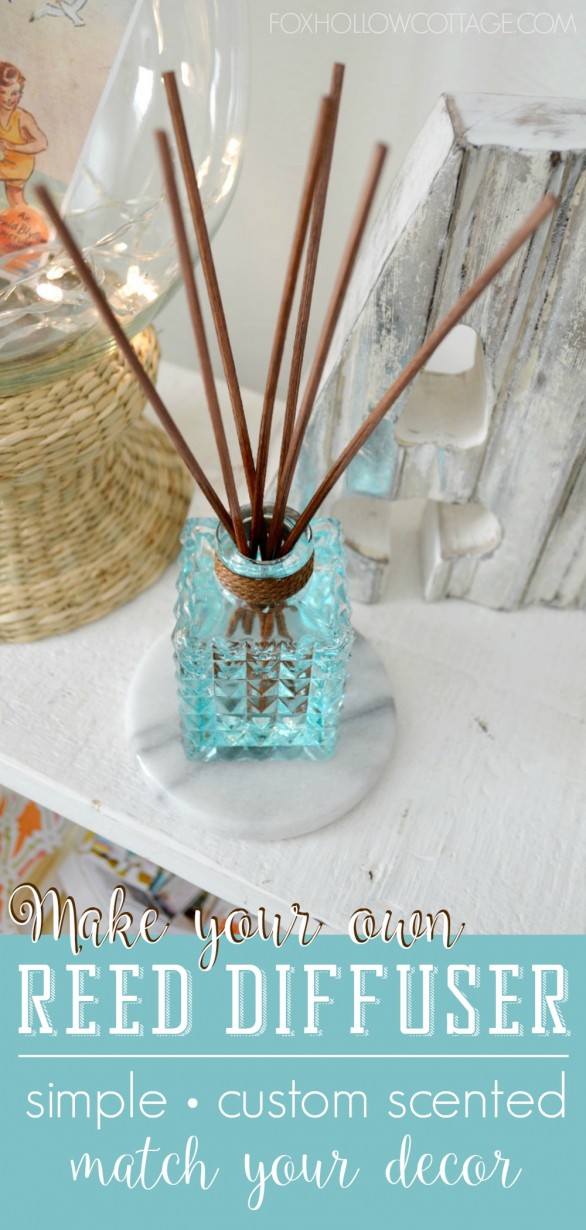
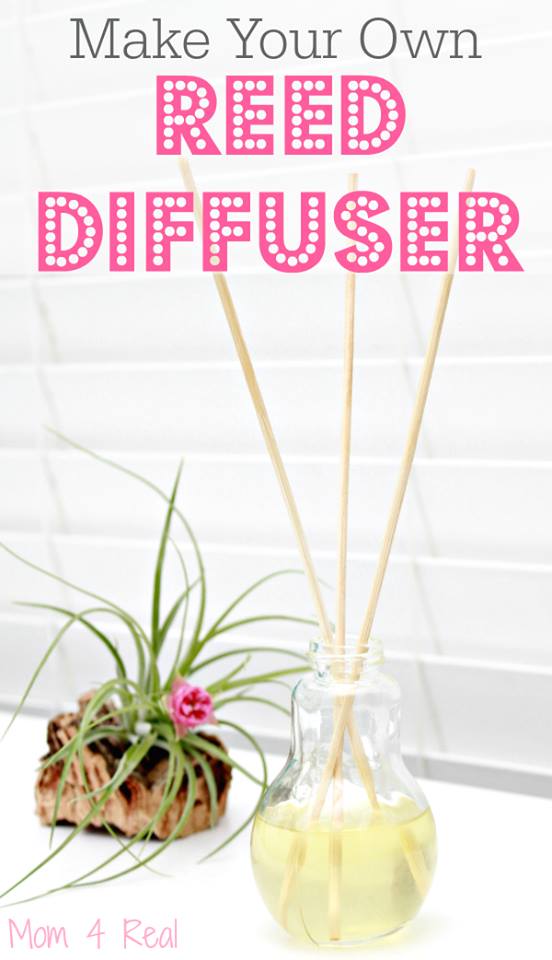
How To Make a Natural Reed Diffuser (and diy your own fragrance too!)
I know you’ve all seen reed diffusers. Originally used in Europe to freshen the air, they became popular in the U.S. about fifteen years ago, and quickly become a home staple.
One of the things I wanted to do with my essential oils when I got them, was to make my very own scents and diffuse them. Often times when I would buy a pretty diffuser I would not care for the scent that came with it once I got it home. This way, I know I’ll love it, I can customize the container… and as an added bonus, it can offer some beneficial properties too.
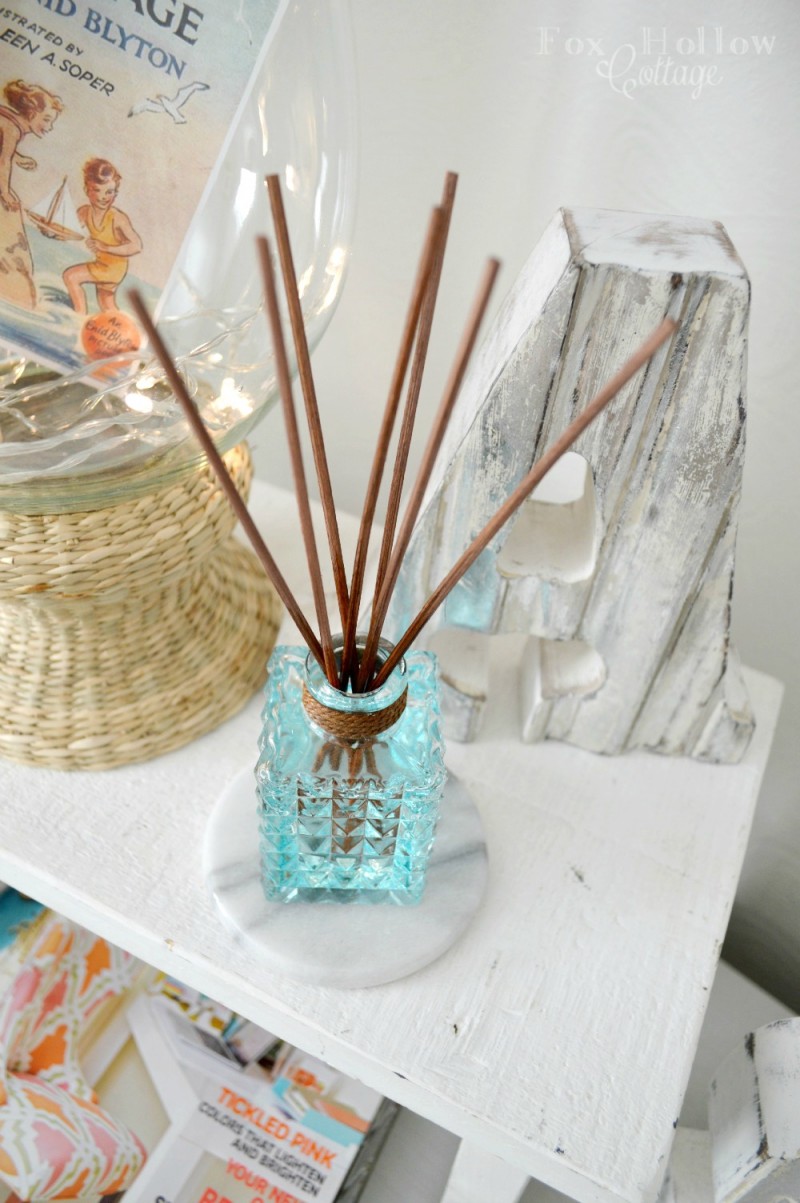
I was out running errands one day and doing some shopping when I saw a pre-packaged reed diffuser for $3.95. It was a great price and I liked the container so I picked it up, knowing I could still blend my own scent. For under 4 bucks, it was a no-brainer to just use the reeds and jar supplied. Plus, it came with so many reeds, I’ll be able to use them with jars I’ve got at home to make additional scents for other areas of the house!
What You Will Need To Make A Reed Diffuser:
- Vessel
- Base oil
- Vodka
- Diffuser reeds
- Essential oil
The How & Why
The Vessel:
- Most any container will work, keeping in mind that the wider the opening, the quicker your scent will be released and evaporate. A tight neck is best. Also glass or a non-pourous material of course.
Carrier Oil:
- This is the non-evaporating base of your mixture. You will add your desired scent to this. Your base, or carrier oils are frequently used to deliver an essential oil.
These are some most frequently used carrier oils:
- Almond oil, Apricot Kernel Oil, Avocado Oil, Borage Oil, Calendula Oil, Cocoa Butter, Coconut Oil, Evening Primrose Oil, Grape Seed Oil, Hazelnut Oil, Kukui Nut Oil, Macadamia Nut Oil, Peanut Oil, Pecan Oil Rose hip Oil, Sesame Oil, Shea Butter, Sunflower Oil, Walnut Oil and Wheatgerm Oil.
There are also wonderful skin benefits offered by many of the oils above! I’ve got a few on order, and will be investigating them. My favorite after shower facial spray has been discontinued and I plan on replacing it, diy style!
The Vodka:
- Alcohol is added to thin the oil, so it can more easily travel up the reeds and be diffused into the air. Cheap is fine, as is flavored. I’m going to be using Cake Vodka! Because I have some in my freezer.
- I hear you can use isopropyl alcohol as well.
Bamboo VS. Reeds:
- Reeds are made of rattan, a type of fast-growing vine that is cut into lengths and dried. Rattan has an inner core with many hollow tubes that cover the length of the reed. The hollow core is ideal for allowing the oils to travel up the reeds. Reeds can be bought online for very little and come in dark and light color.
- Bamboo is also hollow, but it contains nodes or knots in the middle that can hinder the flow of oil. Bamboo and other types of wood are not as porous as reeds and some scent formulations may not diffuse with them as well. Bamboo skewers can be picked up at the Dollar Tree and most stores for very little.
Essential Oils:
- The options and combinations are almost endless! I look forward to concocting many custom blends. For this version I went with Joy. Purification would also be a smart choice to purifying the air and clean the air, and Lemon would be great in the kitchen for neutralizing other strong odors. Plus, I just love Lemon-y scents!
To Make:
- In glass measuring cup, combine approx. a quarter cup Carrier Oil.
- Add Vodka. (2-3 tablespoons)
- Stir vigorously to combine.
- Add Essential Oil. (I suggest to start lightly with 10-15 drops, you can always add more if desired – and to refresh)
- Pour into Vessel.
- Place Reeds in Vessel.
- Flip Reeds after first hour.
- Enjoy!
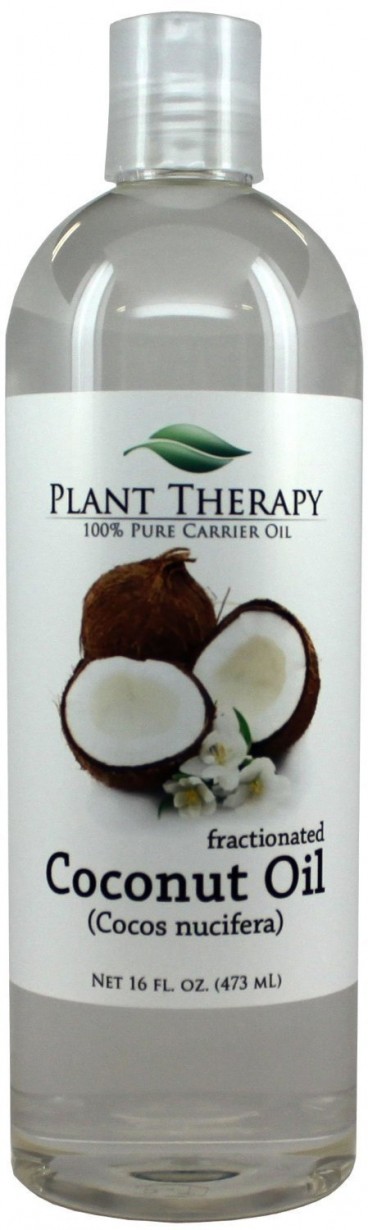
– For my personal blend, I used Fractionated Coconut Oil, Cake Vodka (yum) and JOY Essential Oil from Young Living.
It smells divine!! The subtle softness of the coconut oil.. and the sweetness of the vodka paired with JOY’s delicate combination of floral and citrus, is perfection to my nose and senses.
I feel like a little mixologist!
Tips:
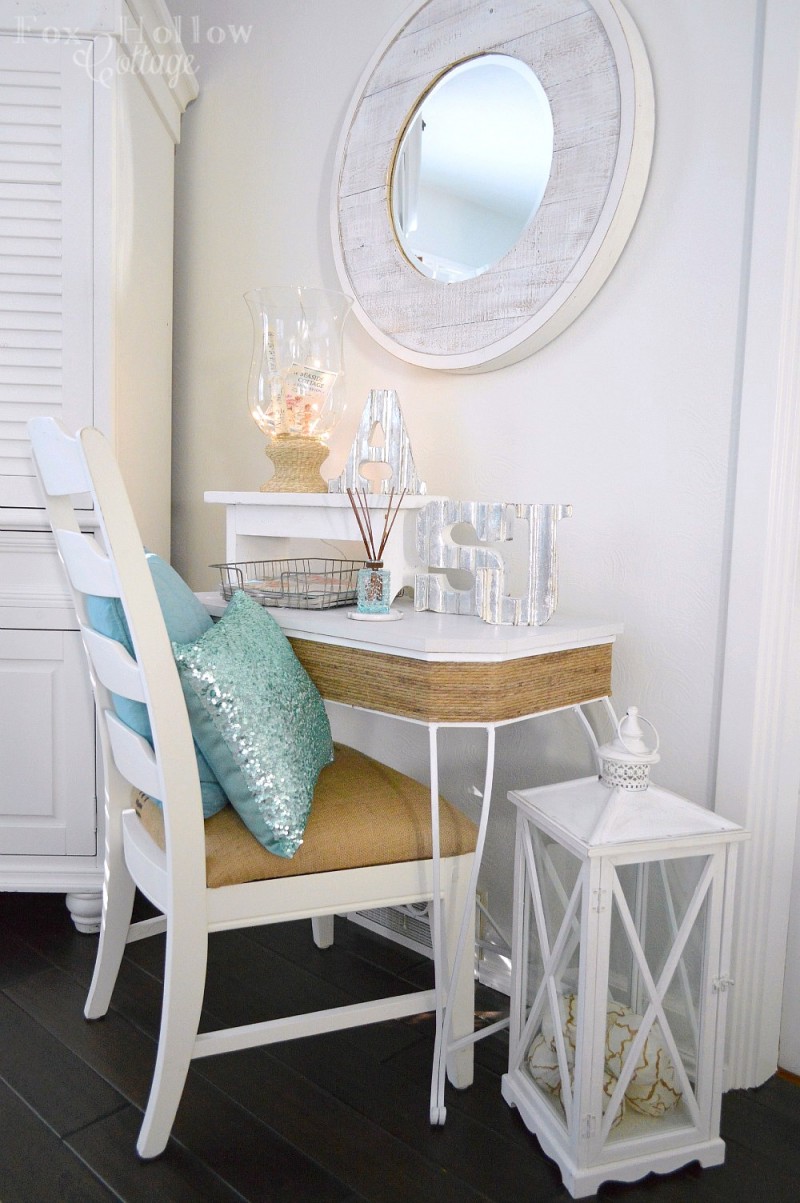
- Set your diffuser on a coaster to prevent any possible damage from the oils.
- Flip your Reeds over, over the sink.
- Dark colored Reeds can bleed into your oils, use light colored Reeds or a solid/opaque container if you think this might bother you.
- Keep your diffuser out of direct sunlight for optimum performance.
Whew! That is a lot of typing for a project that took me about 5 minutes!
I like to be thorough though. Plus I talk a lot… so yeah.
Happy and healthy home fragrancing to you!!
Shannon
Before ya leave., my pal Jess at mom4real.com has a diy diffuser too with a different scent and formula!
If you want to know more about the Young Living oils or would even like to order some, I’ll refer you to her for that as well!


More Ideas & Inspiration
 Ten Budget Friendly Natural Cleaning Ideas
 Organize Your Closet with 10 Things for Under $100
 How To Eliminate Stinky Trash Can Odors
 Simple Kitchen Organizing Ideas and Tips
 Sparkly Silver Quick and Easy!
 Cleaning and Organizing Help is Here!
 How To Remove Gum and Save Your Marriage
 Garage Storage Organization Tips and Ideas

Shannon this is right up my alley. I love scents and I already have a few essential oils I could try this. Thanks for the great idea.
You just need to find a little “rooster” vase 😉
I LOVE LOVE LOVE this idea! Gotta give it a try!
You should! It’s so fun making your own “smells” 🙂