How To Make A Picture Ledge Shelf

I’ve day-dreamed about just this style, so I can easily switch out art, framed photos, mirrors, etc… without putting more new holes in the walls. In my lathe & plaster walls… that have a design swirled into the plaster. So filling the holes never looks exactly the same. And look, I finally did it! I’m so happy. It only took me about 3 years to get around to it, but less than 3 hours to complete it. Is that some kind of record? It was zip-zip with my new Black + Decker 20v cordless drill/driver (affiliate link)
Let me show you how I did it. It’s really simple, and lets whatever you are showcasing really shine. With the versatility to change it out on a whim! And I get a whole lot of whims..

What I used to complete my project:
-
Black + Decker 2 speed 20volt Drill/Driver affiliate link
-
Screws
-
Drill Bit
-
Find my awesome Black + Decker Drill Bit Set here affiliate link
-
Phillips Head Bit
-
Pine Wood (measure to fit your particular space)
-
Saw
-
Paint or Stain
-
Wood Filler (stainable if you decide on stain)
-
Tape Measure
-
Level
-
Pencil
-
Clamps
-
*Optional – Straight Edge/Metal Yard Stick
-
*Optional – #2 square drive galvanized deck screws & bit
How To Make A Picture Ledge Shelf:
THE CUTS –
- Start by measuring your space to determine the length of the piece you are going to attach to the wall. Cut accordingly. My shelves are 3 feet long.
- Next determine the depth you want for your shelf, cut accordingly. *The deeper the shelf, the more “lean” you will get you place you items on it.
- Next determine the lip or reveal you want on the front and, cut accordingly. I did a 3 inch lip on mine.
DRY FIT –
I can not stress enough that you always want to lay your project out and fit it together for a dry-run before you start nailing/screwing/gluing things together. You might find a warp you need to account for, a flaw you want on the bottom… it’s just a great idea to get familiar with how everything is going to fit together, before you start.

PRE DRILL –
- It’s best to pre-drill a pilot hole for your screws. This ensure a clean entry and prevents the wood from splitting.
I used my drill on the DRILL setting for this, on speed #2. The drill setting looks like the photo below.

The #2 setting looks like this.

- I used a 3/32 drill bit. You’ll want your bit to be the proper size for the screws you are using, so keep that in mind. You don’t want to make a bigger hole than the shank of your screw.
- NOTE: I like to use a countersink bit when using screws the will show on my projects. This not only pre-drills the hole, but carves a space for the screw head to counter sink (sitting below the wood surface) as well. You can them cover the screw head with wood filler and the hole/screw will not distract from your awesome shelves! I could not find mine though, so I went with plan B.

- TIP: I used a metal yard stick as a guide to make sure all my holes were drilled the same distance away from the edge.

SCREW IN/ASSEMBLE –
- This is where you’ll attach the board that will be screwed into the wall, and the shelf portion together. Screw in, starting in the middle, and working out to the ends. I used five 2.5 inch screws in my 3 foot length of shelf.
- For driving my screws, I set my drill on 6 and put it in 1st gear. The #1 position.

My Suggested Board Configuration


- Attach your lip or front section last. Again, starting in the middle, working out. This allows you to make minor adjustments. I pre-drilled 5 holes, and used 5 screws.
- NOTE: Because I could not locate my counter sink bit, I decided to use some #2 square drive galvanized deck screws, mostly for the look. I thought the silver would be fun. I have this awesome Black + Decker 129 piece drill bit kit [you can find it here] (affiliate) and I had the bit to match the heads, so I went for it!

Here are the shelves completed, with both front lip/stop boards screwed into place.
Next I’ll take them in the house. Hang, cover my screw holes and add my second coat of paint.

How I Hung My Shelves:
- I used a level to ensure my shelves would hang straight. I held them against the wall and used a pencil to mark my placement. I hung them each 3 inches from my window casements.
- Next, I held the shelf with one hand onto the mark I had made, and screwed my shelf directly into the wall/studs with large anchor screws. Start with your middle screw. I used three screws. Set your level on your shelf to ensure it stays straight. Add your left or right screw.
- NOTE: You’ll need to make sure you use the proper screw/anchoring system for type for your wall. You may have drywall, concrete, etc… – We’ve got lather and plaster, as I mentioned earlier.
This was where I really appreciated the weight and maneuverability of the drill. I was holding the drill, the shelf and the level. And I didn’t feel like my arm was going to fall off. That was so nice! I felt like this drill was made for me. It’s smaller and more compact. Plus, it fit in every angle I needed it to, but it had the power (on speed 1, the lower gear) to drive 4 inch anchors through the wood shelf, lathe & plaster, and into the hard wood studs. All smooth as could be!
Now that the shelves are built & installed, let’s take a look at them! This was my “before”, with my side tables pulled out and naked walls. Oh my, so sad.

And now! With my new, built by me, picture ledge shelves.

Do you love them? I love them!!


See how neat the deck screws look? Maybe it’s a good thing I couldn’t find that other bit?

For now, I popped a few nautical pieces of art on the shelves.

It’s been very red, white and blue here this Summer.

Of course, you never know when one of my whims could strike?

You could swing by next time, and I’ll be feeling sun-kissed and aqua. I don’t know if I can go all Summer without any. Maybe after the Fourth Of July? After all, a little aqua never hurt anyone.

Thanks so very much for joining me today!! I hope you like my latest project. I had a lot of fun making my picture ledge shelves. I think they are going to be a lot of fun to decorate, and if you whip some up, I sure would love to see them!!
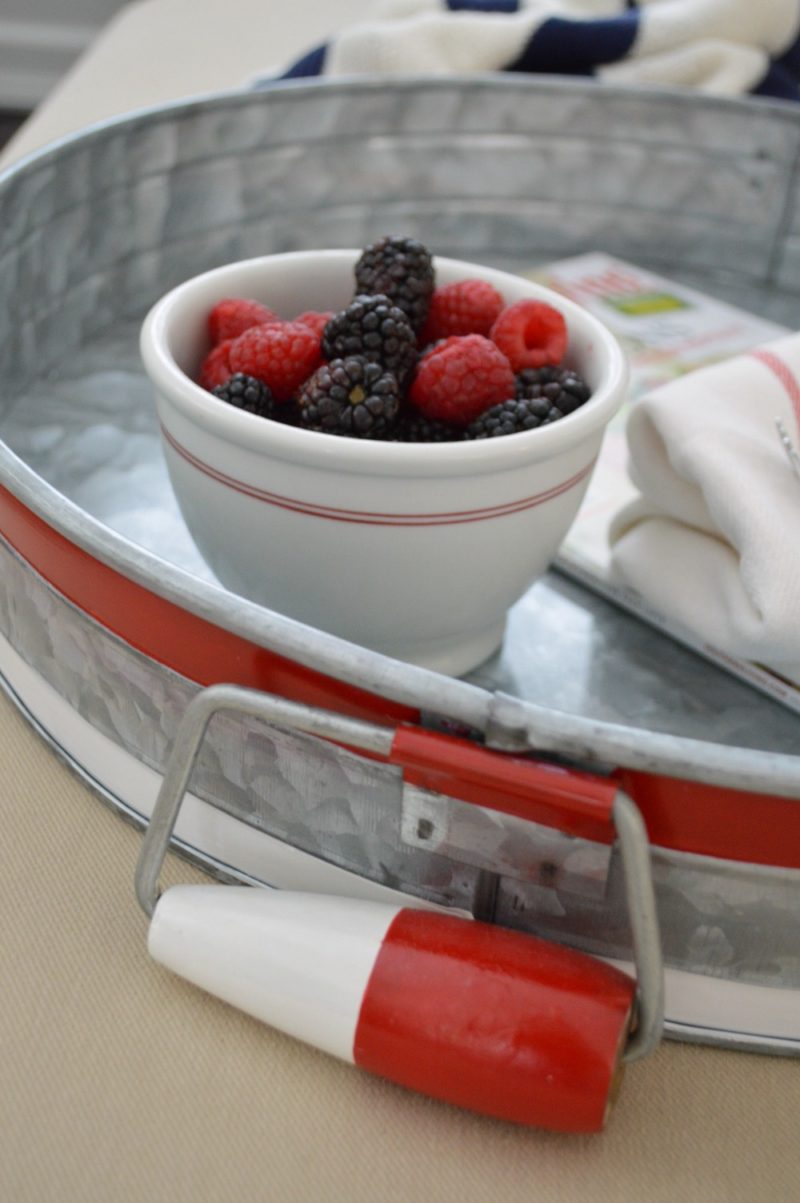
I’m going to go eat my berries now… 🙂 xo Shannon
Flash Forward
A few ways I decorated the shelves over the years.


MORE SIMPLE WOOD DIY PROJECTS
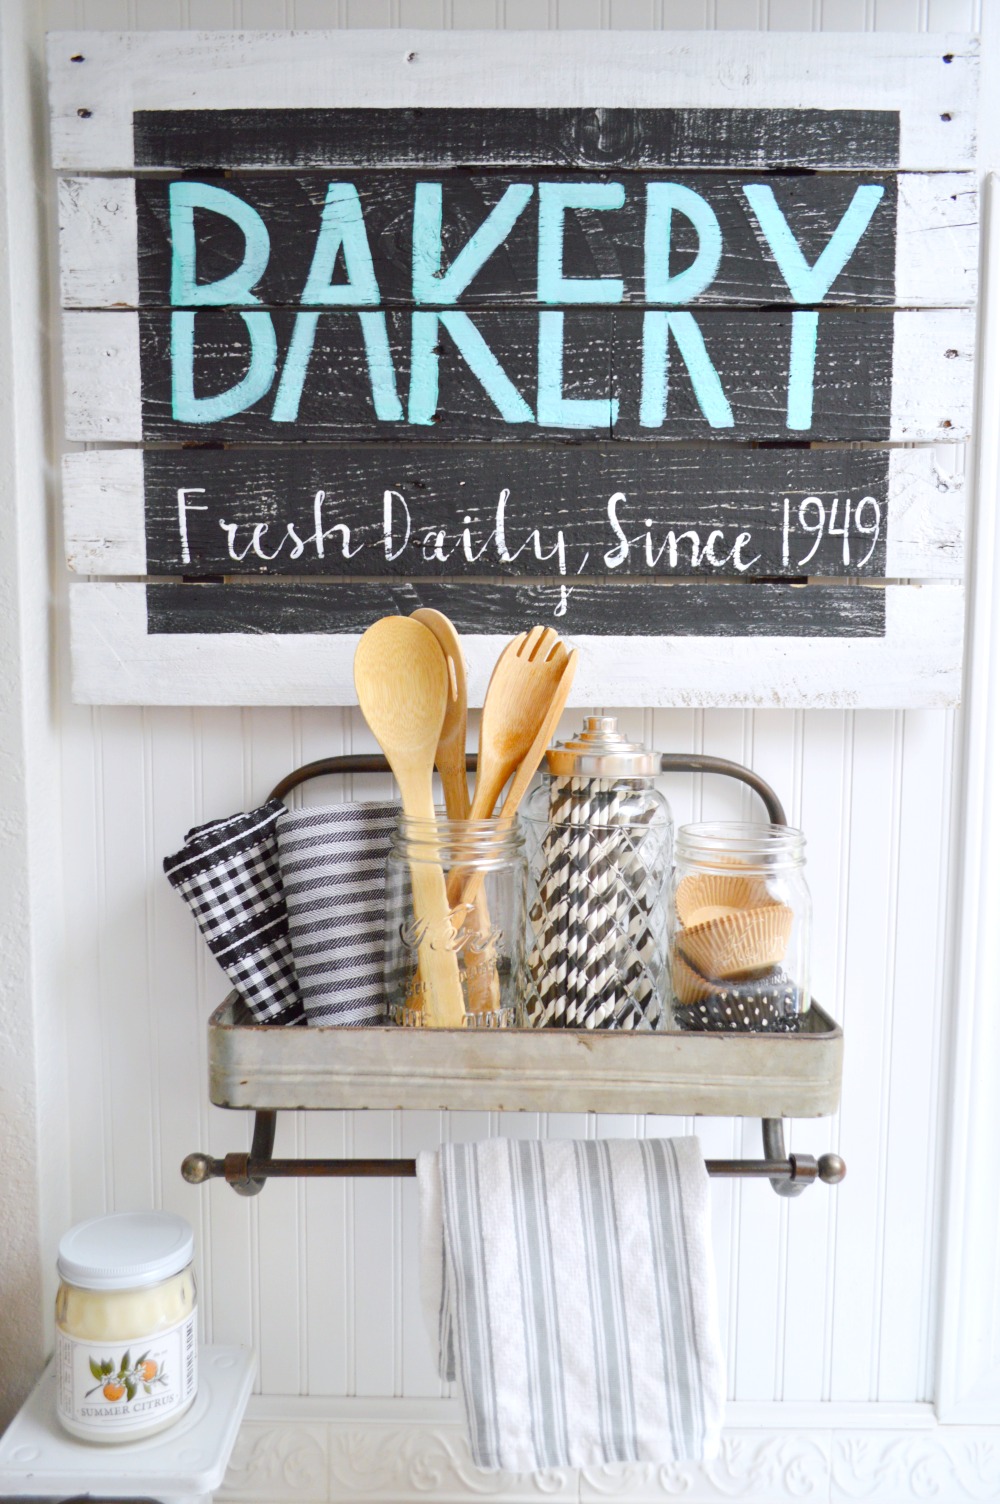
Farmhouse Kitchen Bakery Sign [click here to read]
How To Make A Pallet Wood Circle Base [tutorial here]

How To Make A Simple Wood Trough Box [tutorial, click here]

Note: I am not a professional. This is what worked for me, in my own home. Fox Hollow Cottage holds no liability expressed or implied. Always DIY responsibly and consult with a professional if necessary.


More Ideas & Inspiration
 Farmhouse Fresh Diy: Make a Fence Picket Coat Rack
 How To Paint A Door Fast and Easy
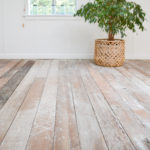 Loft Makeover Part One – Real Simple DIY Board And Batten
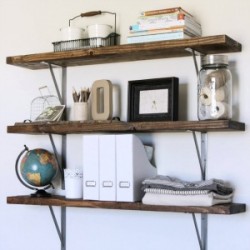 Farmhouse Flair Diy Wood Storage Shelf How To
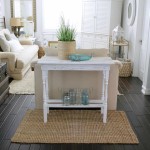 DIY White Washed Wood Table
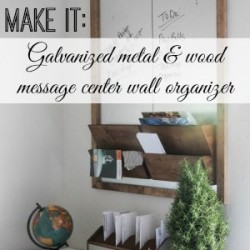 Diy Office Wall Organizer Message Center Tutorial
 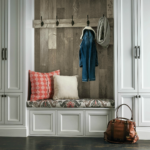 Wood Feature Accent Wall Ideas Using Flooring
 How To Make And Hang A Chunky Wood Wall Shelf

i would make a tiki bar for my yard with it.
I have been wanting to make a desk and a coffee table. These would be perfect for that! Thanks for the giveaway.
I would so love to put up the shelves that I have waiting to be installed!!
i also have several projects in mind to help display my quilts!!
This would be an amazing tool to have
I love them, they turned out great. If I won, I’d also make some much-needed shelves, good luck to everyone!
Someone commented that they would like this for their husband… I’m not that sweet, I want it for myself! Maybe I’ll share.
hahaha. good luck!
P.s. I just have to thank you btw for streamlining the giveaway process. To often we most via a third party processor *cough* rafflecopter you end up having to over extend your allowances for social sites like fb, insta, twitter in order to gain one entry….either that or sign in blood and promise your first born in exchange for a simple entry…..so thank you for making it easy & for promoting such a nice giveaway. Wishing all the lovely ladies good luck as well. Thank you.
Unless a company that is sponsoring the giveaway is adamant, I don’t make any entry option mandatory. But I do add a few ways to enter sometimes, as it gives people more chances to win 🙂 Good luck! (and yes I agree this is nice and easy!)
I got tired of asking to borrow my husband’s cordless when we bought our home nearly 12 yrs ago, he would leave with it to work and I’d be home without a way to hang curtain rods or pictures…..needless to say, I went to home Depot found a reasonable cordless for about $50, one that I could comfortably handle too compared to his, and it’s a black and Decker and still runs like a champ….12+yrs later, I have had his friends borrow it, and he uses it for things around the home as well….everyone knows that cordless is mine. There is no question whose tool that is! Lol…..
I have plans drawn up to make a tiki wood ring toss game in the shape of a fish – would be great to have this Black & Decker drill all ford my very own so I wouldn’t have to borrow my husband’s lol!
Well i have lots of projects i want to build but would probably start with floating shelves in spare bedroom