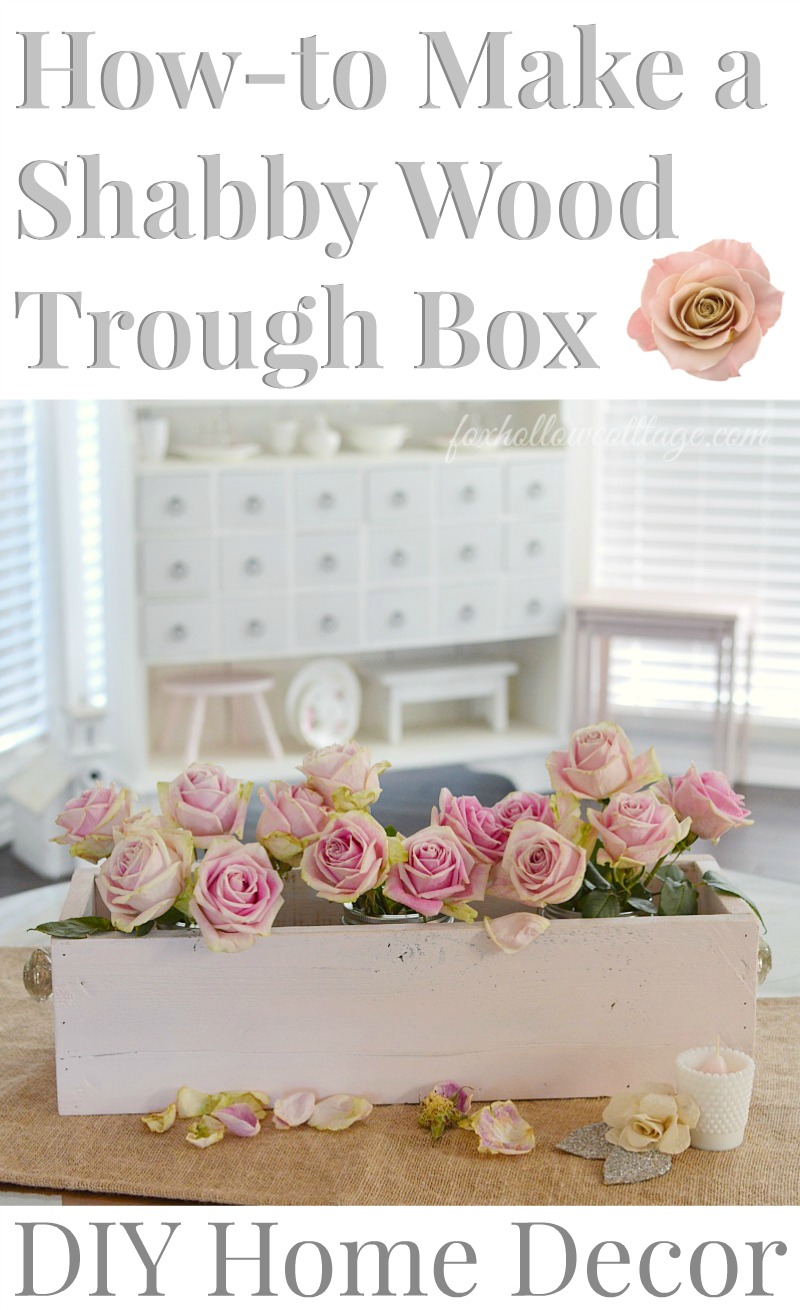
How To Make a Shabby Wood Trough Box
I know… I know.
You guys are like, “What the heck Shannon, it’s September 2nd and this doesn’t look like Fall!” and you are correct.
But, when you’re this cute, you can get away with almost anything right? I think so, and this is pretty cute.
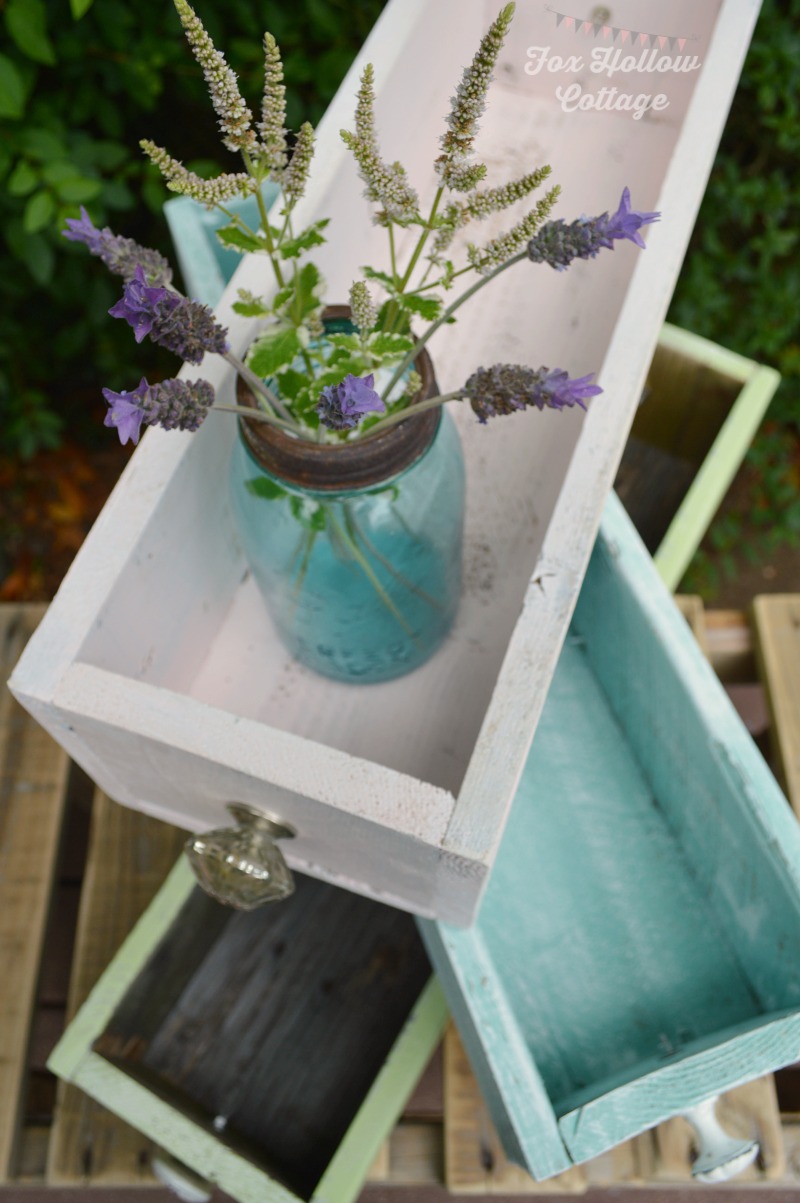
Come on and let me show you how to make a wood trough box. These can be little shabby, a little farmhouse, a bit rustic.. actually, you can sort of make it go any direction you like by how you finish it!
I love me some cheap & easy, DIY home decor.. and I am pretty sure you do too!

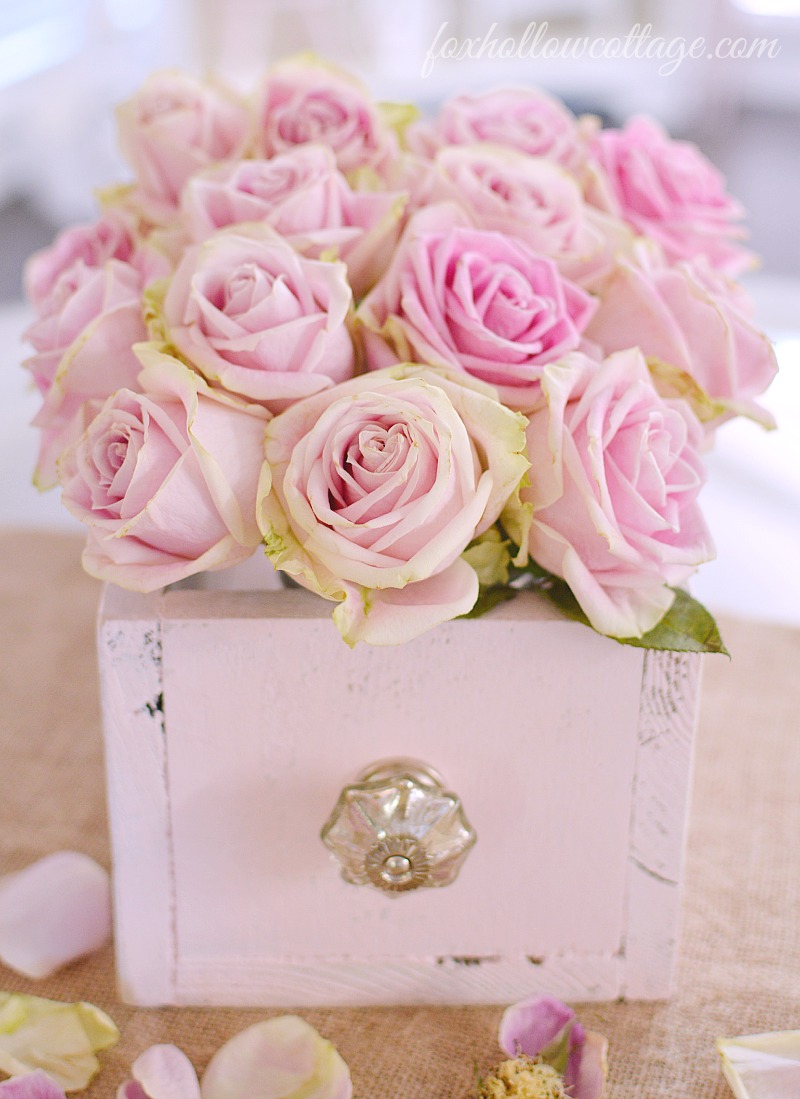
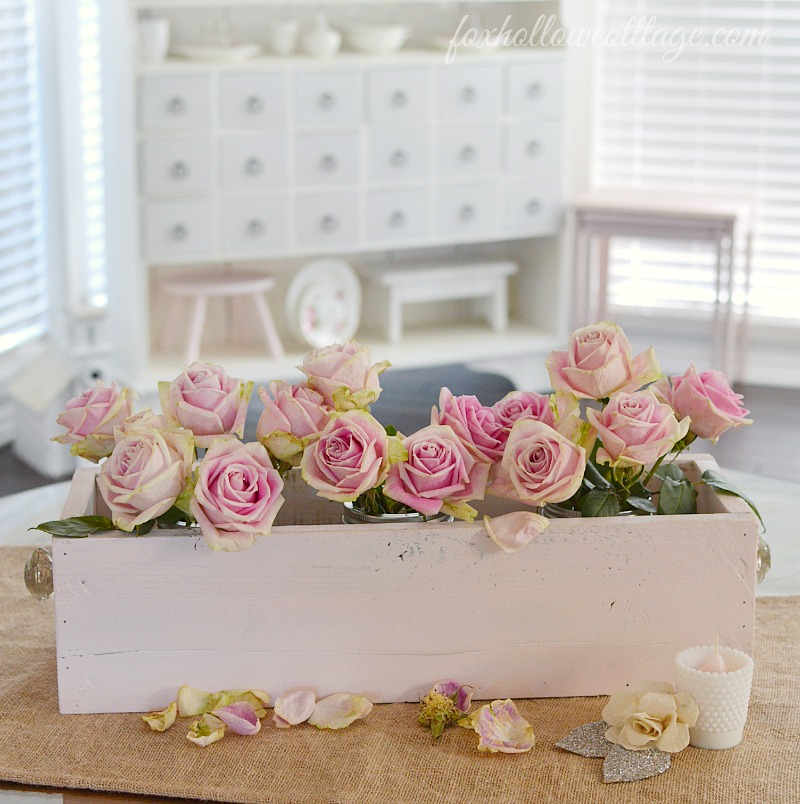
I actually have a Fall version, but I also had these pretty roses.. so I am highlighting the shabby, pale pink box I made. I’ll share the Fall-a-fied version soon. I have Hydrangeas drying and I think they will be perfect together. They grew pretty well this Summer, potted on the sun deck. The Deer never even knew they were there. I’m so sneaky!
Anyhow, back to the Qt at hand. I love sharing things that are simple.. and versatile is even better!!
These are so great because you can make them any depth, any height any length.
Complete customization for your space and needs.
You will need:
Wood | Saw | Hammer or Nailgun & Nails
Sandpaper or Sanding Block
Paint | Brush | Wax or Sealer
Drill | Hardware/Knobs
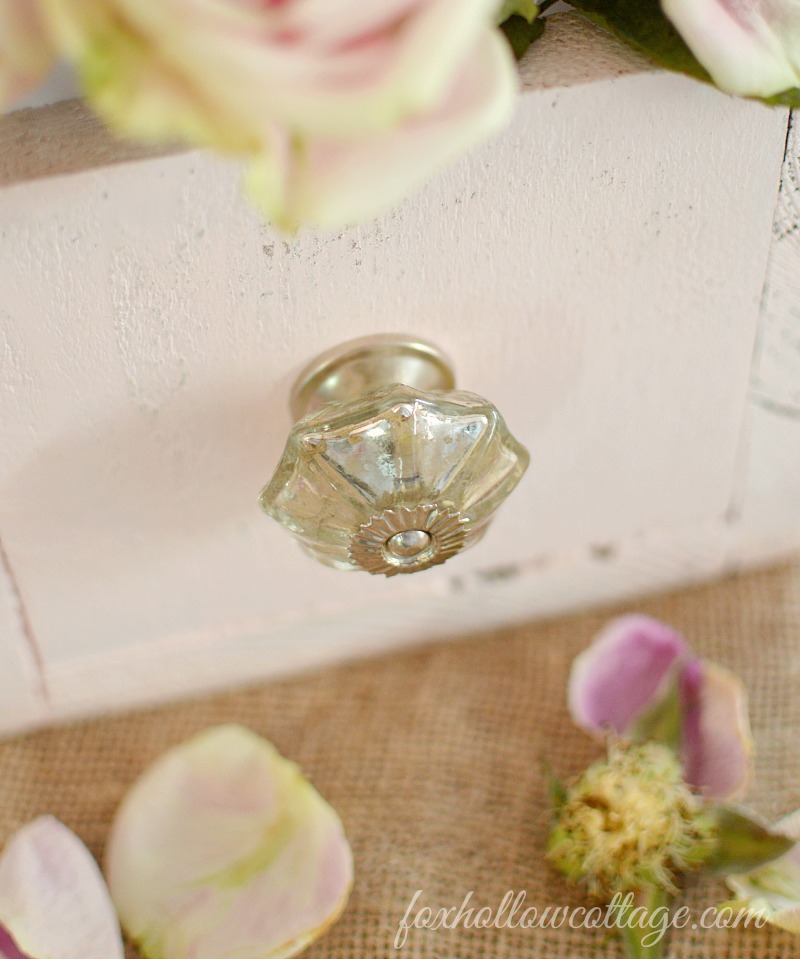 I found my mercury glass knobs at HomeGoods.
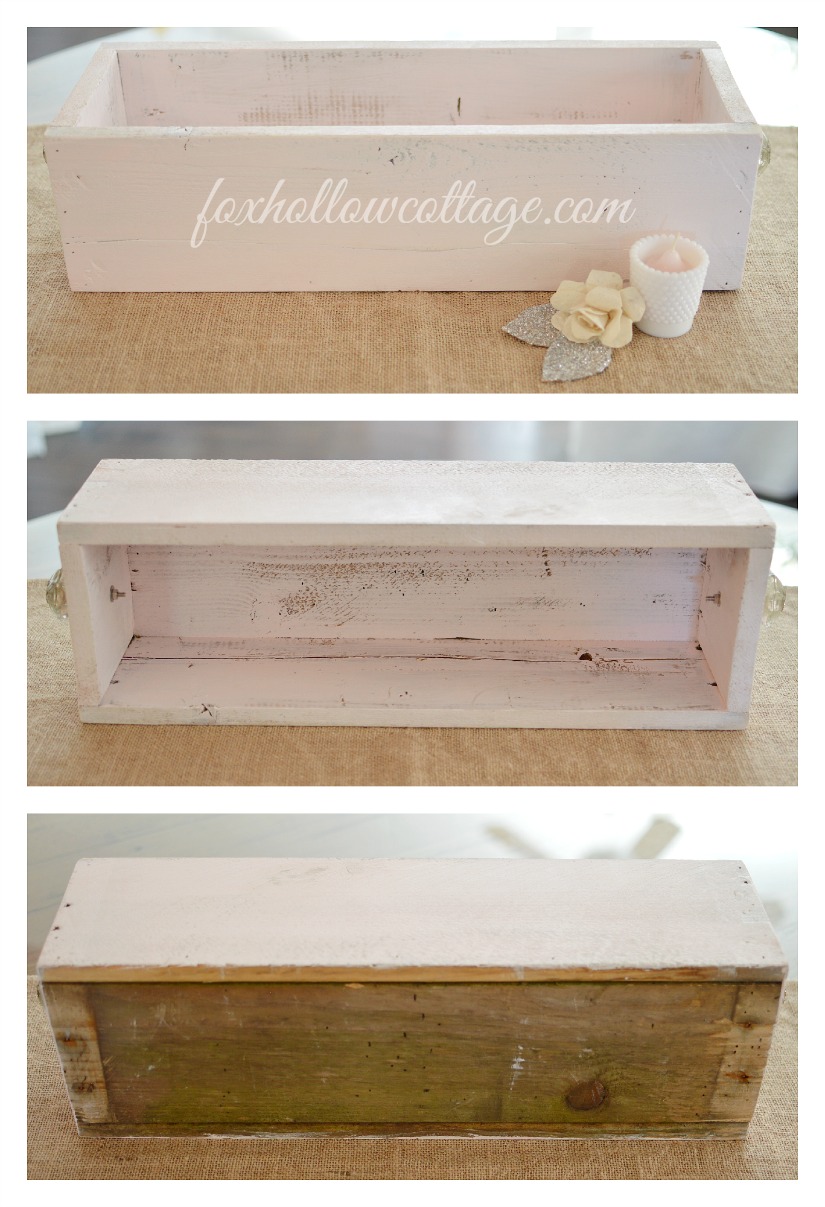
To build:
- You can use scrap wood, reclaimed lumber, pallet wood, buy new, etc…
- NOTE: Measurements can/will vary depending on your size requirement and/or if you’re working with what you have on-hand.
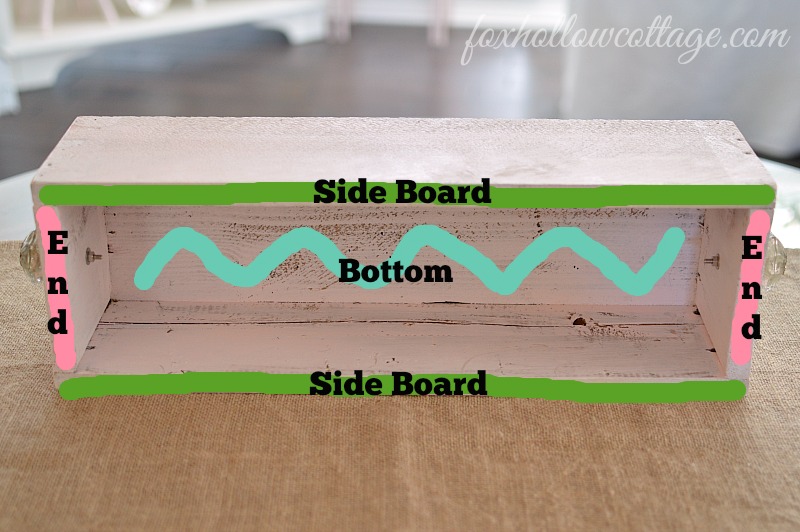
- Measure and cut to desired size – Make sure your two side pieces match.
- Measure and cut to desired size – Make sure your bottom is the same length as your two sides.
- To start assembling, make sure the bottom board is hidden, fit the front side board up to the bottom and nail in.
- Repeat for back side board.
- Next, measure and cut your end board to niche between the two sides and sit on the bottom, nail in.
- Sand to remove and rough edges or to achieve the smoothness you desire.
- Paint and finish to taste.
- Optional: add graphics, images, Mod Podge, lettering, etc…
- Measure to find center (or eyeball) and drill hole for hardware.
- Install hardware.
Decorate and enjoy!
I added some mason jars and filled with roses but you can use these anywhere, for about anything.
They are just a cute organizer, magazine holder, even a le’ junque jailer.
Heck, gather up your cook books, with the slim design, it’s perfect on the kitchen counter.
Have fun finding the right space for yours!
I’m doing a farewell to Summer with mine.
I think this pale pink is so pretty. I used a custom mix of Magnolia and Cerise Vintage Furniture Paint from The Maison Blanche Paint Company to get the barely there shade I wanted, then I applied Lime Wax in Chalk White by The Maison Blanche Paint Company. Oh MAN I love that stuff.
Magic, magic I tell ya!! (you can see a little more of what it can do here.)
On another note… I think I’ve diagnosed myself.
I’ve got Seasonal Split Personality Decorating Disorder.
Yep. One foot in Summer, the other in Fall.
I better make the leap soon though, or I’ll be doing the splits!!
Hope you like this easy DIY wood trough box project and that I explained how-to make it well.
Any questions, give me shout in the messages.

FYI: I totally can. not. do the splits anymore
(just in case you wondered… )
As always, feel free to Pin or Share ~ Thanks!


More Ideas & Inspiration
 Autumn Home Decorating: Simple Fall Table
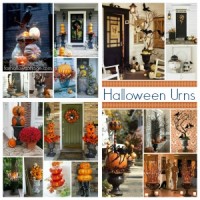 Decorating With Urns the Halloween Edition
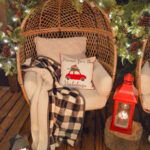 Outdoor Christmas Decorating + NEW Deck And Pergola Peek
 Welcome 2013! {word of the year}
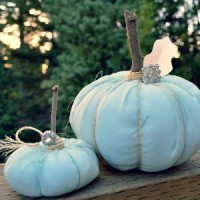 Make A No Sew Fabric Pumpkin
 Style Showcase 92 | Best of DIY Home Decorating
 Style Showcase 120 | Painted Furniture Ideas, Home Tips, Tours + More
 Style Showcase 26 | Indoor + Outdoor DIY Spring Decor Ideas

Ohhh, I just love it!! It is so sweet and romantic…. perfect for a shabby room… I will try to make myself one and adding some butterflies to use it in a girls party!! Thank you so much for such a nice Diy!!
Have fun creating Estela 🙂 I’m sure butterflies will be super cute!
Just plain lovely, no matter the season! Great way to use up that extra little bit of paint leftover from a larger project. {hugs & leaves}
I sort of love the soft pink and liked getting to make a little something with it! Happy Fall (:
Beautiful photos Ms. Fox!
Those roses? Pretty hard to mess up 😉
Thanks doll!
Love it! 🙂
TY.
and I want an apple.
now 🙂
Oh my goodness! That is really adorable.
What’s funny though, was the fact that I was more interested in the photo itself.Since i’m not a Photographer I don’t know any technical terms, but, I just LOVED the way you took the photo. The background was what stood out for me, I was just so drawn to it.The staging, the blurry effect. I guess I am just drawn to bright ( white in this case ) things..hehe..It was just so well done.. to my eye anyways:)
P.S. I like the new blog posts about things you find interesting.I find neat things when bloggers do that.I just wish I could see what I want to see on Facebook and not what THEY want me to see. I mean, I liked a page for a reason, I like seeing their stuff! I wish there was a better alternative.
Happy Fall to you! ( 20 days early…..)
Shannon at Fox Hollow Cottage says
Hi Steph, I’m not a photographer either. I just pretend!! I like the basics to be light, and I can add accessories in however I like that way. Though I do love a moody, black wall. Not in my little house though.
That was born out of sheer frustration! I see so many neat little things and great projects, but sharing them on facebook is like throwing them in a dark room some days. So I figured I try this!! So glad you like it :)))
Hey, in the land of blog, it was “Fall” weeks ago. I’m behind, sort of… but you know, I just don’t feel like rushing. I’ll get there.
Oh that is just so stinking cute Shannon!
Thanks Debbie!
I see many more little boxes in my future 😉
DIY out of pallet wood?
Cheaper than the dollar store!!