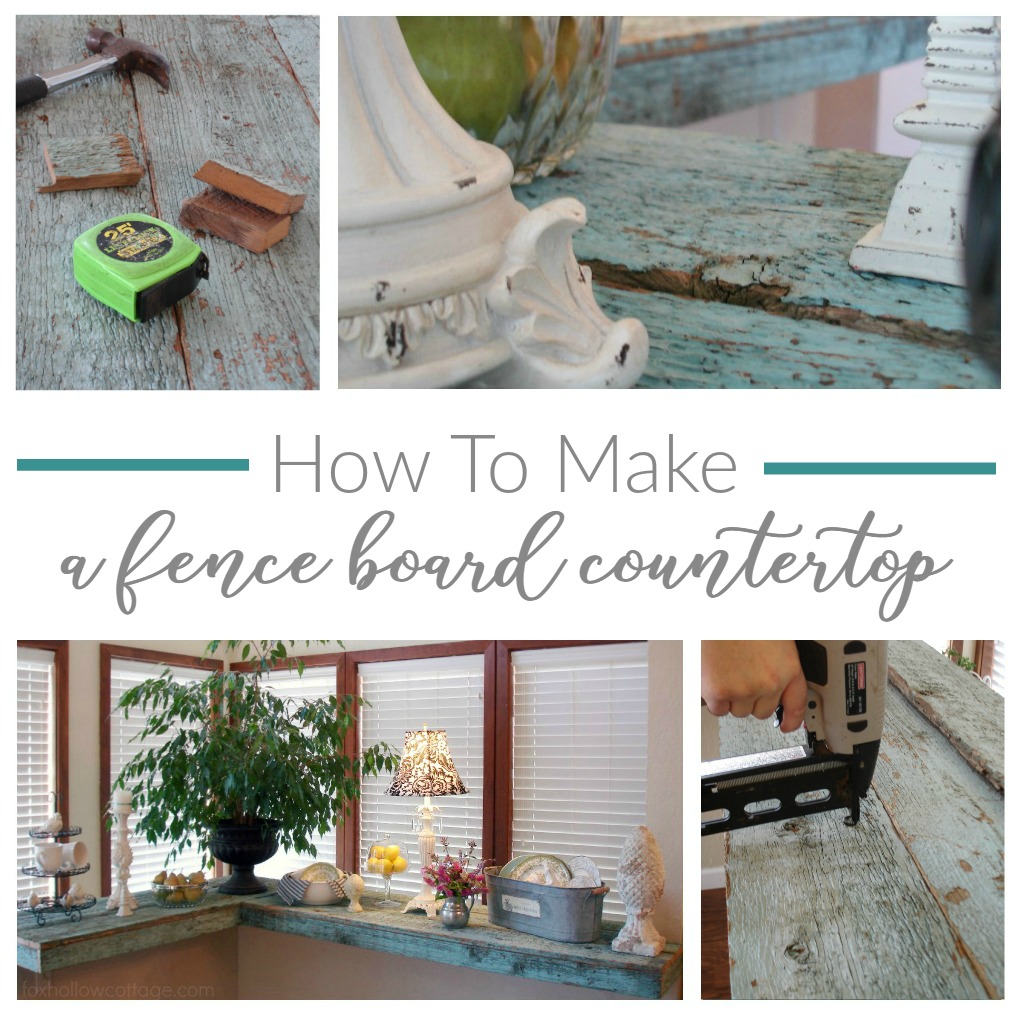
How To Make a Wood Fence Board Countertop.
Or as we like to call it, “The great laminate cover-up”! If you’ve got a old laminate counter somewhere that needs a good cover up, this idea might work for you! We love the rustic, casual cottage-farmhouse feel, and the new material is perfect for this non-food related laminate counter makeover. 
One day, my hubby and I got the wild idea to install some re-purposed wood counter tops on the bar in our sun room [click here for the reveal]. We wanted to cover up the dated counter that was there with some cool old fence boards we had been hanging on to!
I promised to show you how we did it, so…
This Is How We Did It

See — So UGLY. Vanilla, Laminate & Boring.
We gathered the *fence boards and decided which ones we wanted to use. We gave them a good cleaning! We dry scrubbed a ton with a stiff brush, then blew them off with the air compressor. The we dry fit them to figure out what fit best where.
DRY FITTING: checking for placement and making adjustments before adhering in place.
*These boards are really rough, but we don’t eat at this counter so it works for us. It holds home decor only. When I want to use it as a buffet during events, I simply cover it with plastic tablecloths, then layer my pretty ones on top!
If you wanted to duplicate this but use it to prepare food on, you would want to use boards that are smoother, and with tighter joints for cleaning purposes. Then you would want to seal them with a few good coats of poly, or maybe a marine sealer (water proof). You might even go so far as to fill the joints/spaces between the boards.
But back to the project… after the dry fitting step, and making sure everything was right where we wanted it, we nailed the boards right into the laminate. Bam. Done.
As you can see we used a nail gun. If you don’t have one, you could pre-drill, then nail and finish with a nail set if you wanted the nails just a pinch below the surface of your wood.

We have an outlet down below the counter, so I had Jim drill out a hole through the wood and laminate so I could plug in a lamp or little white lights at Christmas. Again, we were not concerned with the original counter. If and when we tire of the fence board look, we’ll replace it with something new… or tear it out altogether! Who knows?

We drilled a pilot hole, then used a 1.5 inch Spade Drill Bit to make this hole. Perfect fit!
The backside of the counter is visible when you go up or down the stairs, so Jim finished the backside and the underside of the countertop with a thin stripe that pops up under the face.

Sweet. He’s hired!!

Now, this is not perfect… but it’s not meant to be.
Though it feels perfect to us.

After we added the counter, we decided to use the space under the counter too and added a double set of shelves [click here]. They hold so much! I’m so glad we took advantage of this dead space.

I still haven’t made the curtains to cover them. I am so fired! hahaha.
I’ll get to them before my nieces shower though. I have too..

I sure enjoyed getting to show you how to make a wood fence board countertop!
It’s so fun repurposing and upcycling for thrifty solutions for our home.

.
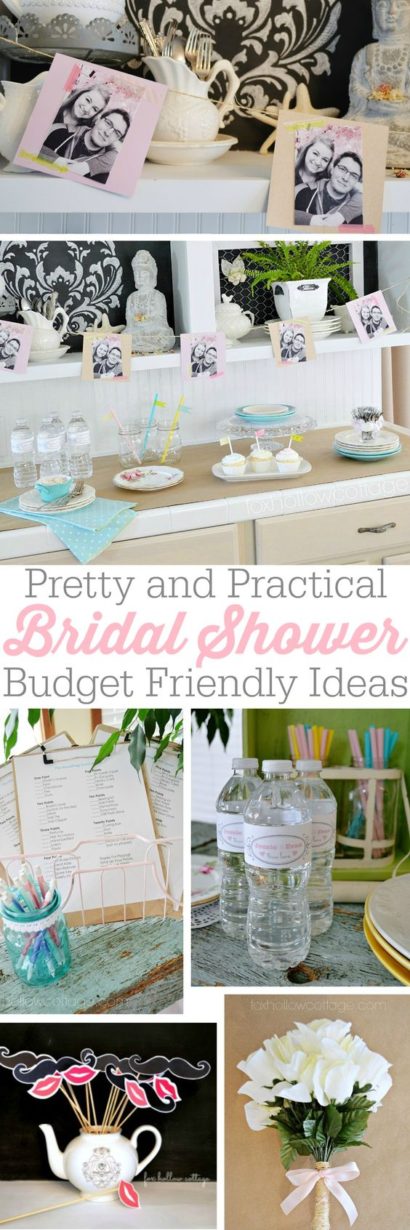
UPDATED: The “new” counter, ready for the Bridal Shower [click here]
For a tiny peek at how our countertop looks now [click here]
Another “Fence Board” Project – Our Planked Wall [click here]


More Ideas & Inspiration
 Get Organized: Diy Wood Mail Sorter Plans and Tutorial
 Sun Room Bar Repurposed Wood Countertop
 Making Things Match… (but not too much)
 Dreaming of Spring Entertaining with BHG
 20 Ways to Make Thanksgiving Extra Special
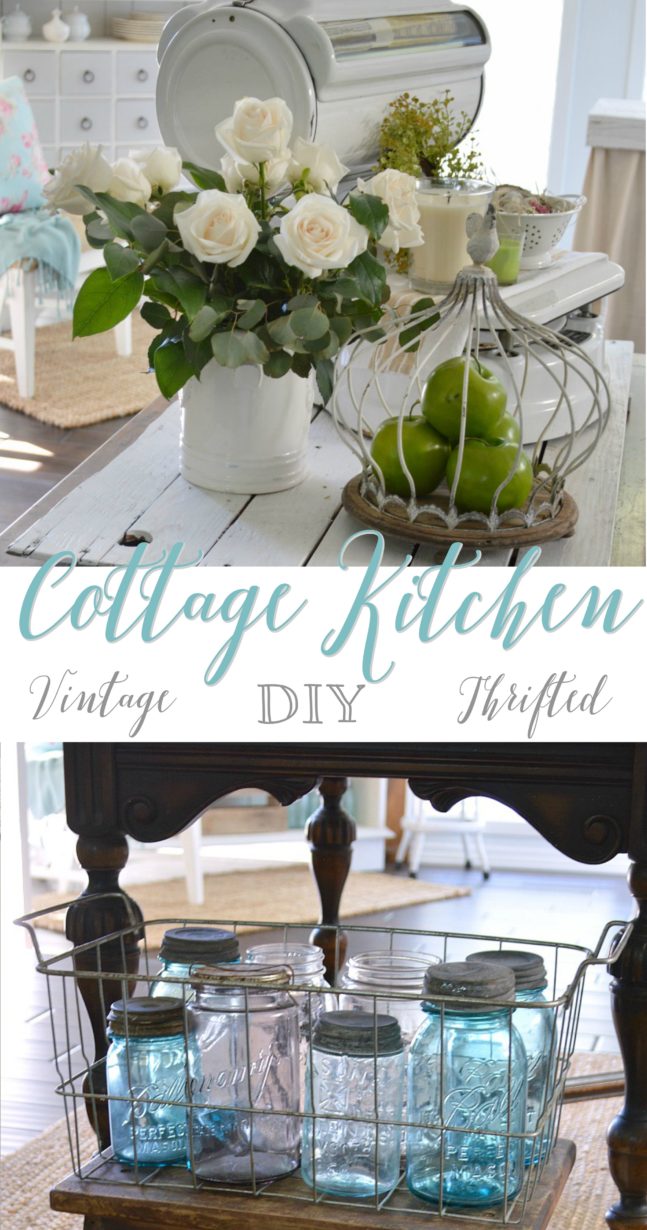
 Little Cottage Kitchen Dreams
 DIY White Wood Cottage Kitchen Island
 Cottage Kitchen Apothecary Cabinet: a sensible storage solution
My husband and I were talking about doing something like this just today; I didn’t look anything up I thought I we would just wing it…I hadn’t been on your blog in a few weeks and what have you posted the same exact thing we were planning on doing with a much better plan than we had! 😀 Thanks!
That totally happened to ME today too. I was wondering how I could make my bathroom counter look like marble, and today, :poof: I saw a post on pinterest about it in my stream! This one here > http://pinterest.com/pin/255579347576353227/
I would love for you to share and link up at my weekly TGIF Link Party if you haven’t already this week. The party is open every Thursday night and closes Wednesday’s at midnight. http://apeekintomyparadise.blogspot.com/. AND starting Wednesday June 4th I will be hosting a Wordless Wednesday link party. Hope you will join us! Plus, save 50% off sponsorships on A Peek Into My Paradise on sale until June 7th; use the code Bobby23Bday.
Have a wonderful week!
Hugs, Cathy
I will try to stop by! Thanks for the invite (:
Nothing wrong with eating on it. I would seal the crap out of it and use this on my main counter. SO IN LOVE with this!! XO
So rustic chic and the color is perfection!
I think it’s awesome…and I love imperfect, too! The color of the boards is to die for!
Shannon ~ this is over the top gorgeous!
This is such an awesome project, Shannon! I love the color you painted it as well! Have a great weekend!!~~Angela
This remains one of my favorite projects, thanks for showing us how it’s done!
Jeanette
Ok Shannon this is one of my favorite things you have done. Wow Wow I love this. So fantastic and so beautiful. Thanks for sharing.
Kris
Thanks so much. It is one of our favorite smaller projects that made such difference in the feel of the house. Jim and I both really like it (:
Shannon, what a great way to add counter space and make use of that area! Clever!
Thanks Susan! We moved from a much larger house and we are all about using every little spot in this one up! lol (:
That project is impressive. What a team you and your husband make. The counter looks absolutely beautiful even with the minor imperfections which by the way are not obvious to this reader!
Linda
mysewwhatblog
That turned out great, changes the space completely.
Lisa
Creative Raisins
Oh I LOVE the new fence board counter! We have a similar counter (with wasted space) in our kitchen. If we owned this place, I’d definitely add some shelves – but we rent so we added a free-standing cabinet and a cheap melamine top to make some extra counter space below the existing counter.
OK … that is nothing short of fabulous!! I am definitely pinning … & hoping that someday I could incorporate something like that somewhere or another.
Well thanks! We thought it was a pretty neat trick {winks} and I always like free!! lol
Wow, I love what you did. It looks wonderful. So much better than ugly boring vanilla laminate!!!
Thanks Nancy (: We think so and have not regretted it for a moment!