Hello Fox Hollow Cottage Readers! I’m Shayna from The Wood Grain Cottage and I am beyond excited to be here!
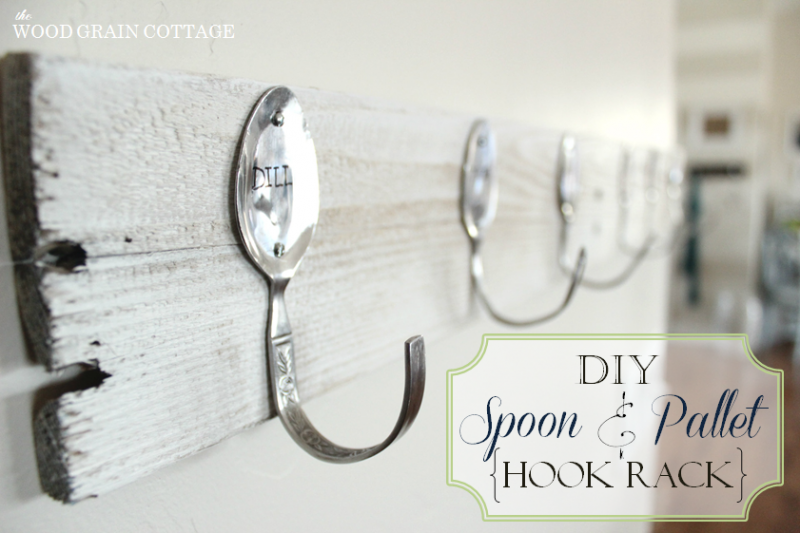
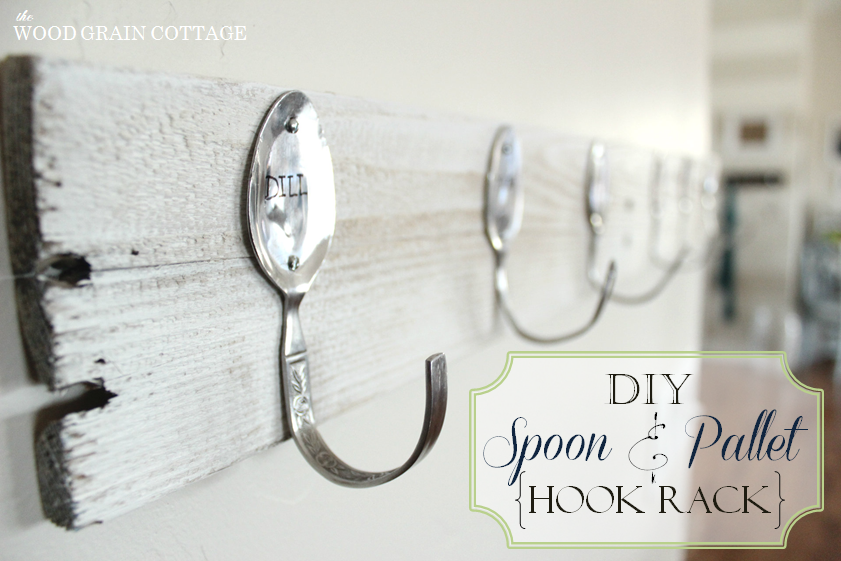
I’m Going To Show You How-To Make a Pallet Wood Wall Rack {with stamped spoon hooks} today!

While Shannon is away on a lovely vacation (sigh…), she asked if I’d like to share my new DIY Spoon & Pallet Hook Rack.
Yes ma’am! I sure would.
It’s easy, cheap and brought a ton of charm to our kitchen! Plus, it makes me happy!

This was really very easy and provides so. much. character.
I started my spoon hunt weeks ago. I began scouring our local thrift stores for silver plated spoons. I begged. I pleaded. I begged some more. Luckily, they all knew me so it wasn’t too embarrassing… Or was it?
In the end, I was only able to find 1 (one) silver plated spoon. Ummm… pretty sure I would need more than 1 spoon to make a row of hooks. So, I went with my only other option: stainless steel spoons.
I knew stainless spoons would be more difficult to bend, flatten and stamp but it was a risk I was willing to take.
Working with a total “I’ll figure this out as I go” attitude, down to our workshop I went. I started by grabbing my spoons, a clamp and hammer.
First, I clamped the spoon to the workbench.

Then I grabbed my hammer and relieved a little stress.

Ummm… total side note… and completely optional… perhaps think about placing a scrap piece of wood underneath the spoon before hammering. After six spoons, you’ll have a lovely spoon shaped divot. That makes for a happy husband! (I’m dripping with sarcasm here…)
(Complete idiot moment…)
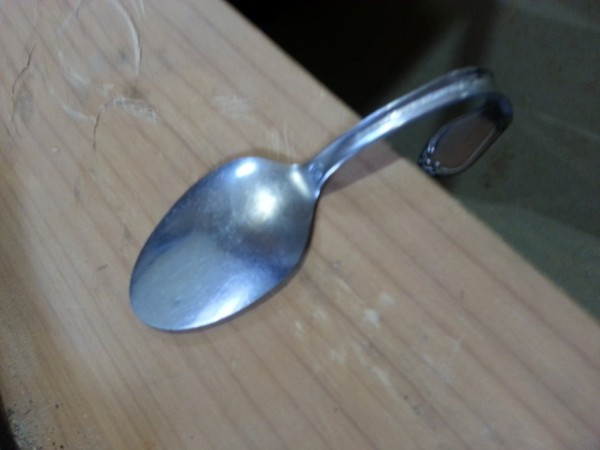
Once one side of the spoon was flattened, I moved the clamp down to the point where I wanted the start of my bend to begin, then I lifted up on the handle of the spoon to give it a slight bend.

Then I searched the garage for a round metal rod. At first I couldn’t find a single thing, but then I saw a lovely tamper sitting in the corner and it was perfect. Meant to be, I tell ya.
I clamped the spoon to the rod and started to bend it around with the hammer.

I kept turning the spoon around the rod…
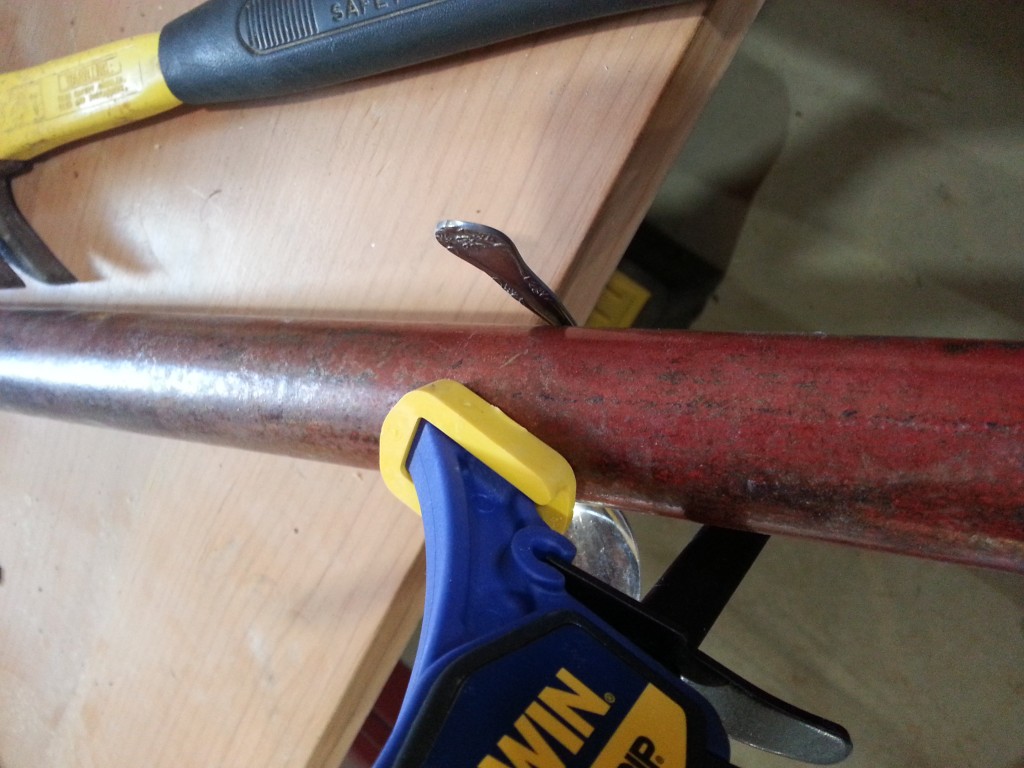
And kept turning it and hammering…
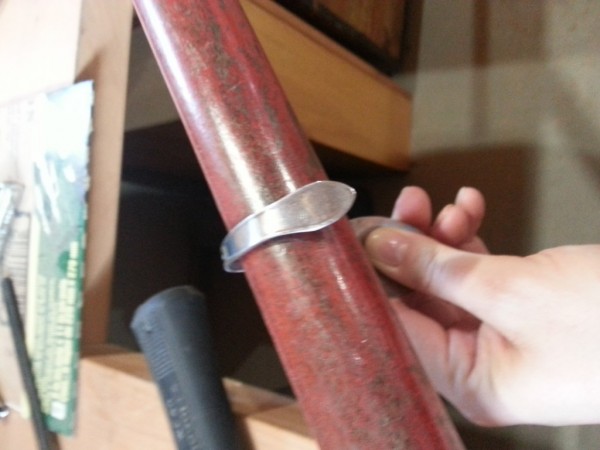
Once I had the correct bend, I used one spoon as a guide and curved each spoon to match the first one. Every spoon bent differently, even though they were all made of stainless steel.
To make sure the head of the spoon was flat, I placed the spoon on the bench and started pounding the opposite side of the spoon until it was as flat as possible.
With the spoon heads flattened, I marked the middle of the top and bottom of the spoon with a round sharpie dot.
I knew I would need to attach the spoons with small screws, so I grabbed our center punch and hammer and marked the spot with the center punch.
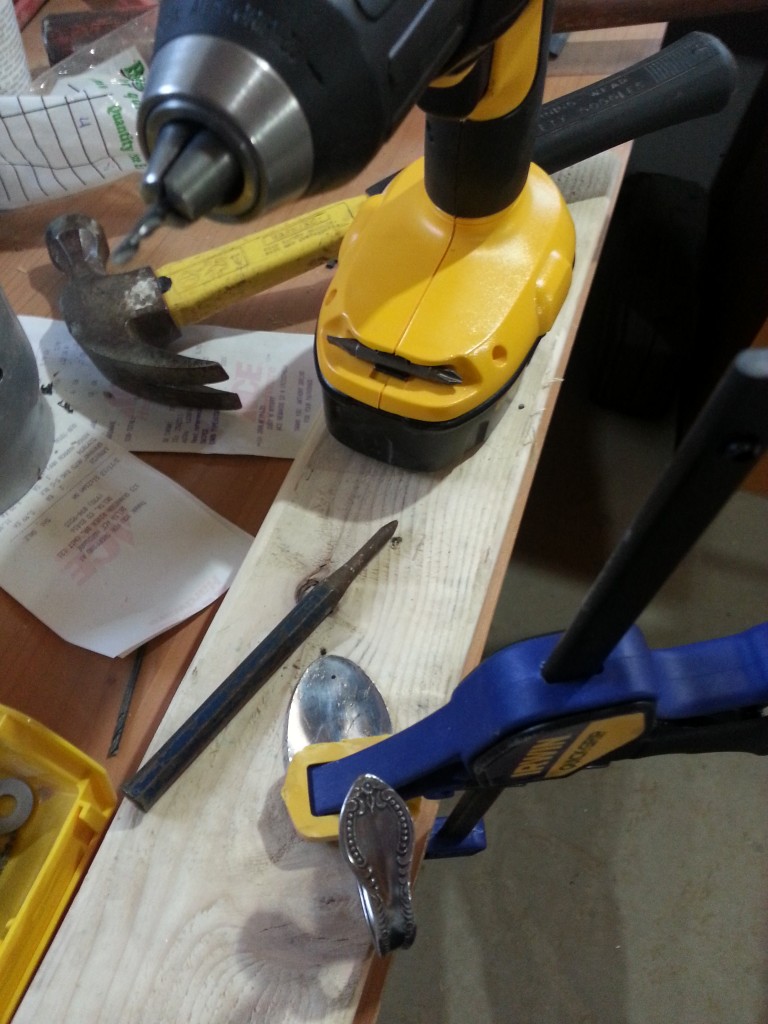
Then I used our drill and started drilling each hole. This took a little time and A LOT of patience. Each stainless spoon was a different thickness, I even had one spoon that wouldn’t drill.
I hoped it would be somewhat easy after doing the tiny screws, because it was only going to be something like these self tapping screws that would hold the rack in place.
I now owe my husband a set of drill bits, as I broke 3 (three) of them on one spoon…
At the last minute I had to rush down to thrift store and beg for another spoon. She’s back…
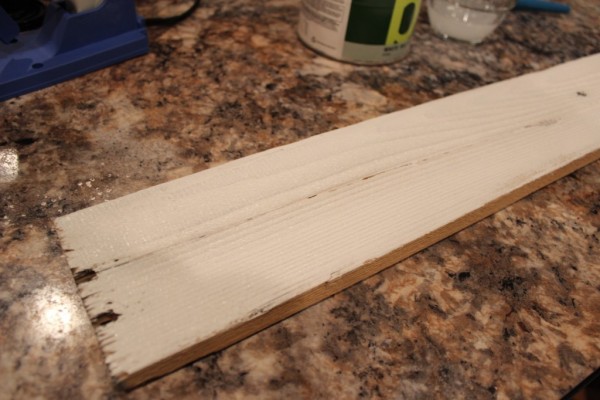
Once all the spoons were drilled, I grabbed my hammer and found the nearest pallet. I removed one of the boards and gave it a nice white wash finish with equal parts of white paint and water.
While it was drying, I tried my hand at stamping the spoons. After a few tries, I could see that it wasn’t going to happen. No way. The stainless was way too thick.
Said metal welding hubby said such thing wouldn’t work… I ignored him.
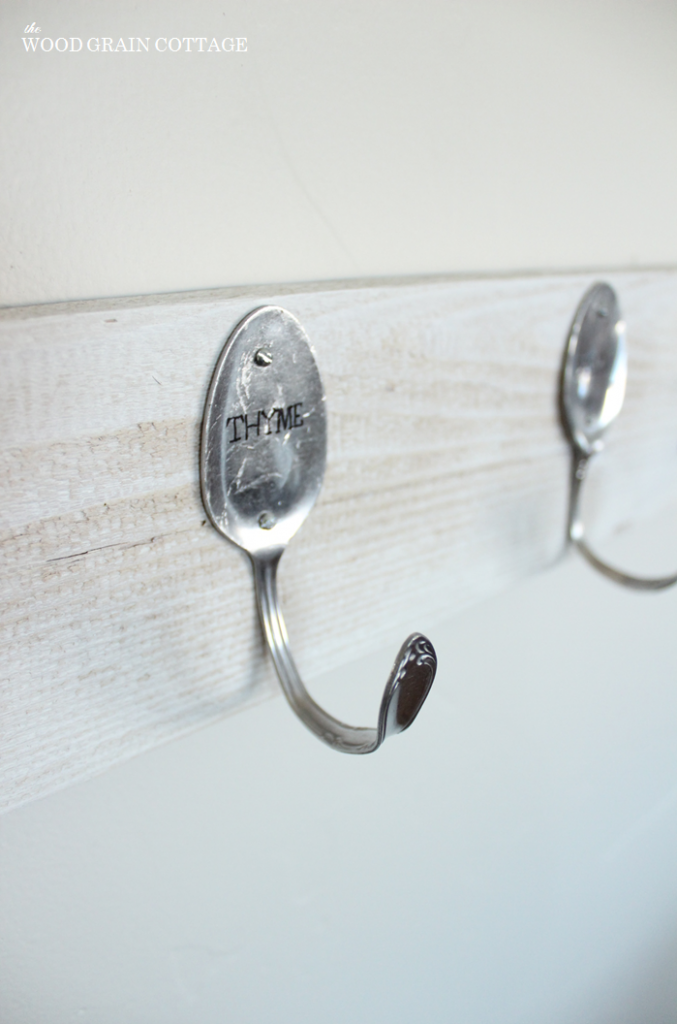
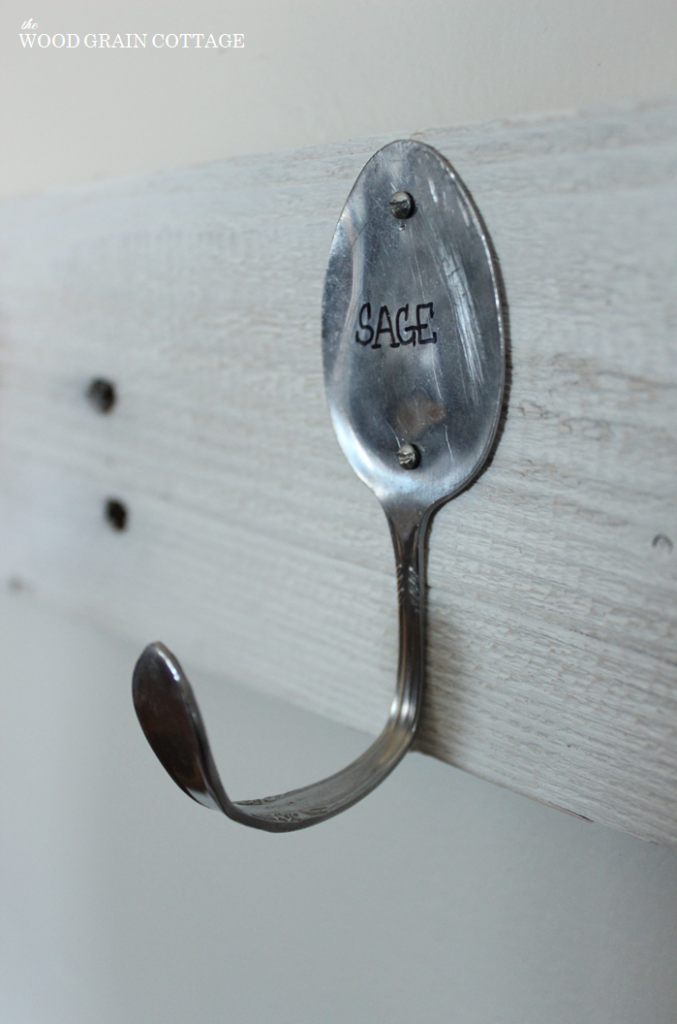
Using my backup plan instead, I wrote each word on the spoons with a fine point sharpie.
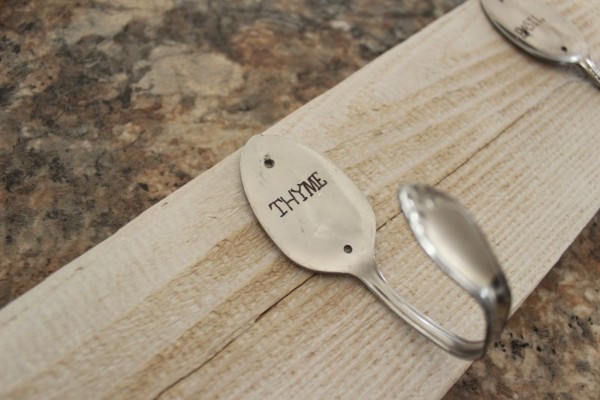
I had six spoons, so I picked six herbs: Dill, Thyme, Parsley, Sage, Basil, & Chive.
I grabbed some teeny tiny screws…
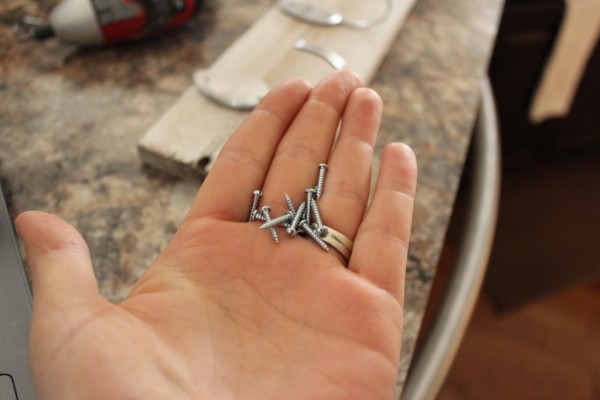
Made sure each spoon was evenly spaced on the pallet board, and began screwing them into place.

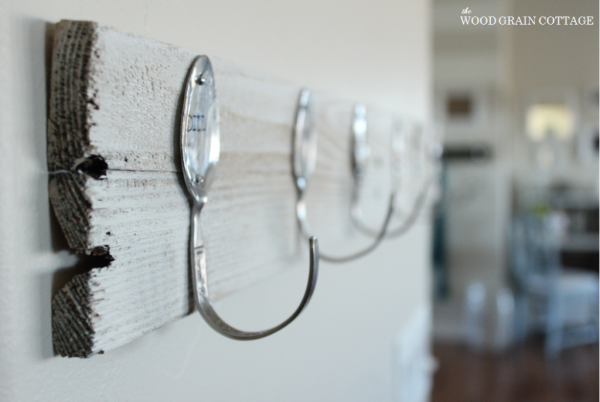
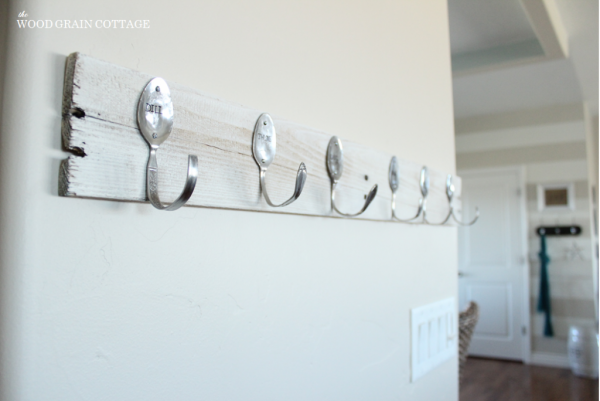
With all the screws in place, the hook rack was done.
Seriously, this is such a fun addition to our kitchen!
It has a really happy personality…
And I love the addition of the herb words…

You really can’t even tell the words aren’t stamped…
The roughness of the pallet board combined with the sleek and shine of the spoons leaves my heart mushy.
Plus, you can still see the grain of the wood through the white wash finish. That tops it off for me. I mean, you all know we love a little wood grain around here…
So. Pretty.!

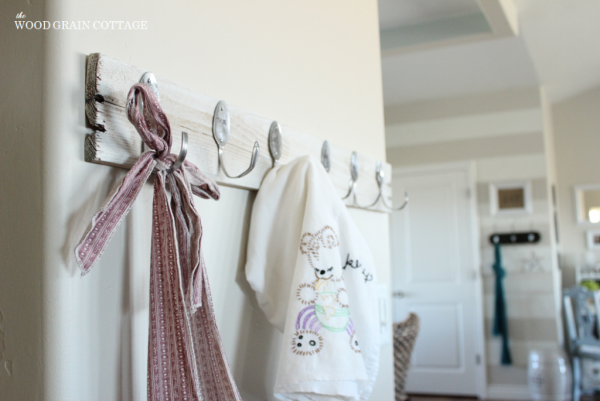
I had to bring back my apron and tea towel… they make it feel like mine.
I’ve seen something similar for around $60-$70 dollars…
I spent $1.00 on all the spoons, $1.00 on the screws, the pallet board was free, the tools were free, I had the paint and supplies on hand. This project literally cost me $2.00.
(And an eventual drill bit assortment… Hubby if you’re reading this, I’m on my way to the store right now…) (Wink.)
$2.00!
WHAT?
You’d never know…
LOVE. THIS. PROJECT. Happiness all around!
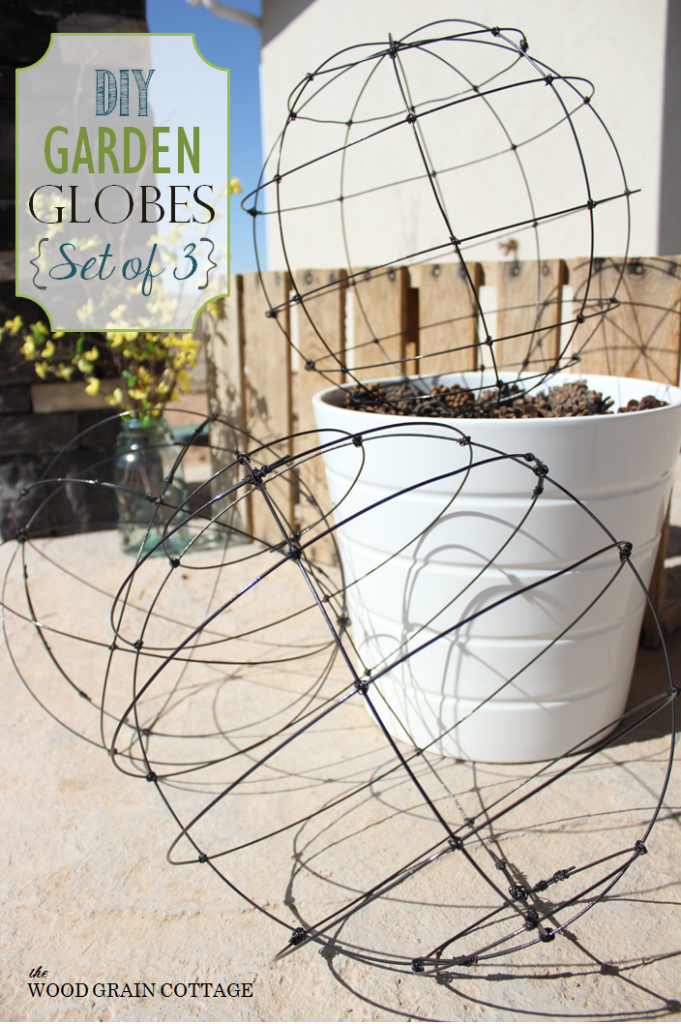
And because I have DIY fever, I thought I’d share a few more projects that have made our house feel like home:
DIY Garden Globes:
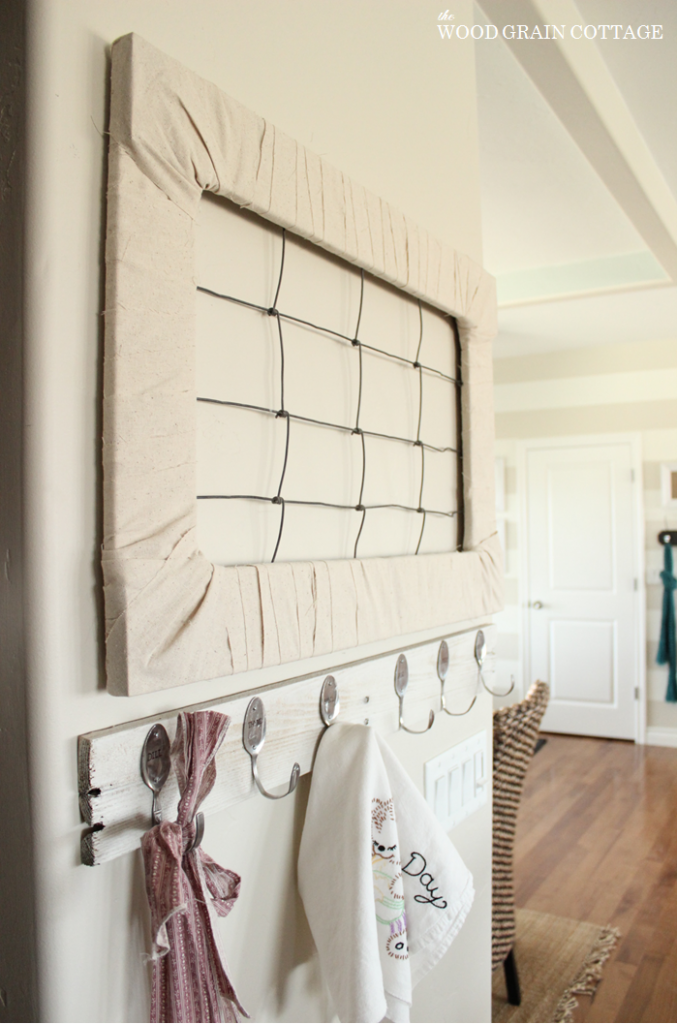
DIY Fabric Wrapped Frame with Wire Mesh Fencing:
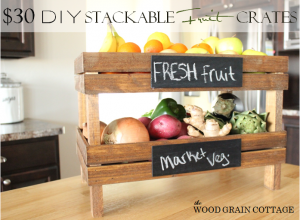
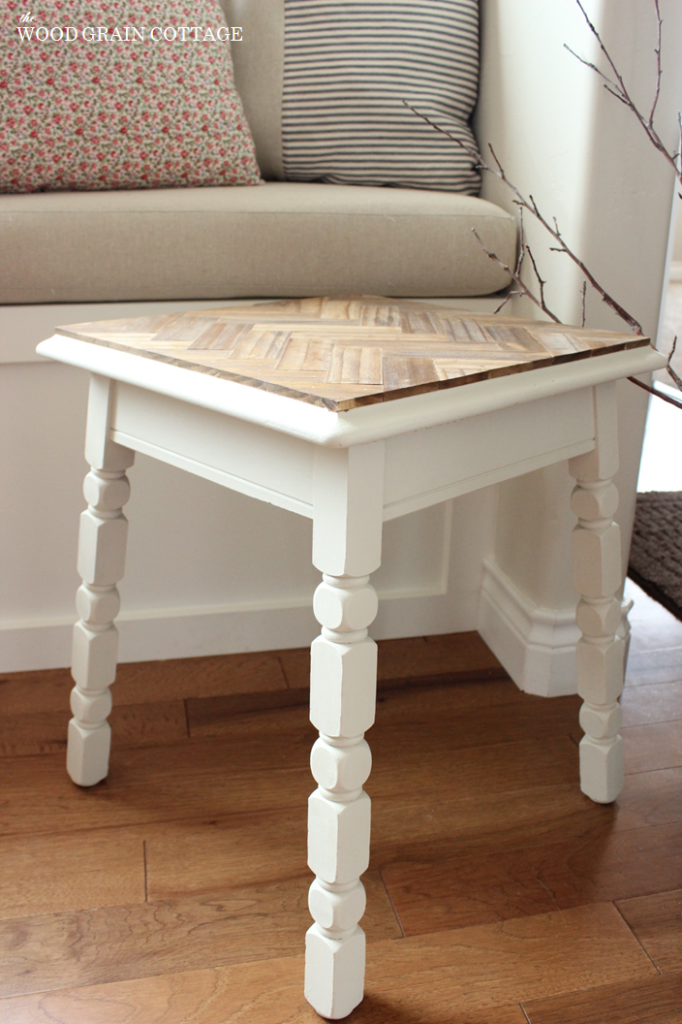
DIY Herringbone Paint Stick Side Table Makeover:
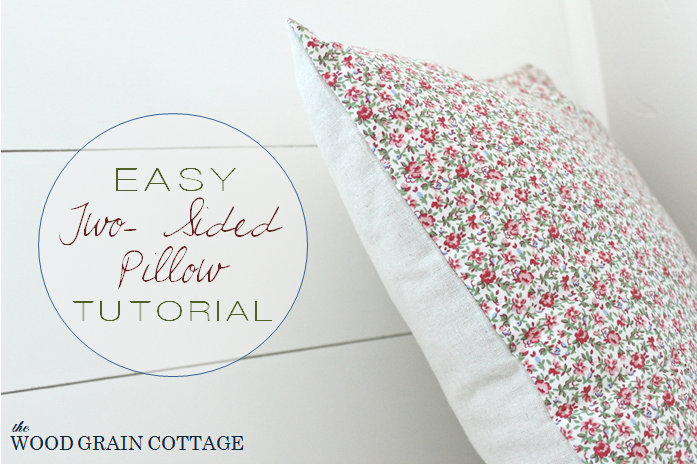
Easy Two Sided Pillow:
Breakfast Nook Plank Wall & Built In Bench:

And our DIY Planked Sign:

I’d love for you to stop by for a visit and say HI!
You can also connect with me on Facebook, Pinterest, & HomeTalk.
HUGE thanks to Shannon for having me today! It was SO. MUCH. FUN.!

Hi guys! Shannon here. I made sure to tell Shayna to include some of her other great projects while she was here and I am so glad she did! Lets you know you FOR SURE want to pop over to The Wood Grain Cottage and say and give her a follow so you don’t miss whatever she has in store for us next. I’m so happy you all got to meet her and check out this super chic & frugal spoon and palette rack.


More Ideas & Inspiration
 20 Ways to Make Thanksgiving Extra Special
 Cottage Style Decorating with Shabby Vintage Garlands
 Mantel Decor and How To DIY an Orchid Flower Vase
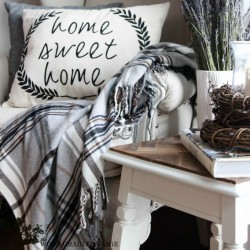 Make a Cottage Farmhouse Home Sweet Home Pillow
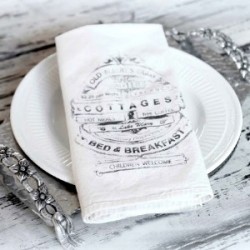 Diy Dinner Napkin Image Transfer Tutorial
 Get Organized: Diy Wood Mail Sorter Plans and Tutorial
 Diy Office Wall Organizer Message Center Tutorial
  Diy Projects and Realities of 2013
Shannon I love it! I used to make jewelry with old silver cutlery when I was a teen. This is such a great project xo
Oh, I bet it was pretty!!
THANK YOU Katherine! I’m so glad you like it! 🙂
I discovered Shayna’s blog a few months ago and I’m just obsessed! She has amazing projects! This one is one of my favorites!
CHELSEA! THANK YOU! I’m so glad you enjoy my projects– yours are pretty incredible too! 🙂
You young gals are all so talented! I can’t keep up!!! lol
Excellent tutorial on the bending, and now I know not to try to stamp stainless. I would of ignored my husband too.
Bliss
THANK YOU Bliss! I’m so glad I’m not the only one who ignores her husband! 😉
Isn’t is cute Bliss? I think she should make me one. {winks}
I love this project…..ADORABLE!
Cynthia
THANK YOU so much Cynthia! I’m glad you liked it! 🙂
Cuteness overload!
Awe- THANK YOU Barb! 🙂
I know right?
Oh what gorgeous work you do Shayna! I love this. Thanks for the tut too. Lovely guest Miss Shannon.
THANK YOU Debbie! That is such a nice thing to say! 🙂
Too cute! I love that pallet sign as well. Great job.
THANK YOU Lynn! 🙂
What a great project! I like the addition of the herb names too, but I can see this in a mud room with the family’s names on the spoons. Very cool.