How To Makeover A Bathroom Without Remodeling
Today I’m pretty excited to share how I made over our whole super-ugly and dated bathroom with mostly paint. I know many of us (myself included) don’t have unlimited funds for top-to-bottom full on renovations, but it’s amazing what paint can do, and the surfaces you can use it on! I even transformed our hunter green laminate bathroom counter into something much easier on the eyes, and on the wallet too – Come take a look!

Hello-Hello friends!!
First off I have got to say Thank You for the really kind & generous comments about our bathroom makeover! It is so, so nice to hear back from you all, especially when you throw a project out there that is big to you, or might be a little different.
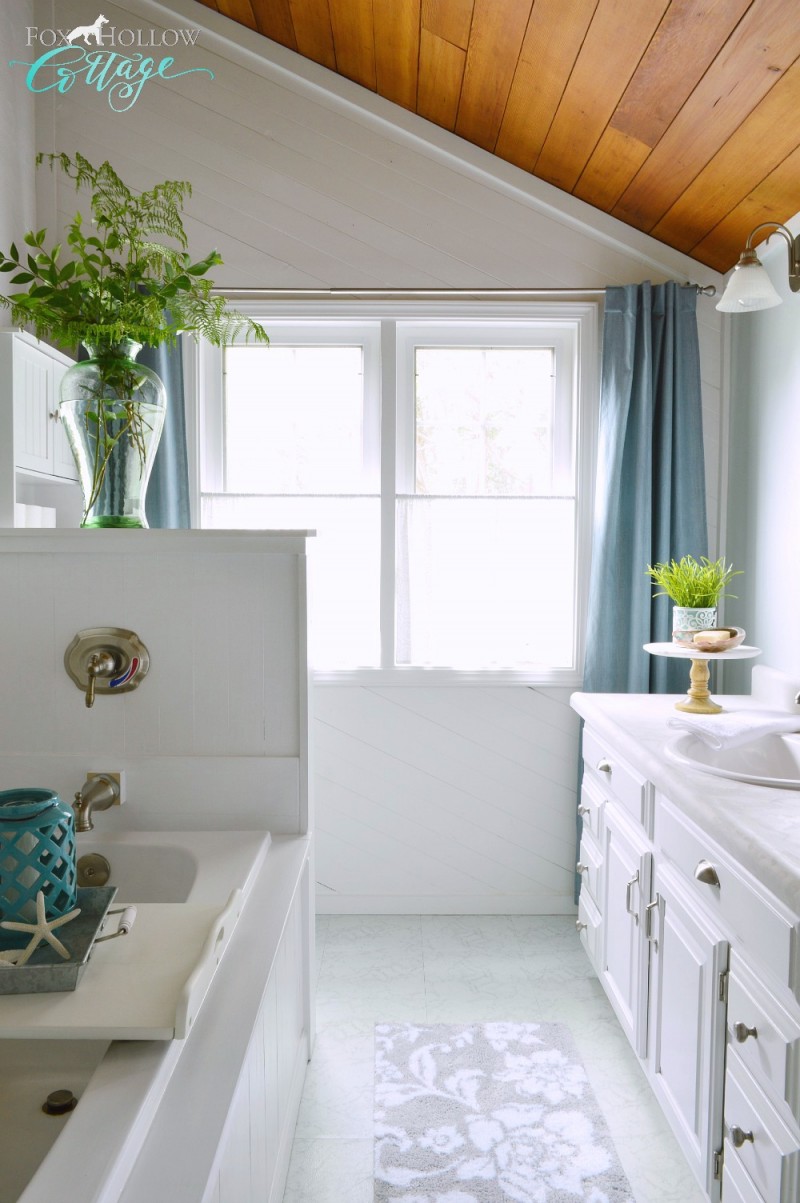
– If you missed the original article, you can see the room and full reveal here.
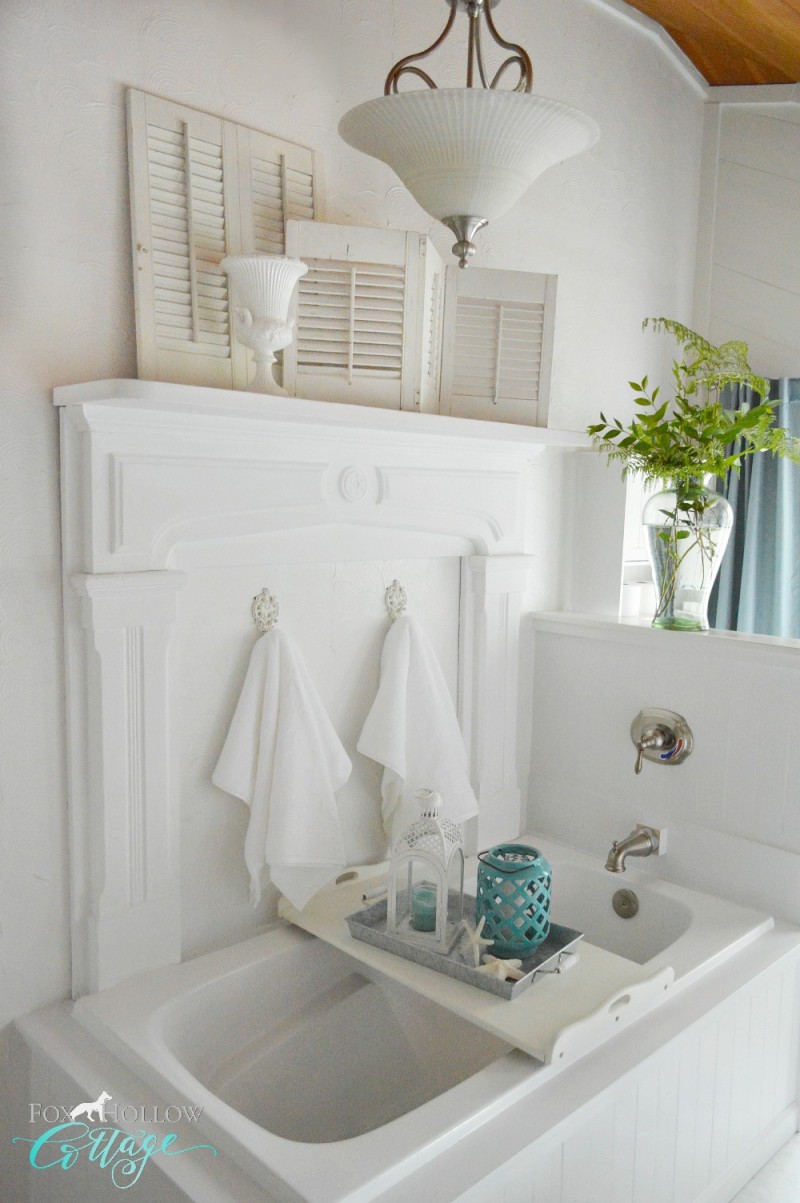
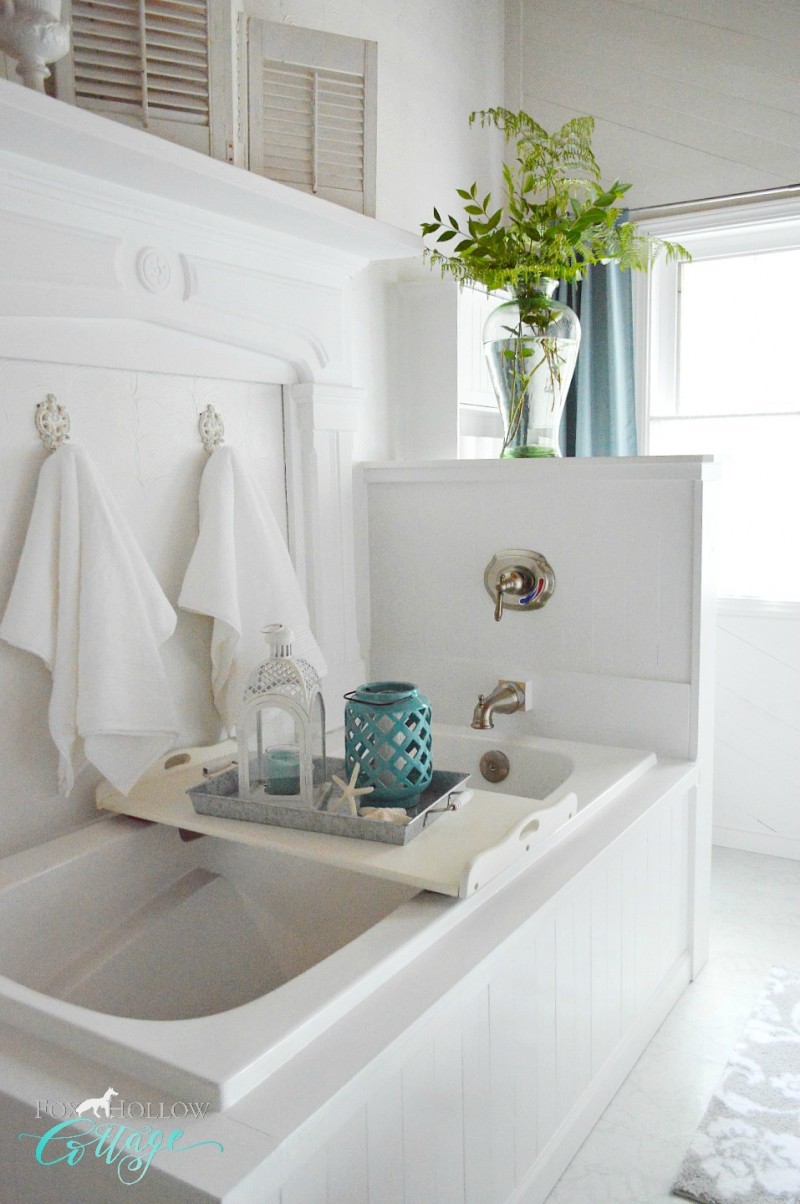
This was both, considering I finally pulled it together and got it finished AND we mounted a fireplace mantel over the tub.
I’m torn here though, between a super long post.. and a multi-part series (for lack of a better word).
I’m thinking this post is going to have to be broken down because there are too many elements to cram in one post. I’ve got the mantel install, the tub makeover, the counter top redo and the shower to address. We’ll see. If it’s getting really winded, I’ll adjust the title and touch on the rest in another post. Deal?
You put a what? Where?
Let’s start with the fireplace mantel. It was really what began the entire bathroom refresh, of a refresh, of a refresh… of yes, a refresh. This is number five! I’m averaging about once every two years.
The very first refresher (or mini makeover) entailed: new windows, a new commode, new sink, new light fixtures, brushed nickle faucets, flooring and lots & lots of paint!
In the latest refresh, going from cottage green walls back to aqua, but a new shade… I decided to get our vintage mantel out of storage (brush off the 47 spiders) and re-paint in order to put it in the bathroom. The only room in the entire house I could put it in. Literally. Because of traffic flow and windows, I could never get it in this house. It was in storage for years.
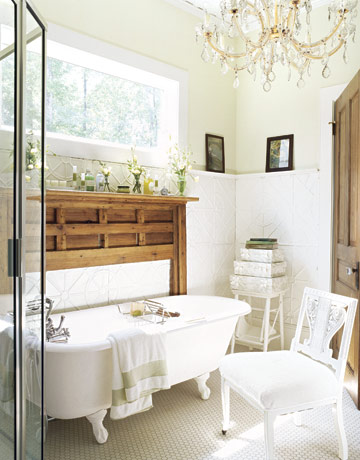
That is, until I saw this image and I knew I could get it back in our house.
Or Jim could, you know know what I meant though right? Good!

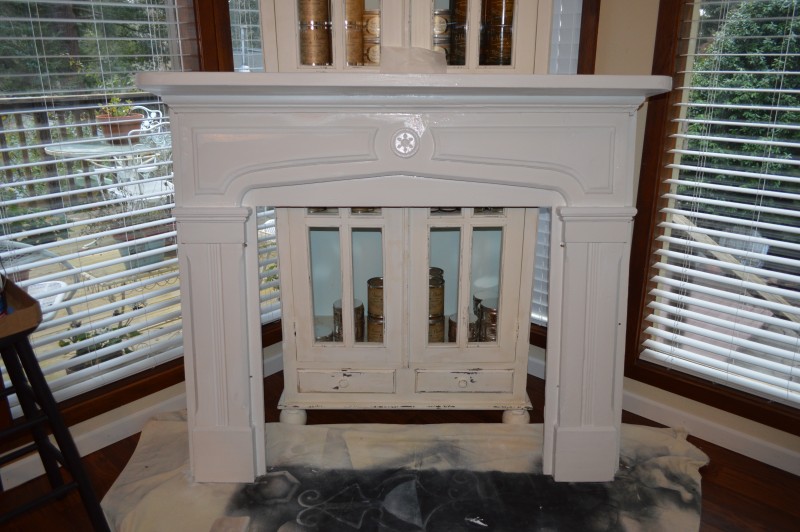
This is the mantel (poorly styled) in our last house. I bought this down in California and we put it in that house, then, it traveled back up here to Oregon with us and went in the home we had before this one. It’s from a big old home down in Pasadena California. Can you believe people remove stuff like this? I guess I am glad they do, so I can have it to love and care for!! I made certain to have it excluded from the sale of both our previous homes. It’s mine. All mine!! And I could not be happier that I kept it. Some things really can not be replaced. Things like family, kids, husbands, pets and of course, vintage fireplace mantels.
- To Mount: Jimmy notched out the bottom just a pinch to slip between the bathtub & the tub deck and then attached it to the wall with screws using the same holes it was mounted by in the last house. I painted it before all this was done, then filled all the screw holes and touched up. The paint is Maison Blanche Paint Company Vintage Furniture Paint and the color is Magnolia. I like distressed and waxed… but I reeeallly like bright white too. I am a terrible mind maker upper’er. I went with pure white here. As I am sure you can see, since you have eyeballs.
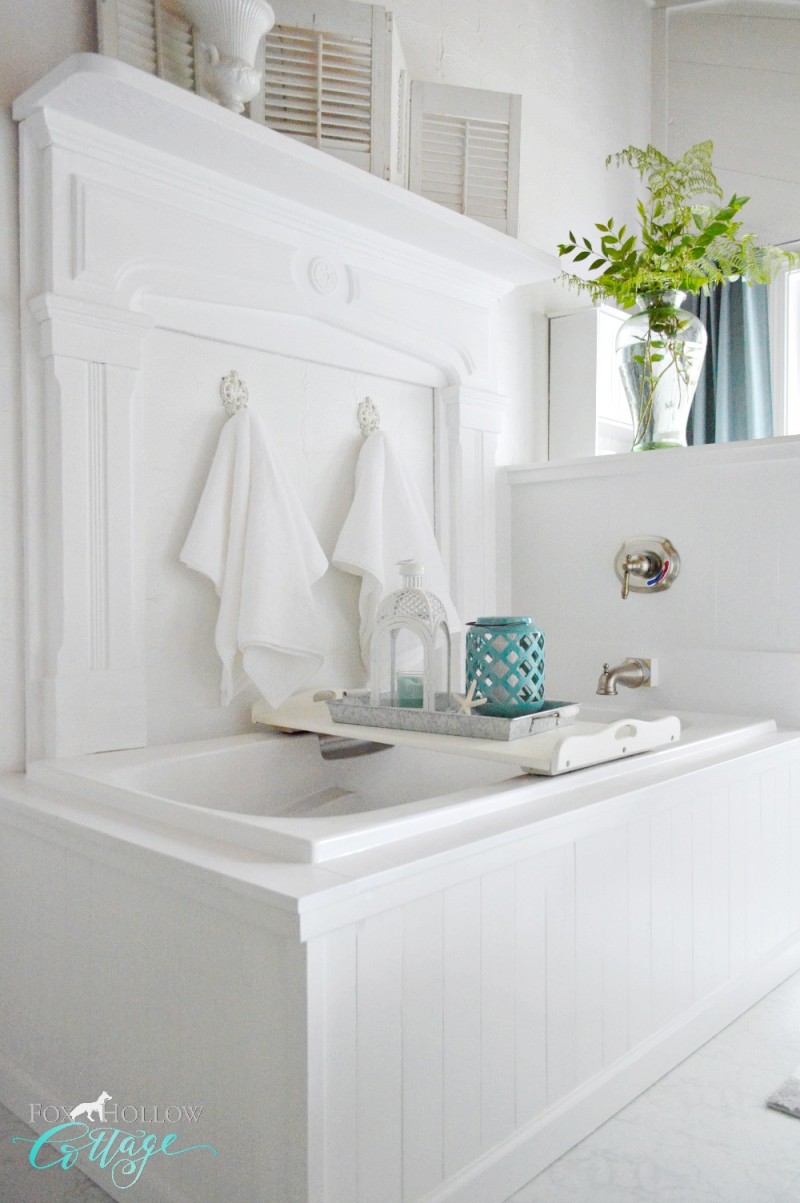
Okay, I’m not being too wordy yet, we might make this!! Let’s keep it moving.
Painted Bathtub Makeover
I
h a t e d
our
bathtub.
It was basically the thorn-in-my-side of this room!! The vanilla color ruined the whole mood of the room and there was no getting around it. Everything was white, bright and definitely went more towards a cool tone. It was much worse in person than it even looks below.

And then I had this glaring yellow-toned eyesore of a tub. We had considered just getting a cheap white tub until we could afford the expense & the out of commission time of gutting our bathroom but it made little sense. We don’t even use it. At all. The cats bathe in it more often than we do!!
- How To Paint A Bathtub: First off, don’t do what I did. There are kits and proper products for painting tubs that are enamel, molded fiberglass, etc… But I, being me, decided to just go for it on a whim. I cleaned it super good, rubbed it down with alcohol (took a shot) and primed it. Then painted with high gloss Ben Moore in Super White.
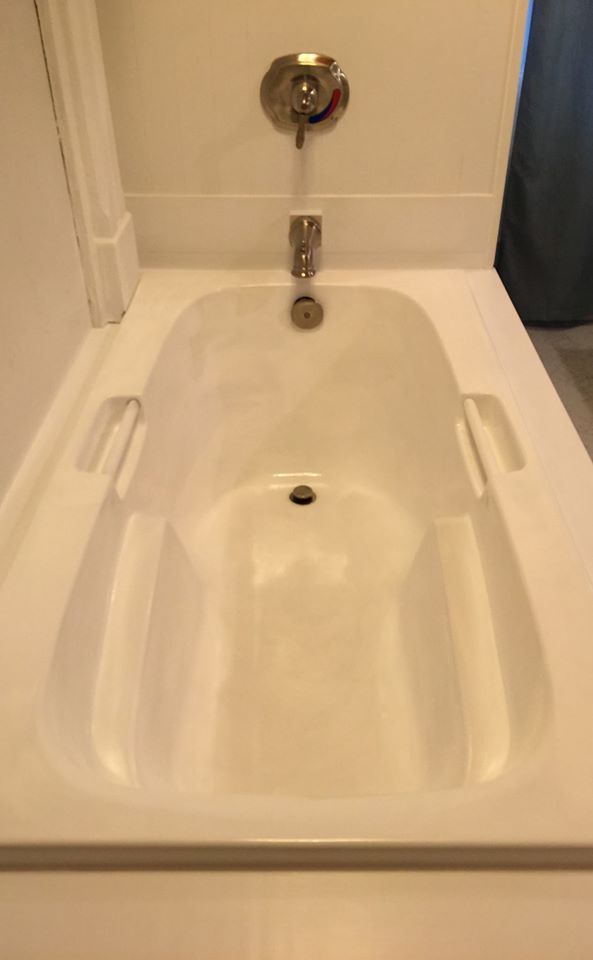
This will work for us because it was done purely for aesthetics. As I mentioned, we don’t use it at all. This was fast, and didn’t cost a dime since I had all the paint on-hand. I also didn’t have to use a respirator or throw open every window in my home. So this solution worked for us and I could not be any more pleased. Just the primer had me grinning. I knew I had made the right choice!!

If I have to refresh it before we can do a full remodel, it’ll still have been worth it. The glossy paint went on so well and there is hardly a brush stroke on the entire thing. Just in a corner where I had to blend the end to the beginning.
Okay so what was next? The counter top?
How to, wait for it… paint a counter top!
I am sure you are sensing a theme here. Paint. It’s cheap & I know how to do it!!
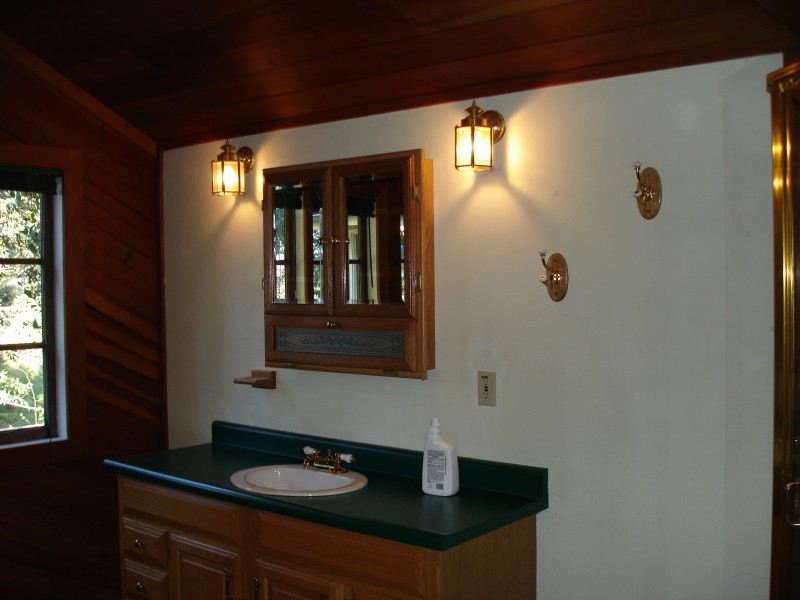
In the beginning, our vanity looked like this. We are still using the same one! It’s actually really nice. Real wood, no press board, nice metal drawer slides and solid as heck. It works for now, since the flooring and you know, the whole domino thing would happen if we replaced it.
We replaced the hardware, sink & faucet.
- How to paint a vanity: I’ll throw this one in too. For the vanity I cleaned and prepped. I very lightly pre-sanded, cleaned again, then primed and used a latex enamel for the body. It’s worn very well and is washable. It easily wipes down and looks good as new!
- How to paint a laminate counter tip: We actually removed this and for the initial paint job, I sprayed on a primer. The counter is a bit of a pain to maintain because it’s a very hard surface and doesn’t take the paint as well as something porous. I’ve painted this several times. Twice white, then I did a sort of concrete or soapstone sort of look by using Maison Blanche Paint in Confederate Grey finished with a Chalk White Lime Wax. I really liked it! Even the boys commented on it. We had that for about 6 months.
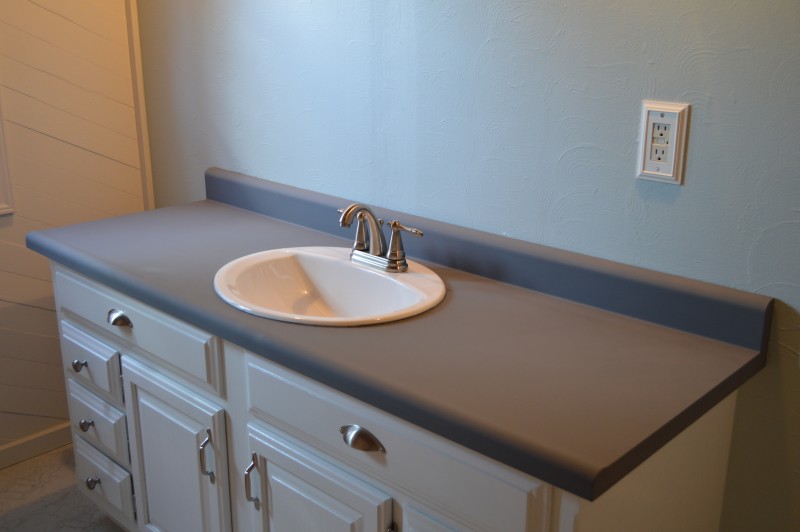
This is the counter with the Confederate Grey color. Pre wax.
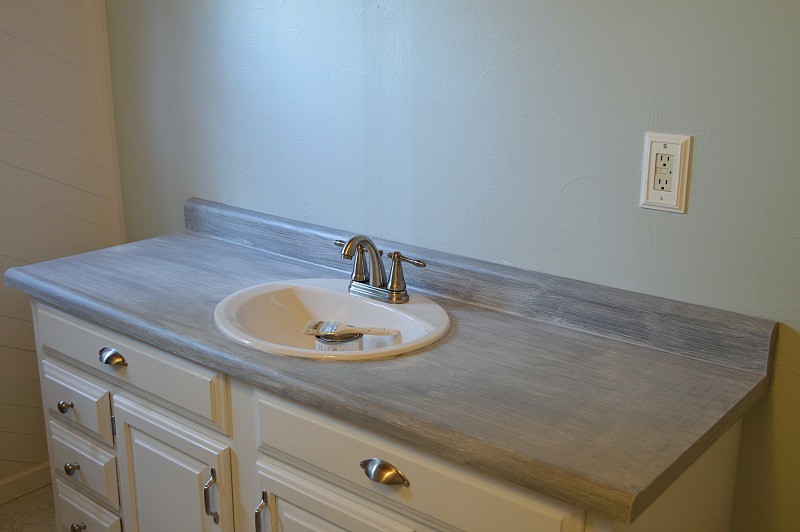
This is the during with the white wax drying before I buffed it.
It looked pretty cool… but I never got an after photo. I’m so Sorry!! I know, I’m fired.
Maybe I can redeem myself?
By the time I was getting into actually finishing the bathroom though, I was already over it. I mean 6 months? It was living on borrowed time! So I tried something new.
- How to French Lime paint a counter top: Oh La La. So schmancy. I thought getting some texture on the counter would help with potential future chips, and I really just wanted to try it on this surface! I used Maison Blanche Paint Company’s La Chaux French Lime Paint. It’s very textural and thicker than chalk paint. This stuff is magic. Plain and simple. If you like layered & complex. You will love it!! I cleaned the counter top and applied a thinner first coat, let it dry, then went back over it with a second, thicker coat in a cross-hatch pattern.
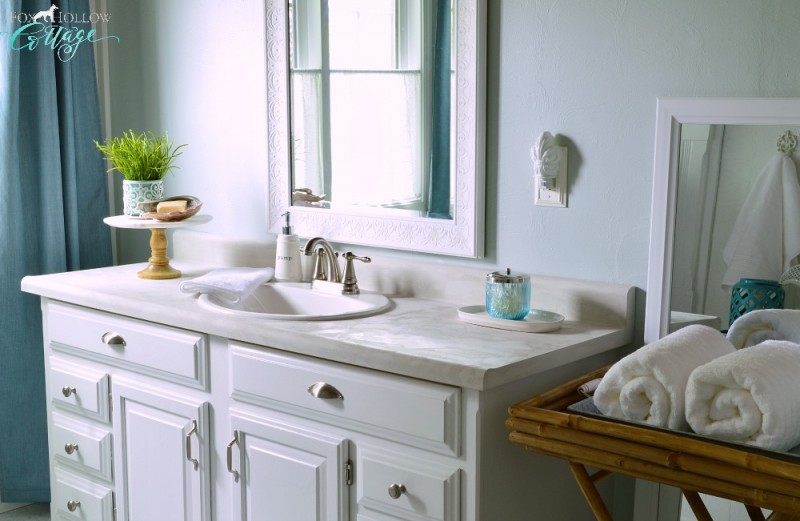
I didn’t try to be careful with my strokes, in fact I laid it on thicker in some places and manipulated it with my brush patting and laying it on.

Here is where I get super real – Austin, being such a good sport, is brushing his teeth at the kitchen sink right now. Not literally, but since I re-painted with the new Lime Paint. Because mom here (that’s me) has not sealed the paint yet. We are so not living in a fairy tale here at Fox Hollow Cottage. I plan on using a matte poly or the Maison Blanche matte varnish. I’m undecided. I definitely suggest a sealer or finishing product though. That should probably top my to-do list today.
We’ll see…
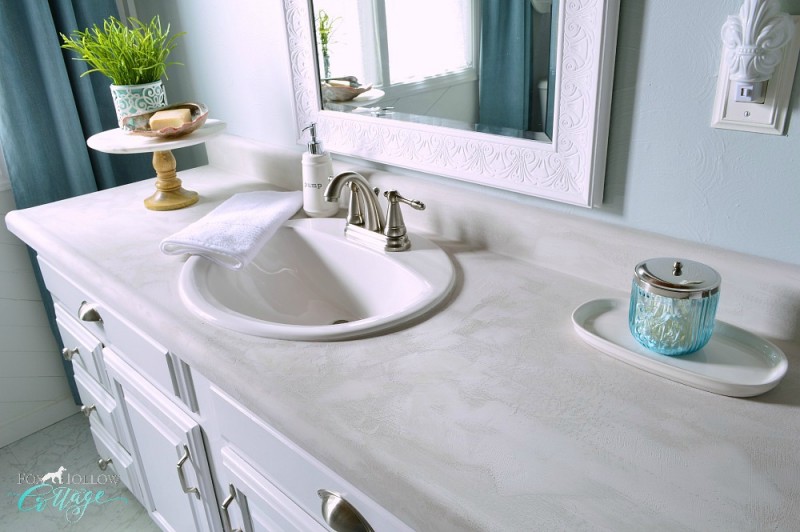
Whew! I think we might make it. Next up, the shower.
Again, this is all a stop-gap until we can really do a proper remodel. The great thing is, it’s all clean and it all functions so we aren’t dealing with anything broken or janky and I’m thankful for that. Just a little ugly… and I can deal with ugly!!
How To Disguise A Ugly Corner Shower
Our corner shower is clean (we actually removed it and power washed it, then re-installed it) but it’s guess what?
Vanilla too. With the even more awesome feature of having “Smoked Glass”.
I know you are so jealous!!
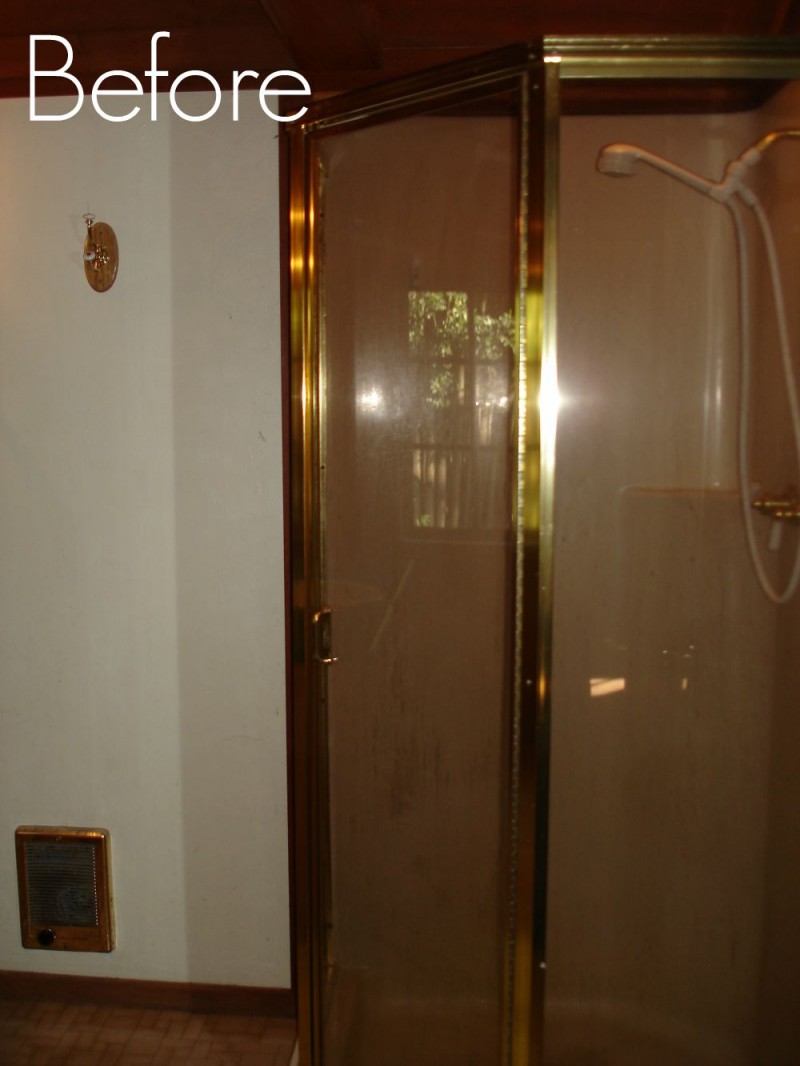
(photo above is prior to cleaning and full of hard water deposits)
There is no paint involved in this fix. Instead, we got two Ikea wire curtain rod systems and just camouflaged the whole entire thing! That way. My eye doesn’t twitch and everyone is happy. Meaning me, and by extension Jim and Austin.
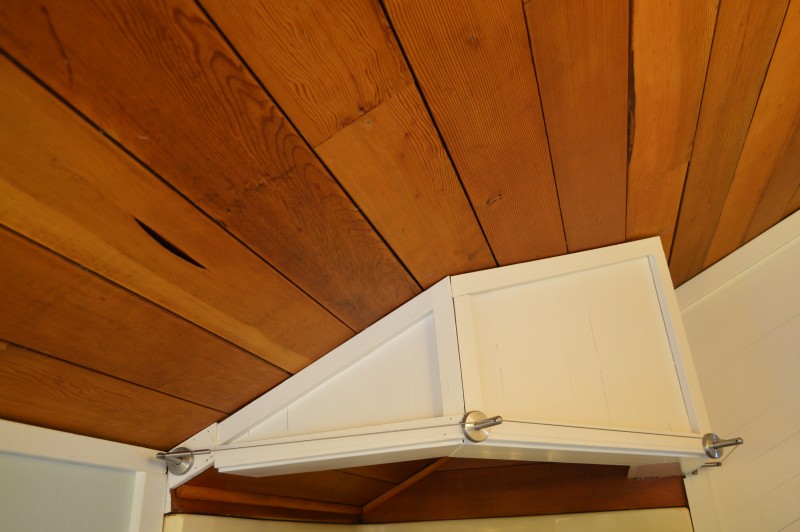
- How To Disguise a Corner Shower: We have a bulkhead over the shower and I lied earlier, because I did go ahead and paint all that white. I was previously on the fence and had left it the natural wood of the ceiling. Your configuration may be different from ours, but this is our set-up. Our ceiling is both vaulted and angled. We did the Ikea system according to the directions on the package. These wire systems are very beginner friendly and easy to install. If you don’t have a bulkhead, chances are you can mount something directly from the ceiling. After the wire was up, I pre-washed (for shrinkage), measured and hemmed my drapes. I had several white panels that were hanging in our sun room before we added the wood blinds. I used those, and added a single ruffle to the bottom just for fun. Once they were ironed, I added the clips and hung them.
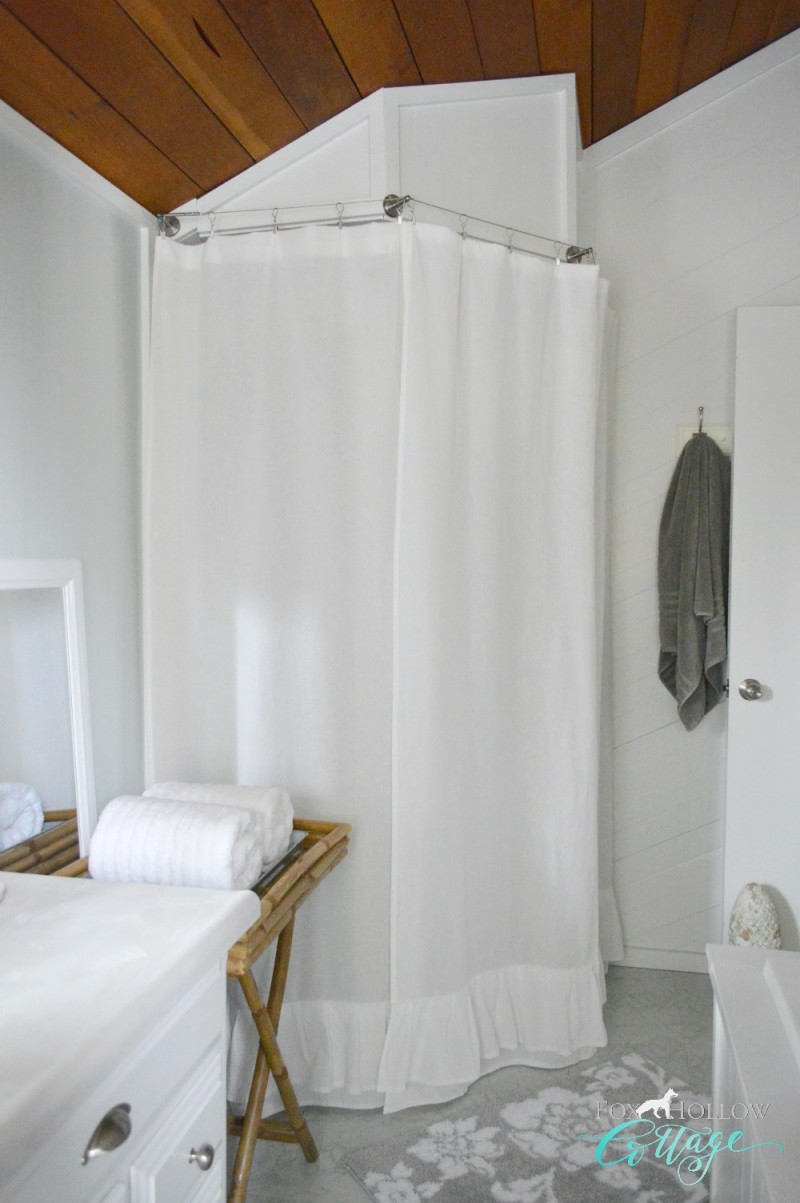
It looks just a tiny bit better now.
And did you catch that? I sewed.
I can do a straight line. But don’t ask for anything else!!
WOW
I got it all in there and it’s not even midnight. I’m at 1,945 words… lol. But hey, this is me we are talking about here. I think I’ll pop back in, in the a.m and do a source list for everything I can recall. Like the wall color, etc… but for now, I’m going to call this post complete. I sure hope that I shared something that might help you, if you have a similar situation or design challenge. And a tiny budget, like me!

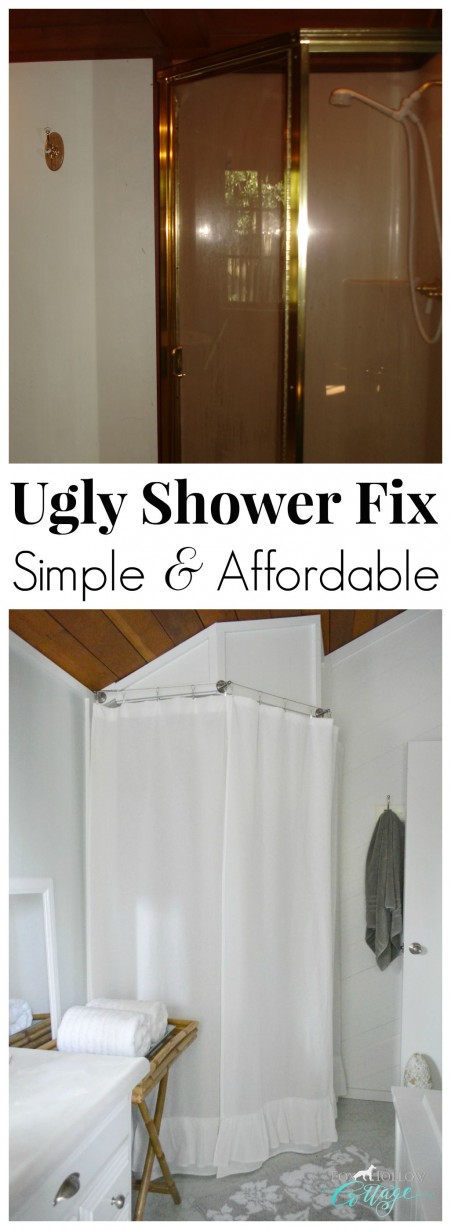
I’ll add some fun before & after images at the bottom here just because I love seeing before & afters!! Plus, they keep me motivated.
If you have any questions, please make sure to ask them in the main comment section! I only hit on the big stuff in the makeover like the mantel addition, the painted tub, painted vanity & counter and the shower disguise since those were the biggies. I do NOT get a notification when you comment with the Facebook function so I only see those when I go in and open a post and scroll down.
As always, you are welcome to join me on Instagram. I pop in there a lot with things that don’t make it on the blog.
So I guess that is it. Good night ~Shannon
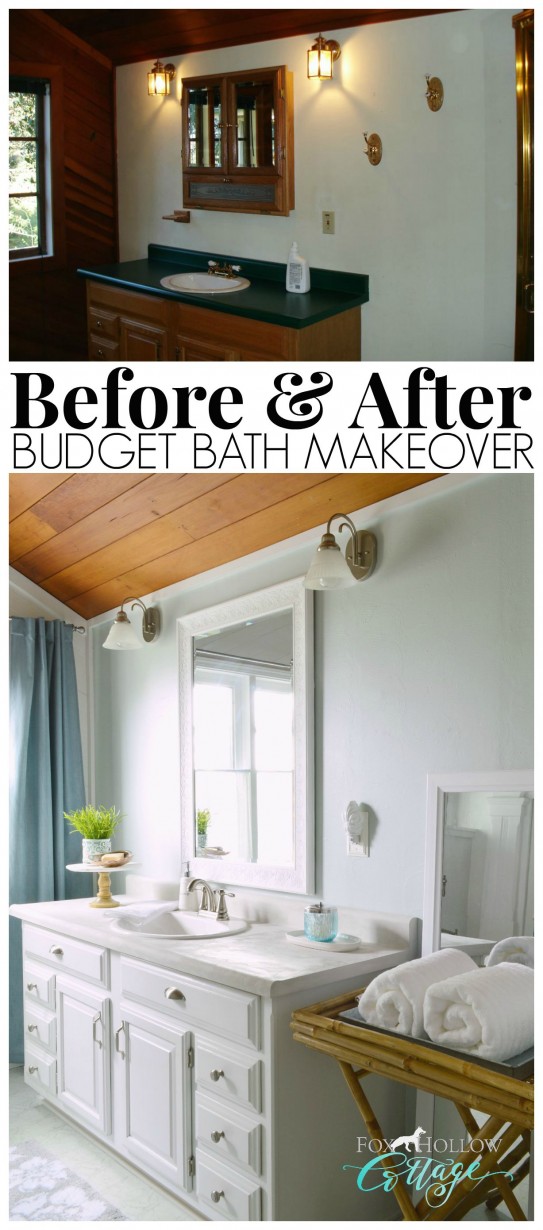
SOURCE LIST:
- White Wall Paint – Benjamin Moore, I think I used Decorator White
- White Trim Paint (including tub surround, pony wall and bulkhead) – Benjamin Moore Gloss in Super White
- Accent Wall in Aqua – Oops color from Habitat For Humanity
- Tub Paint – Ben Moore Gloss Super White over Bullseye Primer
- Counter Paint – Maison Blanche La Chaux French Lime Paint in White Pepper
- Lighting – local electric store, close out/clearance
- Flooring – Peel and stick faux marble (which is wearing fabulously, was cheap & simple to install!)
- Mirror – Ross (painted with Maison Blanche in Magnolia)
- Leaning mirror – Ross
- Bamboo table/tray – Ross
- Aqua jar – HomeGoods
- Marble cake stand – HomeGoods
- Bath tray – Repurposed from a table top
- Towel hooks – little boutiqe shop many years ago
- Shutters – Junk hunt/thrifted
- Italian vase – Thrifted
- Glass vase – Costco
- Curtains in window – Aqua, discount retailer
- Curtains in window – White, home sewn
- Over commode cabinet – Target
- Other accessories and decor – click here.
- Curtain system – Ikea
More Bathroom Ideas & Updates
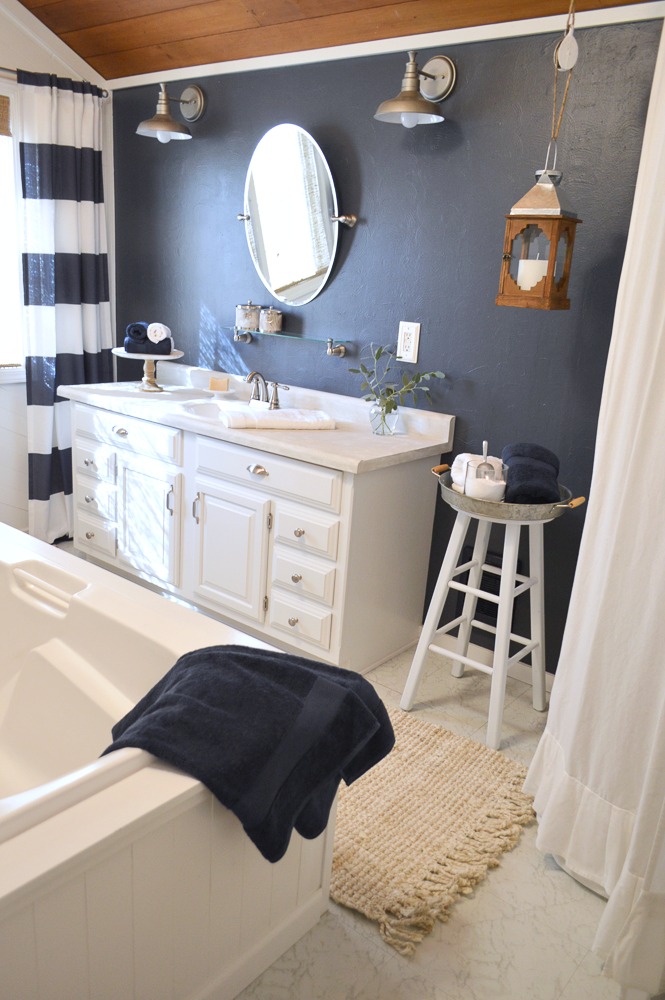
Mini Bathroom Refresh in Navy [click here]
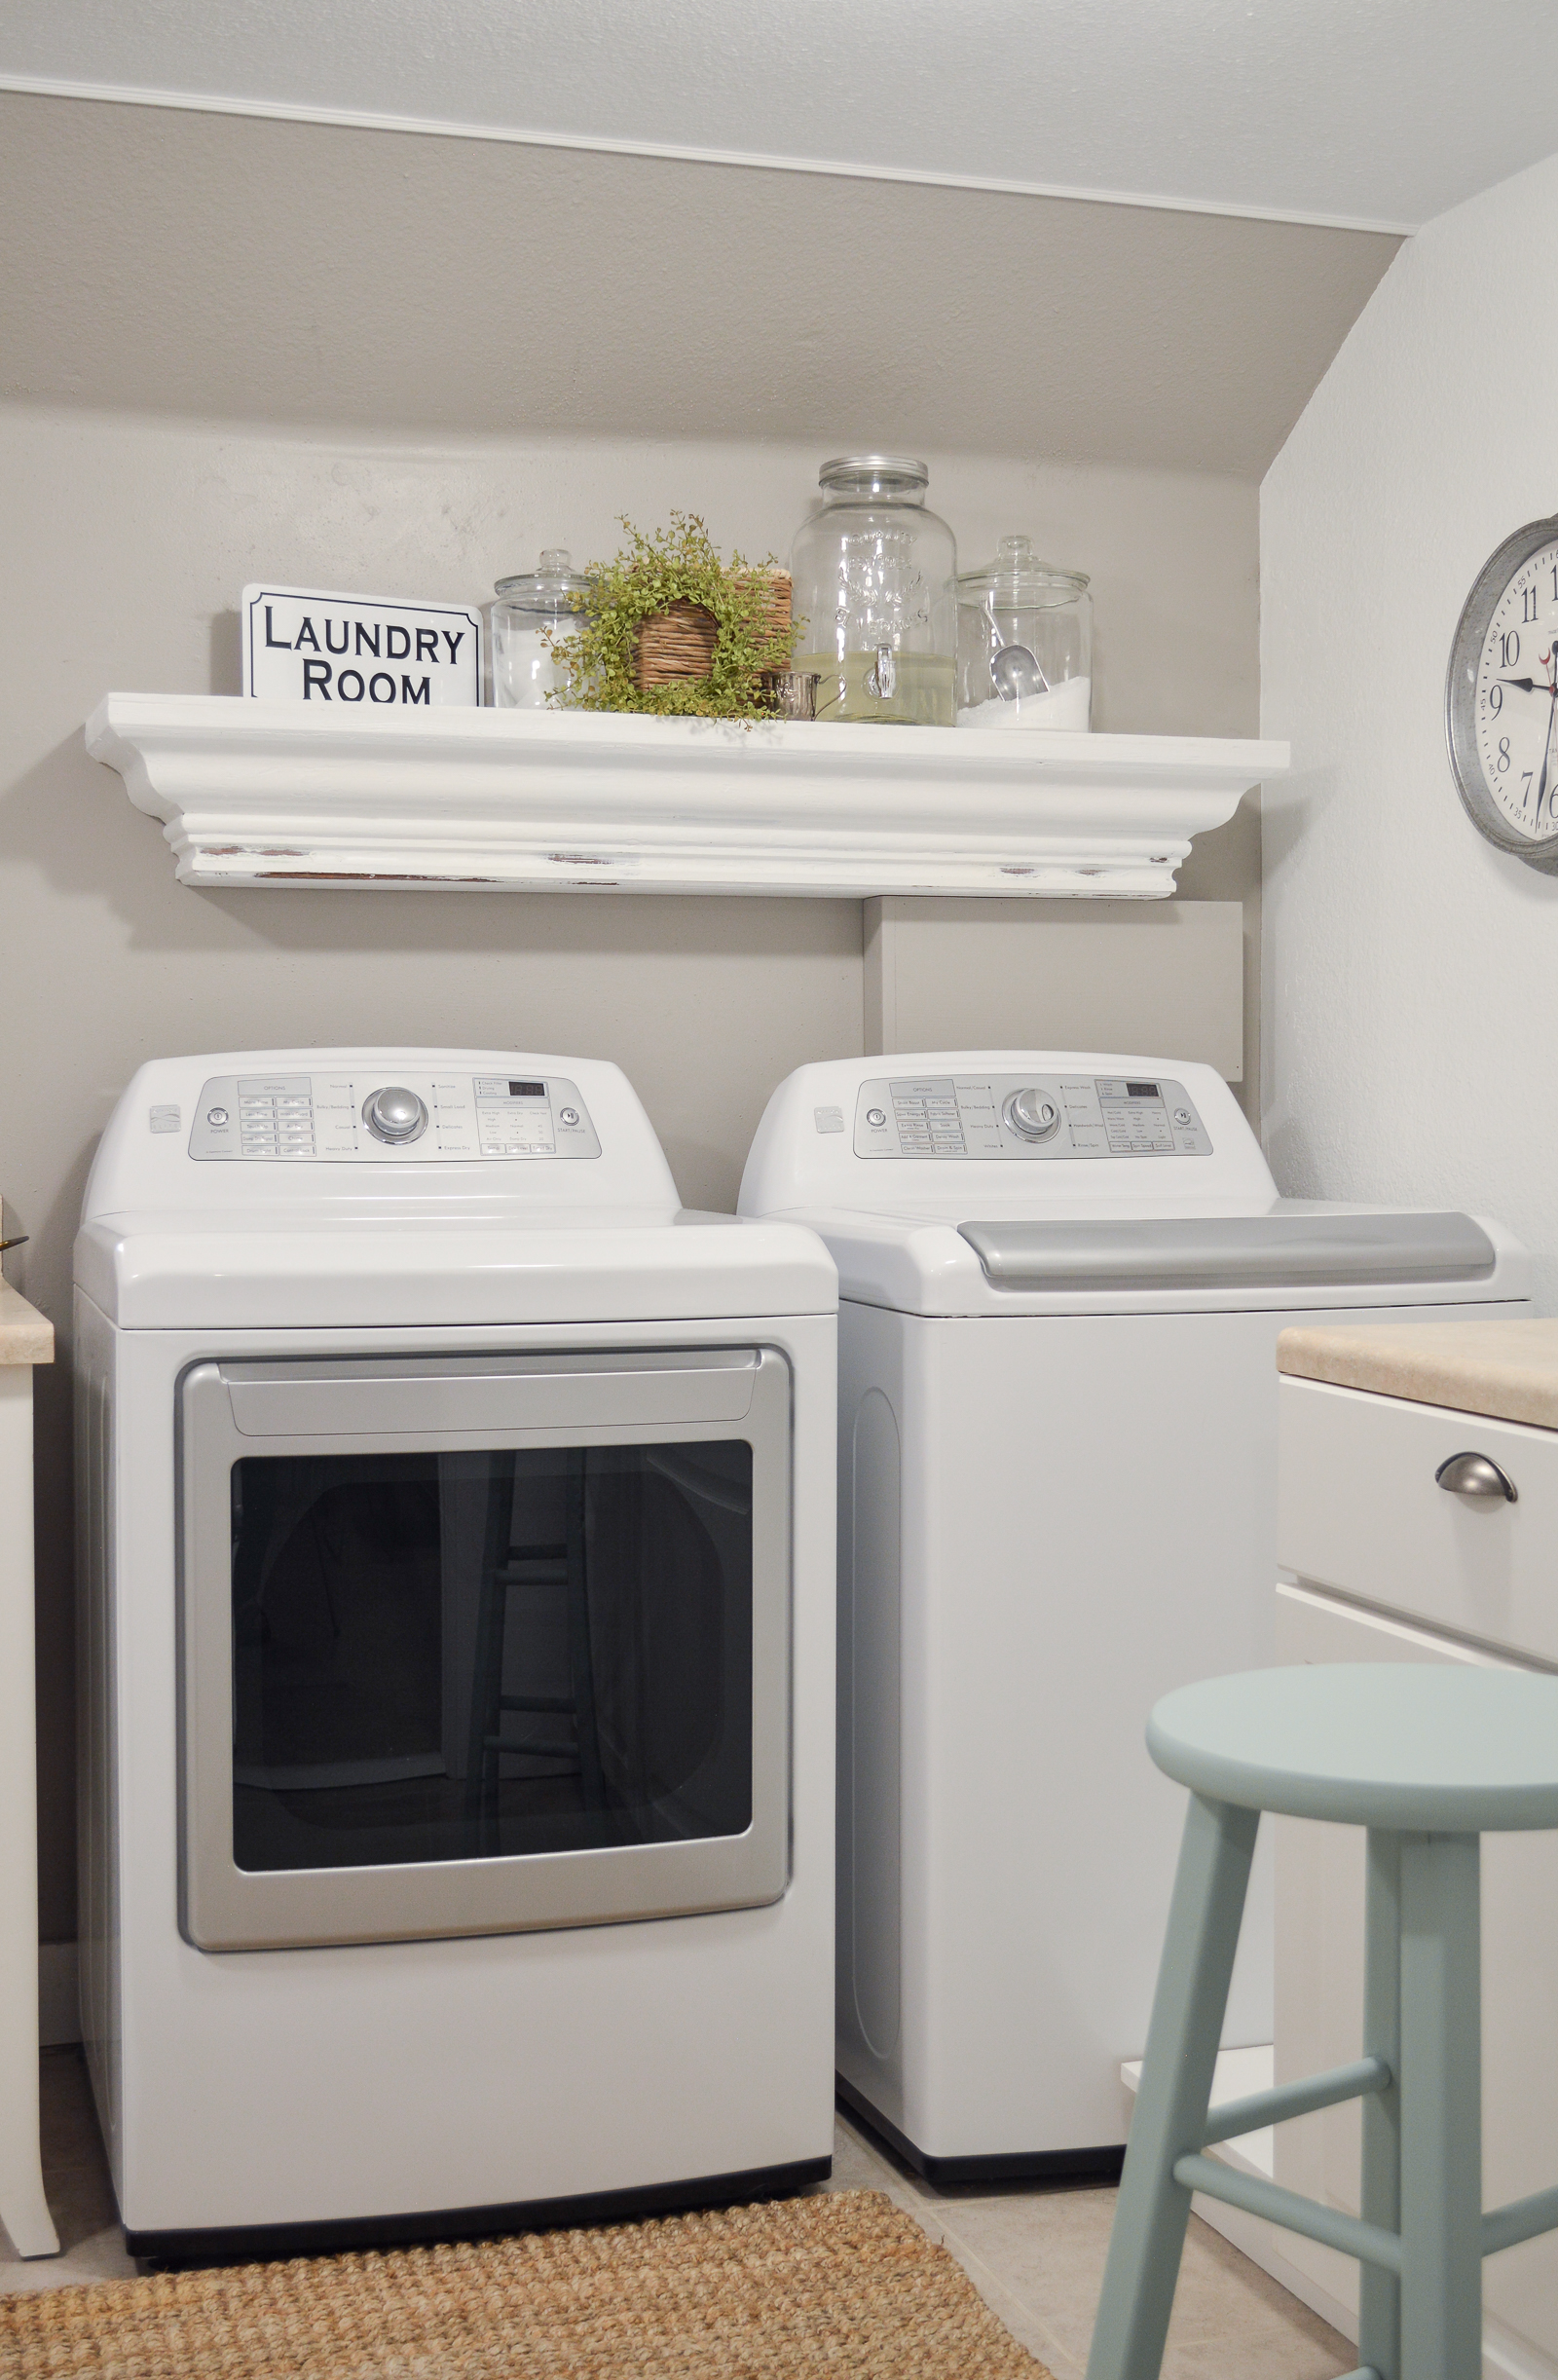
Our Combination Powder Bath & Laundry Room [click here]
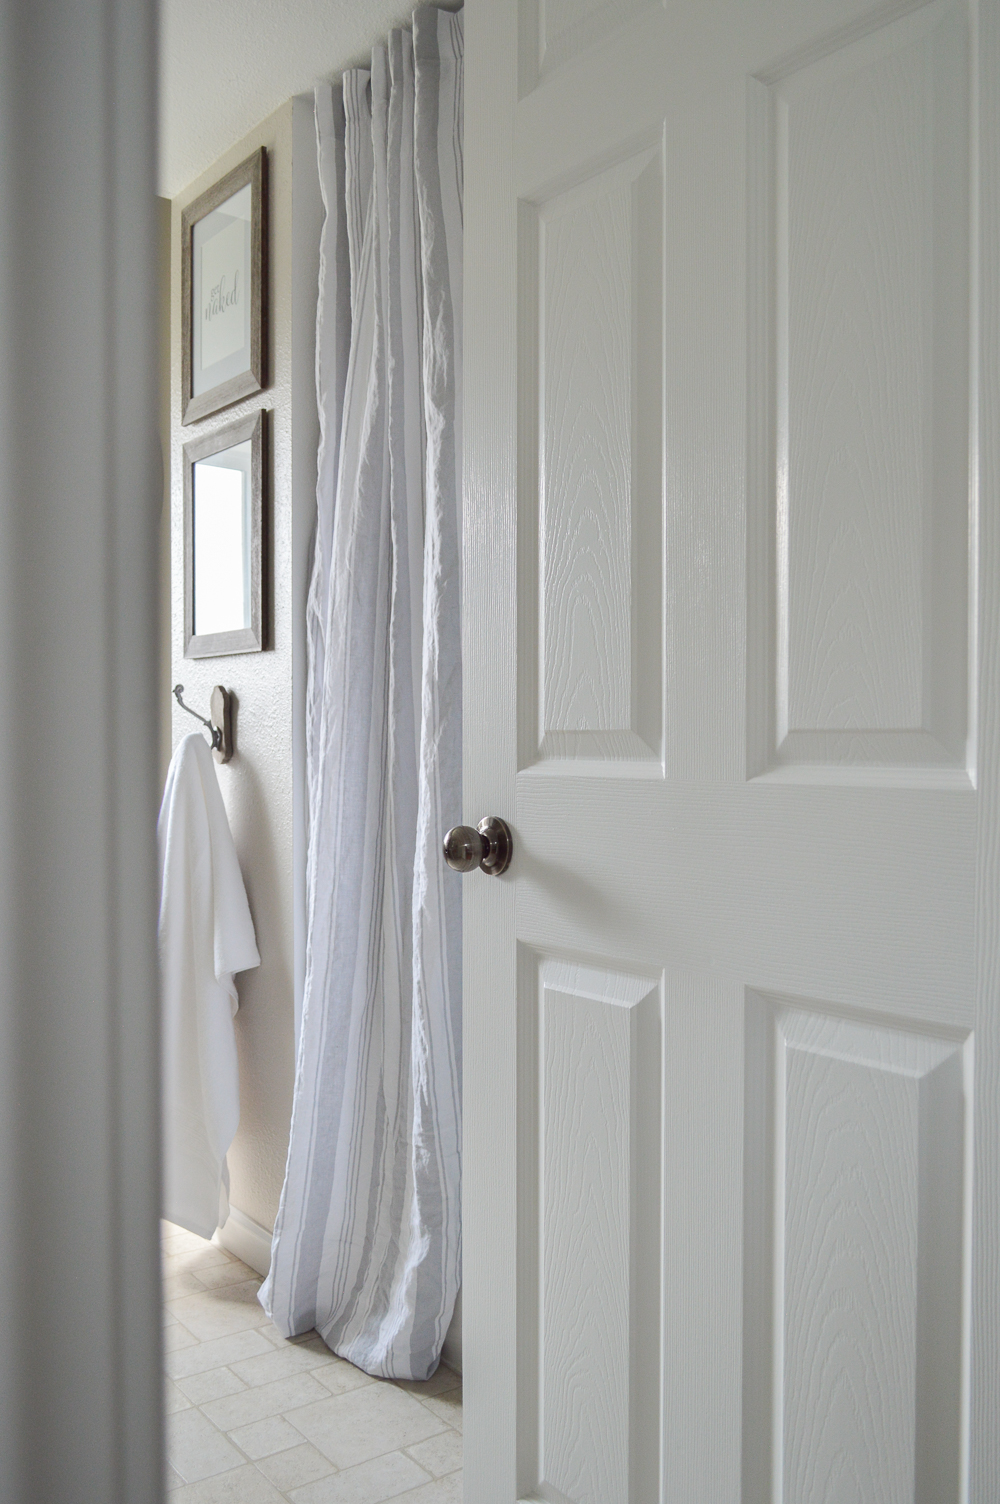
The Little Cottage Coastal Farmhouse Bathroom [click here]
As seen in: Country Sampler Farmhouse Style Magazine, Spring 2020 issue.






I LOVE your new bathroom! We downsized two years ago to a condo and I’m still in the process of working on the baths. Fortunately, they’re both large, BUT no windows…but the ideas are floating around in my head and I love the mantel you added. Another idea floating around with all my others!
We did as well, when we bought this place. Lucky you!! Big bathrooms (especially when you can add a furniture piece) are wonderful.
Fabulous! Did you put the peel and stick down over existing floor?
Kris
We did. We never expected it to be down for about ten years! lol. The previous floor is also peel and stick. Oye. We cleaned it super good and I installed the floor all by myself! It was fast and simple. I think lino actually gets a bad wrap. Before we had our hardwood, we had a sheet vinyl that was awesome, looked like real wood and was 100% worry free! The luxury vinyls they have now are great. If it weren’t for subtle elevation changes, we would have done it again. (It was damaged by our new fridge leaking and we had to remove to make certain there was no mold damage)
Shannon, did I miss that you put a sealer/? on the counter top? Or you just painted and that’s it? I’m considering ‘doing’ a small counter with paint, then having a solid piece of glass cut to put on top since it will be used a lot. Any better idea?
No, I was getting tired and I forgot to add that info. hehe
It was actually after 1 a.m. by the time I was done.
It’s amended now.
I will be doing a poly or a matte varnish.
I actually have not had a chance to get to it yet! Yikes!!
This is a fabulous makeover! It would be great is you can tell us more more about the countertop new finish. Did you use wax or something like polycrylic for the last coat ? I love the texture and the look, but I’m a little afraid of using wax because it’s on a countertop, just beside a sink and… of course water. Thanks! It’s actually a great job!
No, I was getting tired and I forgot to add that info. I’m so sorry!!
I added it in and it’s updated now.
I will be doing a poly or a matte varnish. (which I have done before and it works pretty good)
I actually have not had a chance to get to it yet and I can see this week slipping away… lol