How To Install Shiplap Above A Fireplace
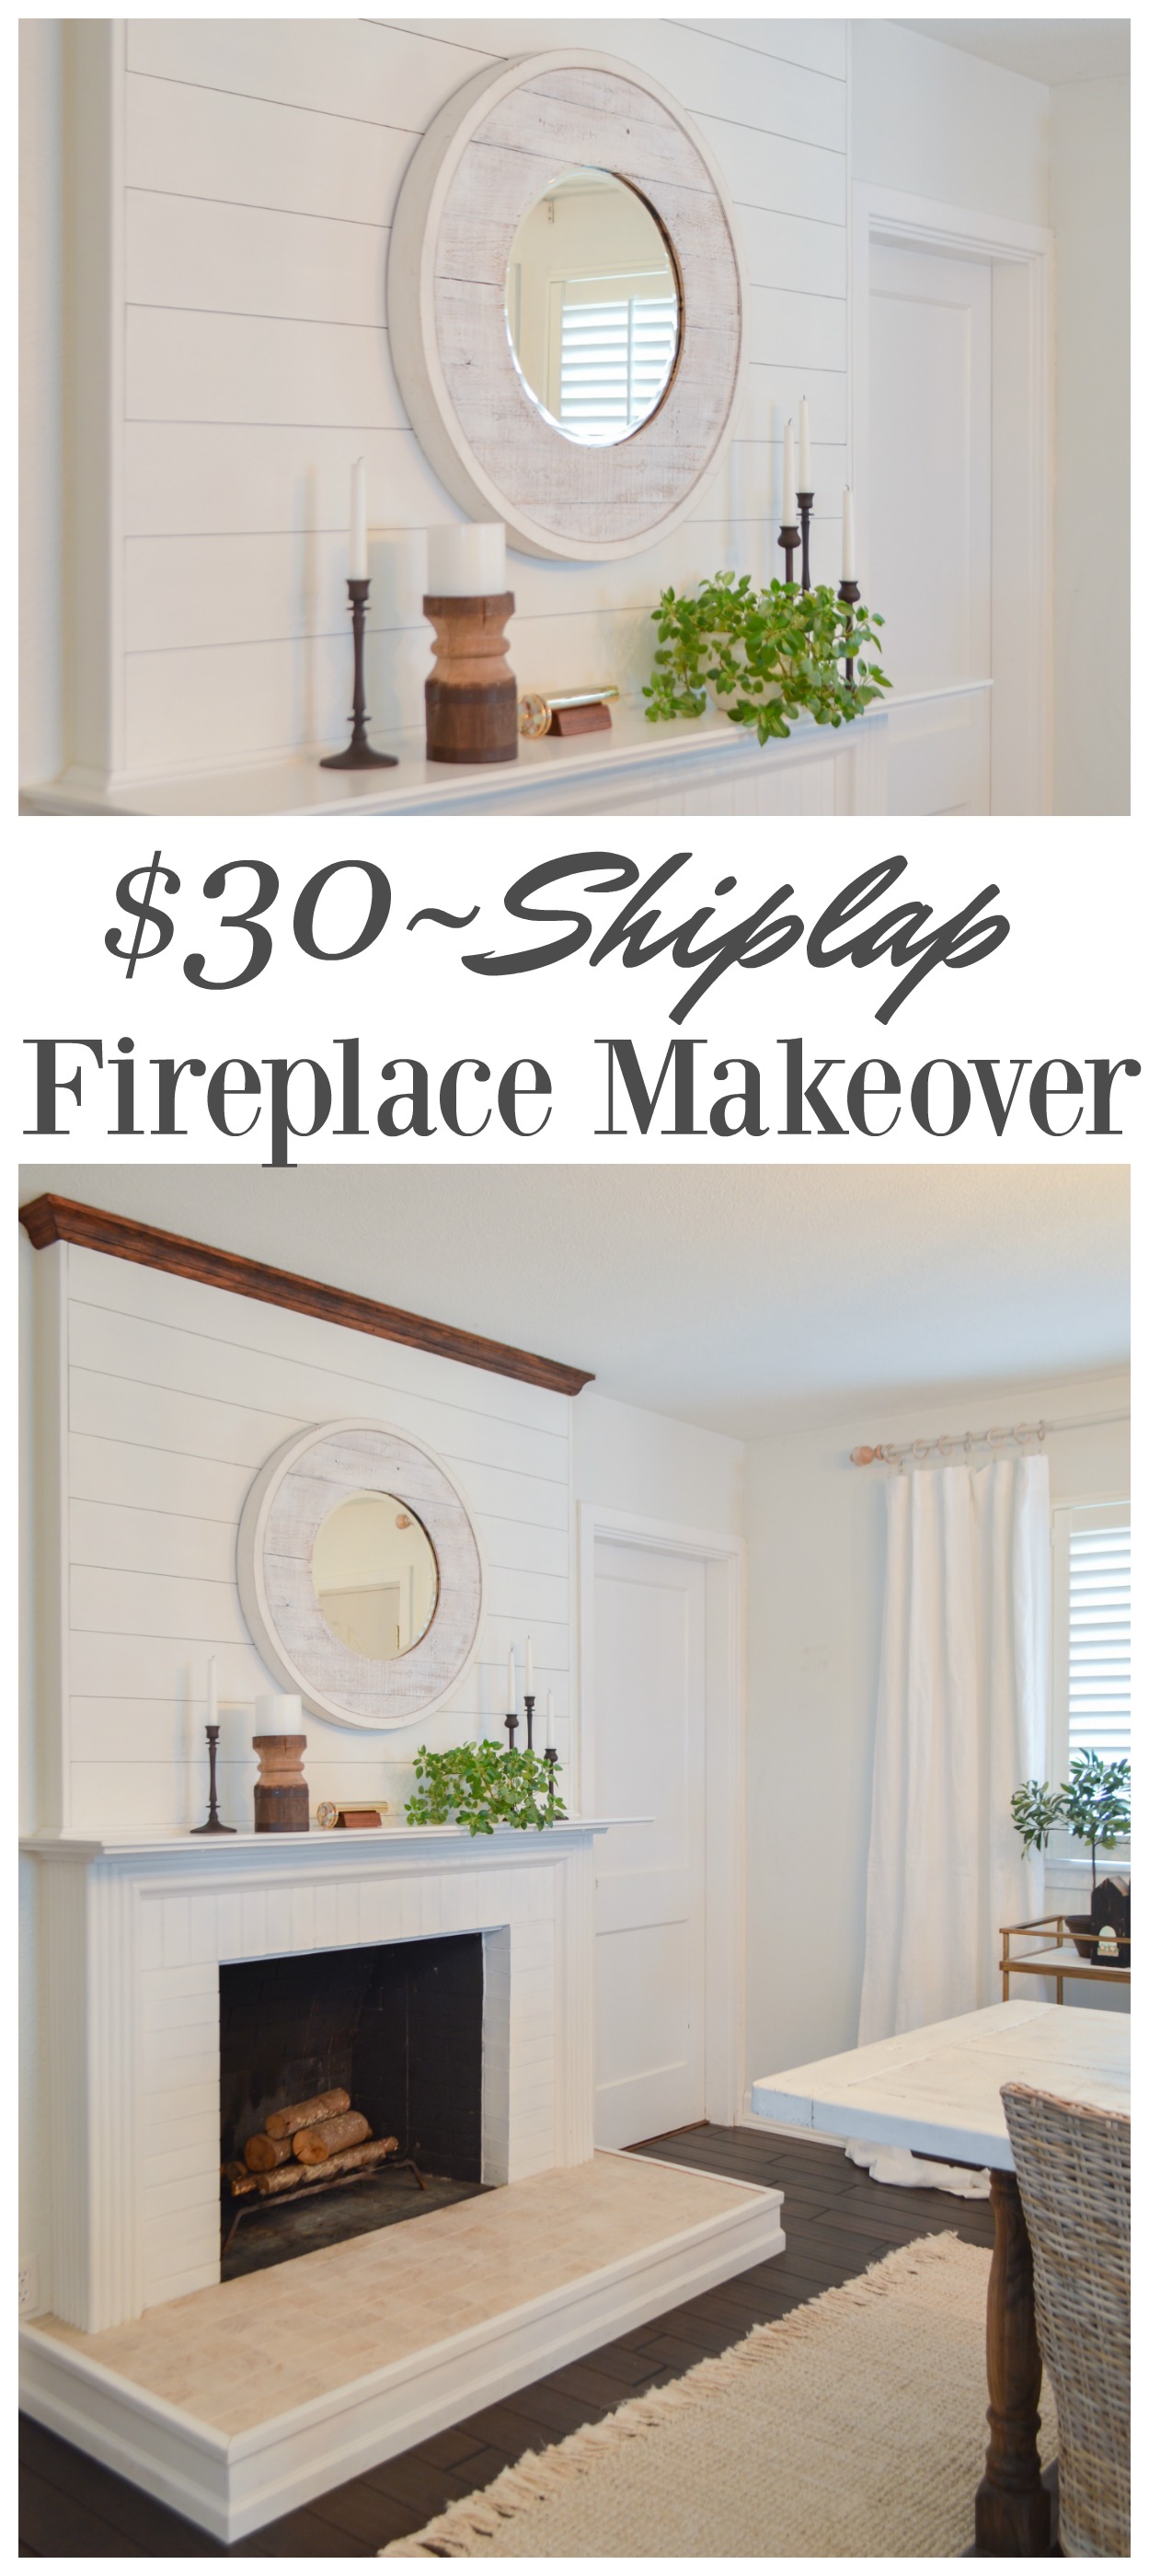
This is a super-simple, beginner friendly DIY project tutorial covering the steps we used to install shiplap above our fireplace. Everyone’s starting point and the surface they are building on will be a little different, but I think this method could work for most homes. We found this project to be very inexpensive, and it gave us exactly the results we were looking for! Now we’ve got a fresh, updated-look to our fireplace for minimal cost.

Before we jump in, I wanted to let you know that a group of us are sharing brand fresh DIY projects with you today, and there are links to everyone’s projects at the bottom of this post! So make sure and take a peek at them as you finish up here.
WHAT YOU WILL NEED:
-
At Least One 4 x 8 ft. 1/8 inch sheet of economy MDF paneling.
— This material is really light, easy to work with, easy to cut (crisp edges) and it’s also very inexpensive!
-
Two pieces of 3/4 inch corner trim moulding – *if the wall you are shiplapping has corners. Otherwise, it’s unnecessary. I would suggest a trim of some sort for a well finished project though.
-
Nail gun or hammer and nail set.
-
Nails, 1/2 inch or fine finish nails.
-
Level
-
Red Devil Onetime Filler. You can also use wood putty or filler of choice
-
Putty knife
-
Sanding block, 220 grit
-
Caulking
-
Paint brush, paint roller or paint sprayer (whichever you prefer)
-
Primer
-
Paint, in color and finish of choice
HOW TO INSTALL YOUR SHIPLAP:
Prior to installing your shiplap, make sure the base color on your wall is what you want to show thru in your spaces between your boards. Mine was a pale green and I quickly gave it a fresh coat of white! Though it may look grey in these photos. We tend to work on projects in the evening and my “during” pictures are often a bit dark. Sorry about that!
ONE – Determine the area you’ll be covering and purchase your paneling. If you know what width you want your boards, you can have your 4 x 8 paneling cut into your desired strip width at the big box store, or use a table saw or a panel saw at home. Please note, you’ll be using the BACK SIDE of this material for the smooth finish I’m sharing. Make sure to cut in the direction of the already existing lightly routed pattern.
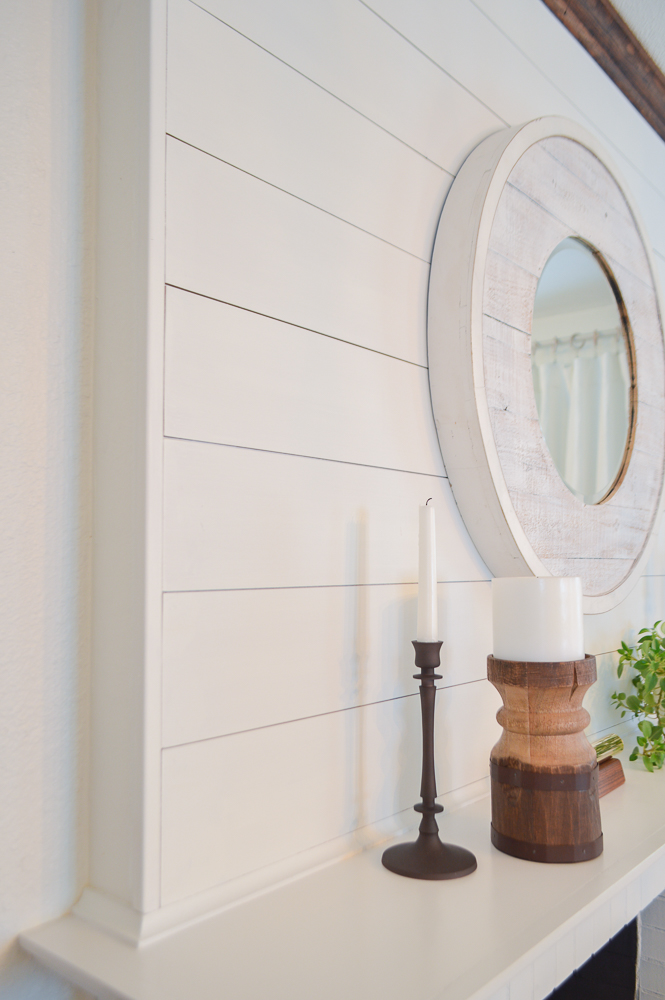
— We used 9 boards that were 5 + 1/8 inches wide to cover our space.
TWO – If cutting at home, determine your board width to fit your space, taking into account the space you want left between each board. We used nickles are our spacers and Jim did all the math on this one to figure out the proper board width to fit our space. Formulas will vary as each space does.
THREE – Installing With & Without Corner Pieces – Next figure out the length to cover your space. Measure wall to wall if you WON’T be using corner pieces. If you WILL be using corner pieces install those first, and then take your length measurements and make your cuts. Measure and make each board length cut individually if your area is not square! Use your level throughout this project to make sure you are installing everything as straight as possible.
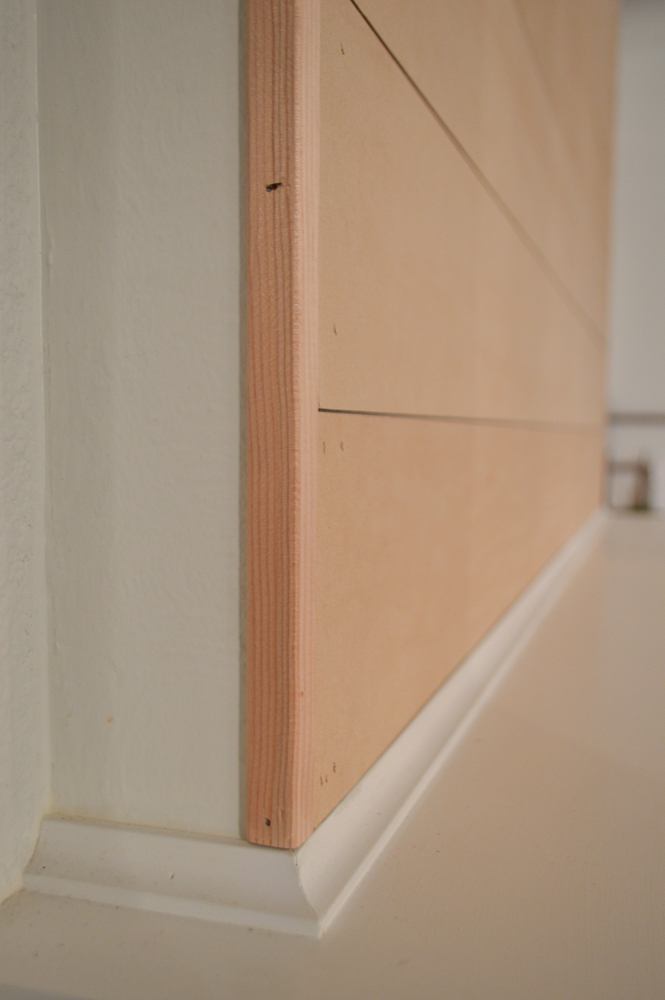
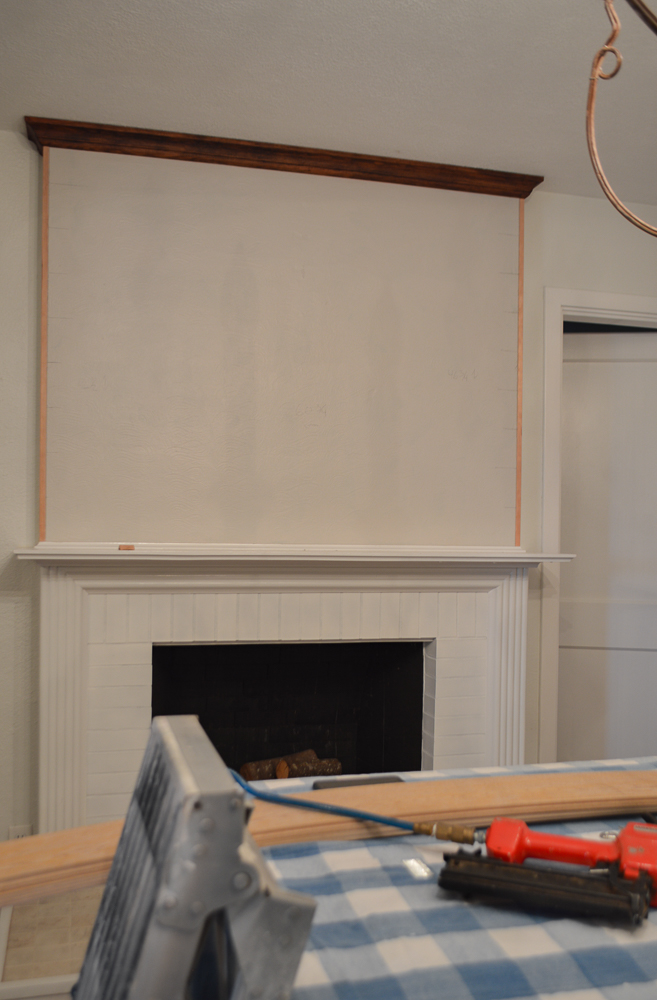
— Something we loved about this material is, that at 1/8 of an inch thick, we didn’t have to remove any of the existing trim or crown moulding!
FOUR – Installing your boards. Use your level and feel free to mark out your courses for each board application. (see pencil marks for example)
Make sure to use the proper nail length, depending on what surface you are nailing into. If you are using a nail gun, you’ll most likely use a 1/2 nail, with your compressor set ultra low so your don’t go right through your material. If you are using a hammer and nails, small finish nails should suffice, use a nail set to tap the nail just below the wood surface so you can fill it in for a smooth, nicely finished surface.
FIVE: Fill & Sand. Fill your nail holes. We use Red Devil Onetime. It dries fast and sands very easily. Apply with a putty knife, making sure to remove excess material. Let dry, then sand. We used a 220 grit sanding block for a smooth surface.
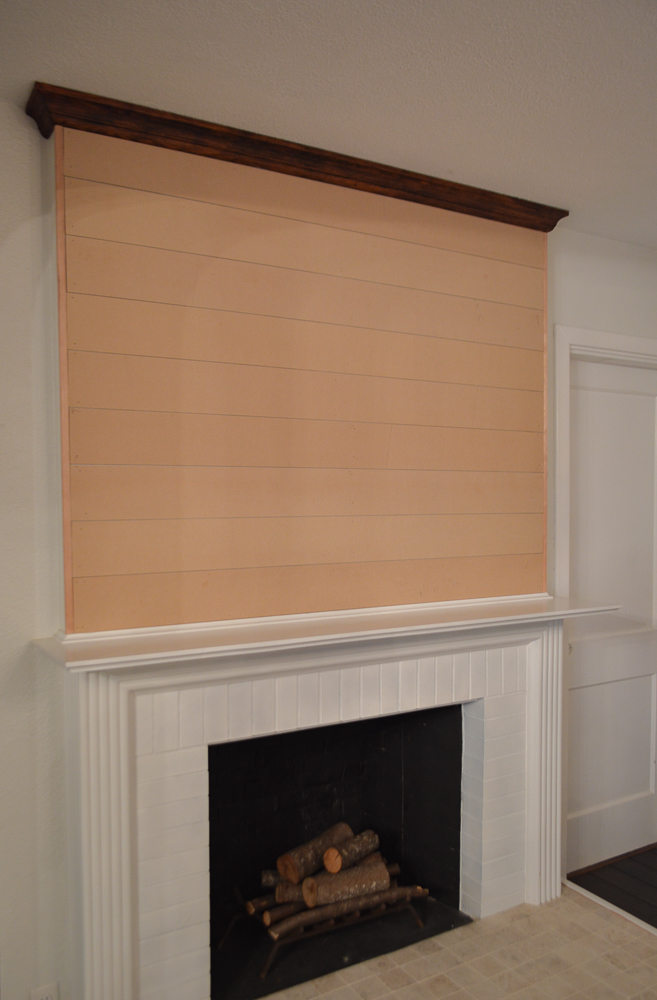
I was helping to hold nickels and boards, so I didn’t take any progress photos of this step.
SIX: Remove excess dust or filler debris.
— CAULKING. When and where needed. I caulked along the bottom board and the existing trim piece, but other than that, it wasn’t necessary.
SEVEN: Prime, lightly. You don’t want to over-saturate this material with heavy coats of paint. Some folks like to sand between primer coats, I didn’t find it necessary.
EIGHT: Paint. After priming I only needed to apply a light coat of paint to get good coverage. I used Sherwin Williams Cashmere paint in Matte. The color is Pure White.
— I applied both paint and primer with a sponge roller, and then went right behind it with a good quality paint brush for a smooth finish. It’s easy to chase behind the roller and I prefer the finish this offers. I’m still debating if I like the matte paint? I really like the lack of shine, but I don’t think it’s going to hold up well to the constant decorating. I’ve already made a few marks on it just changing out mirrors.
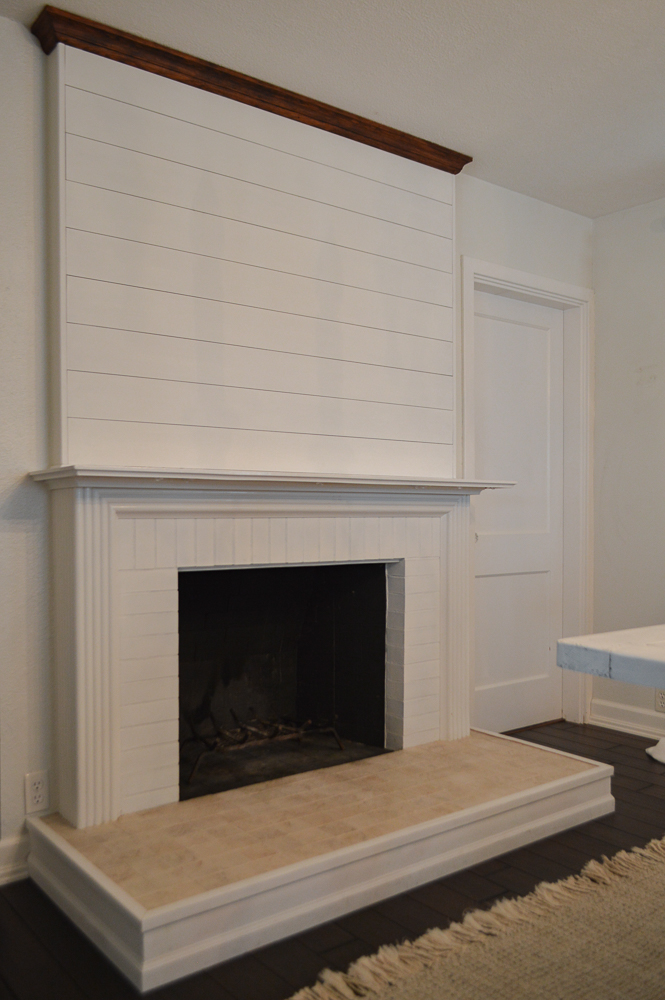
We have already been thoroughly enjoying the new shiplap above the fireplace, all through the Autumn and into the holidays.
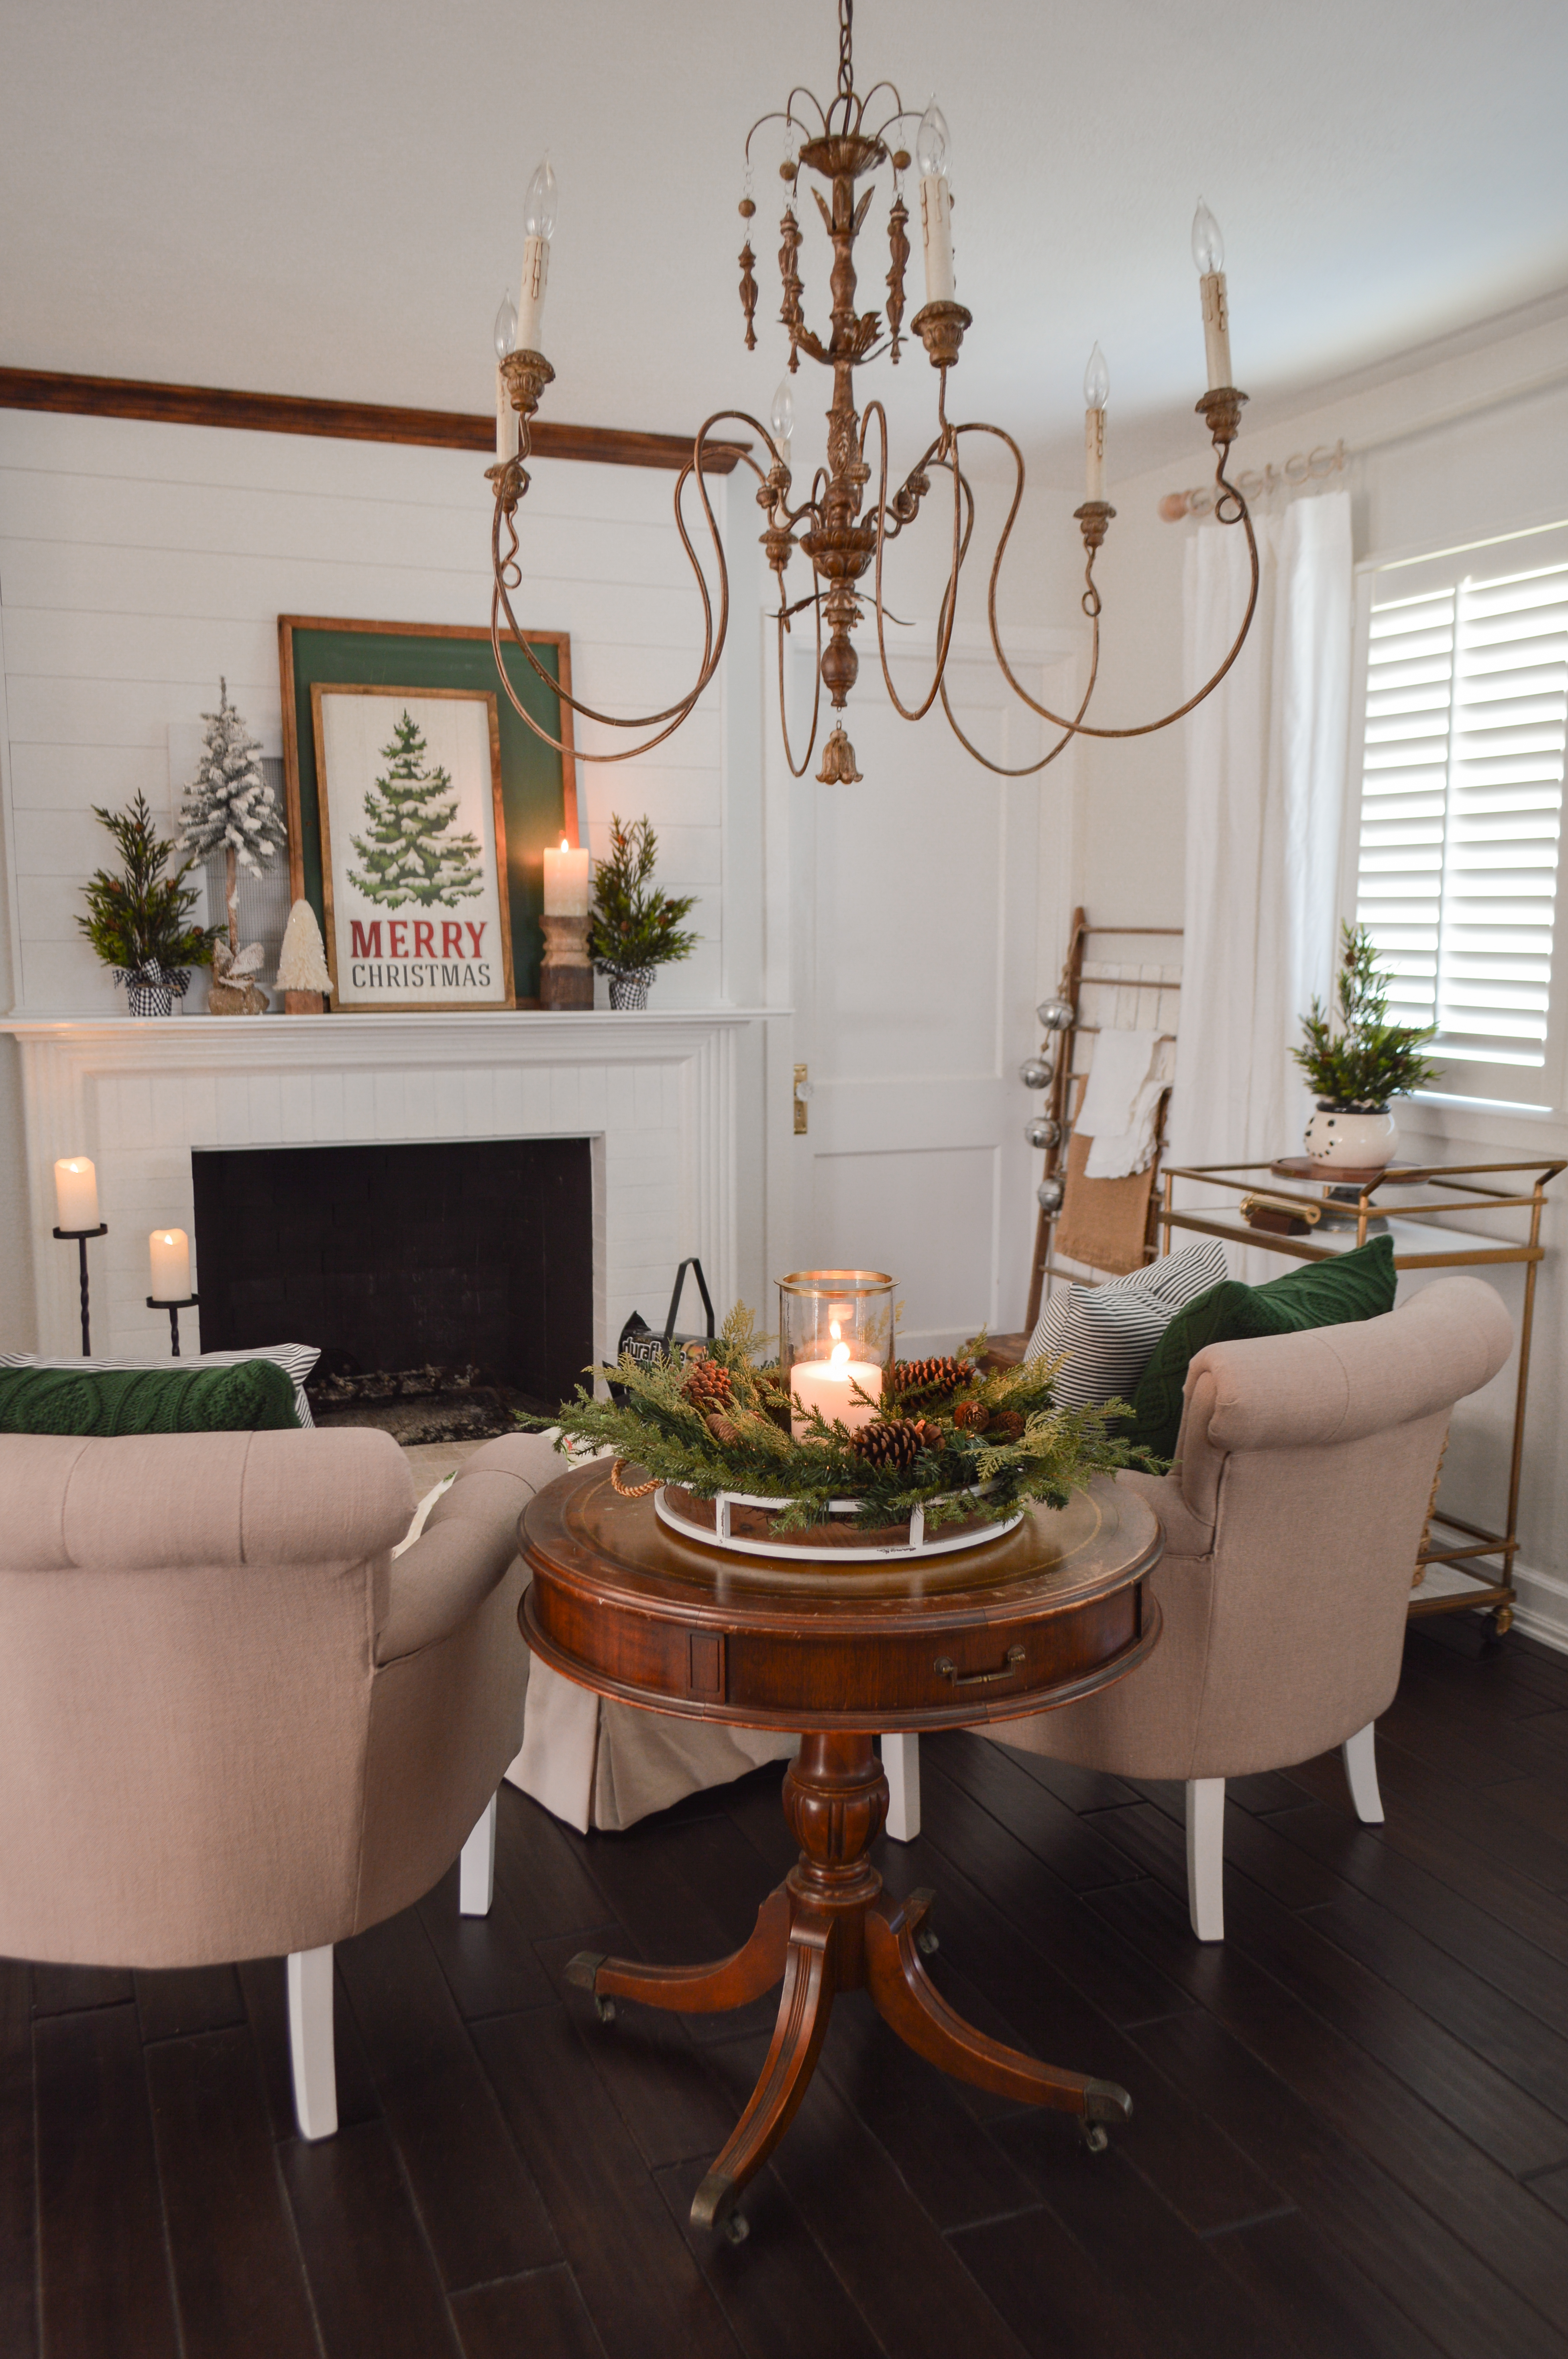
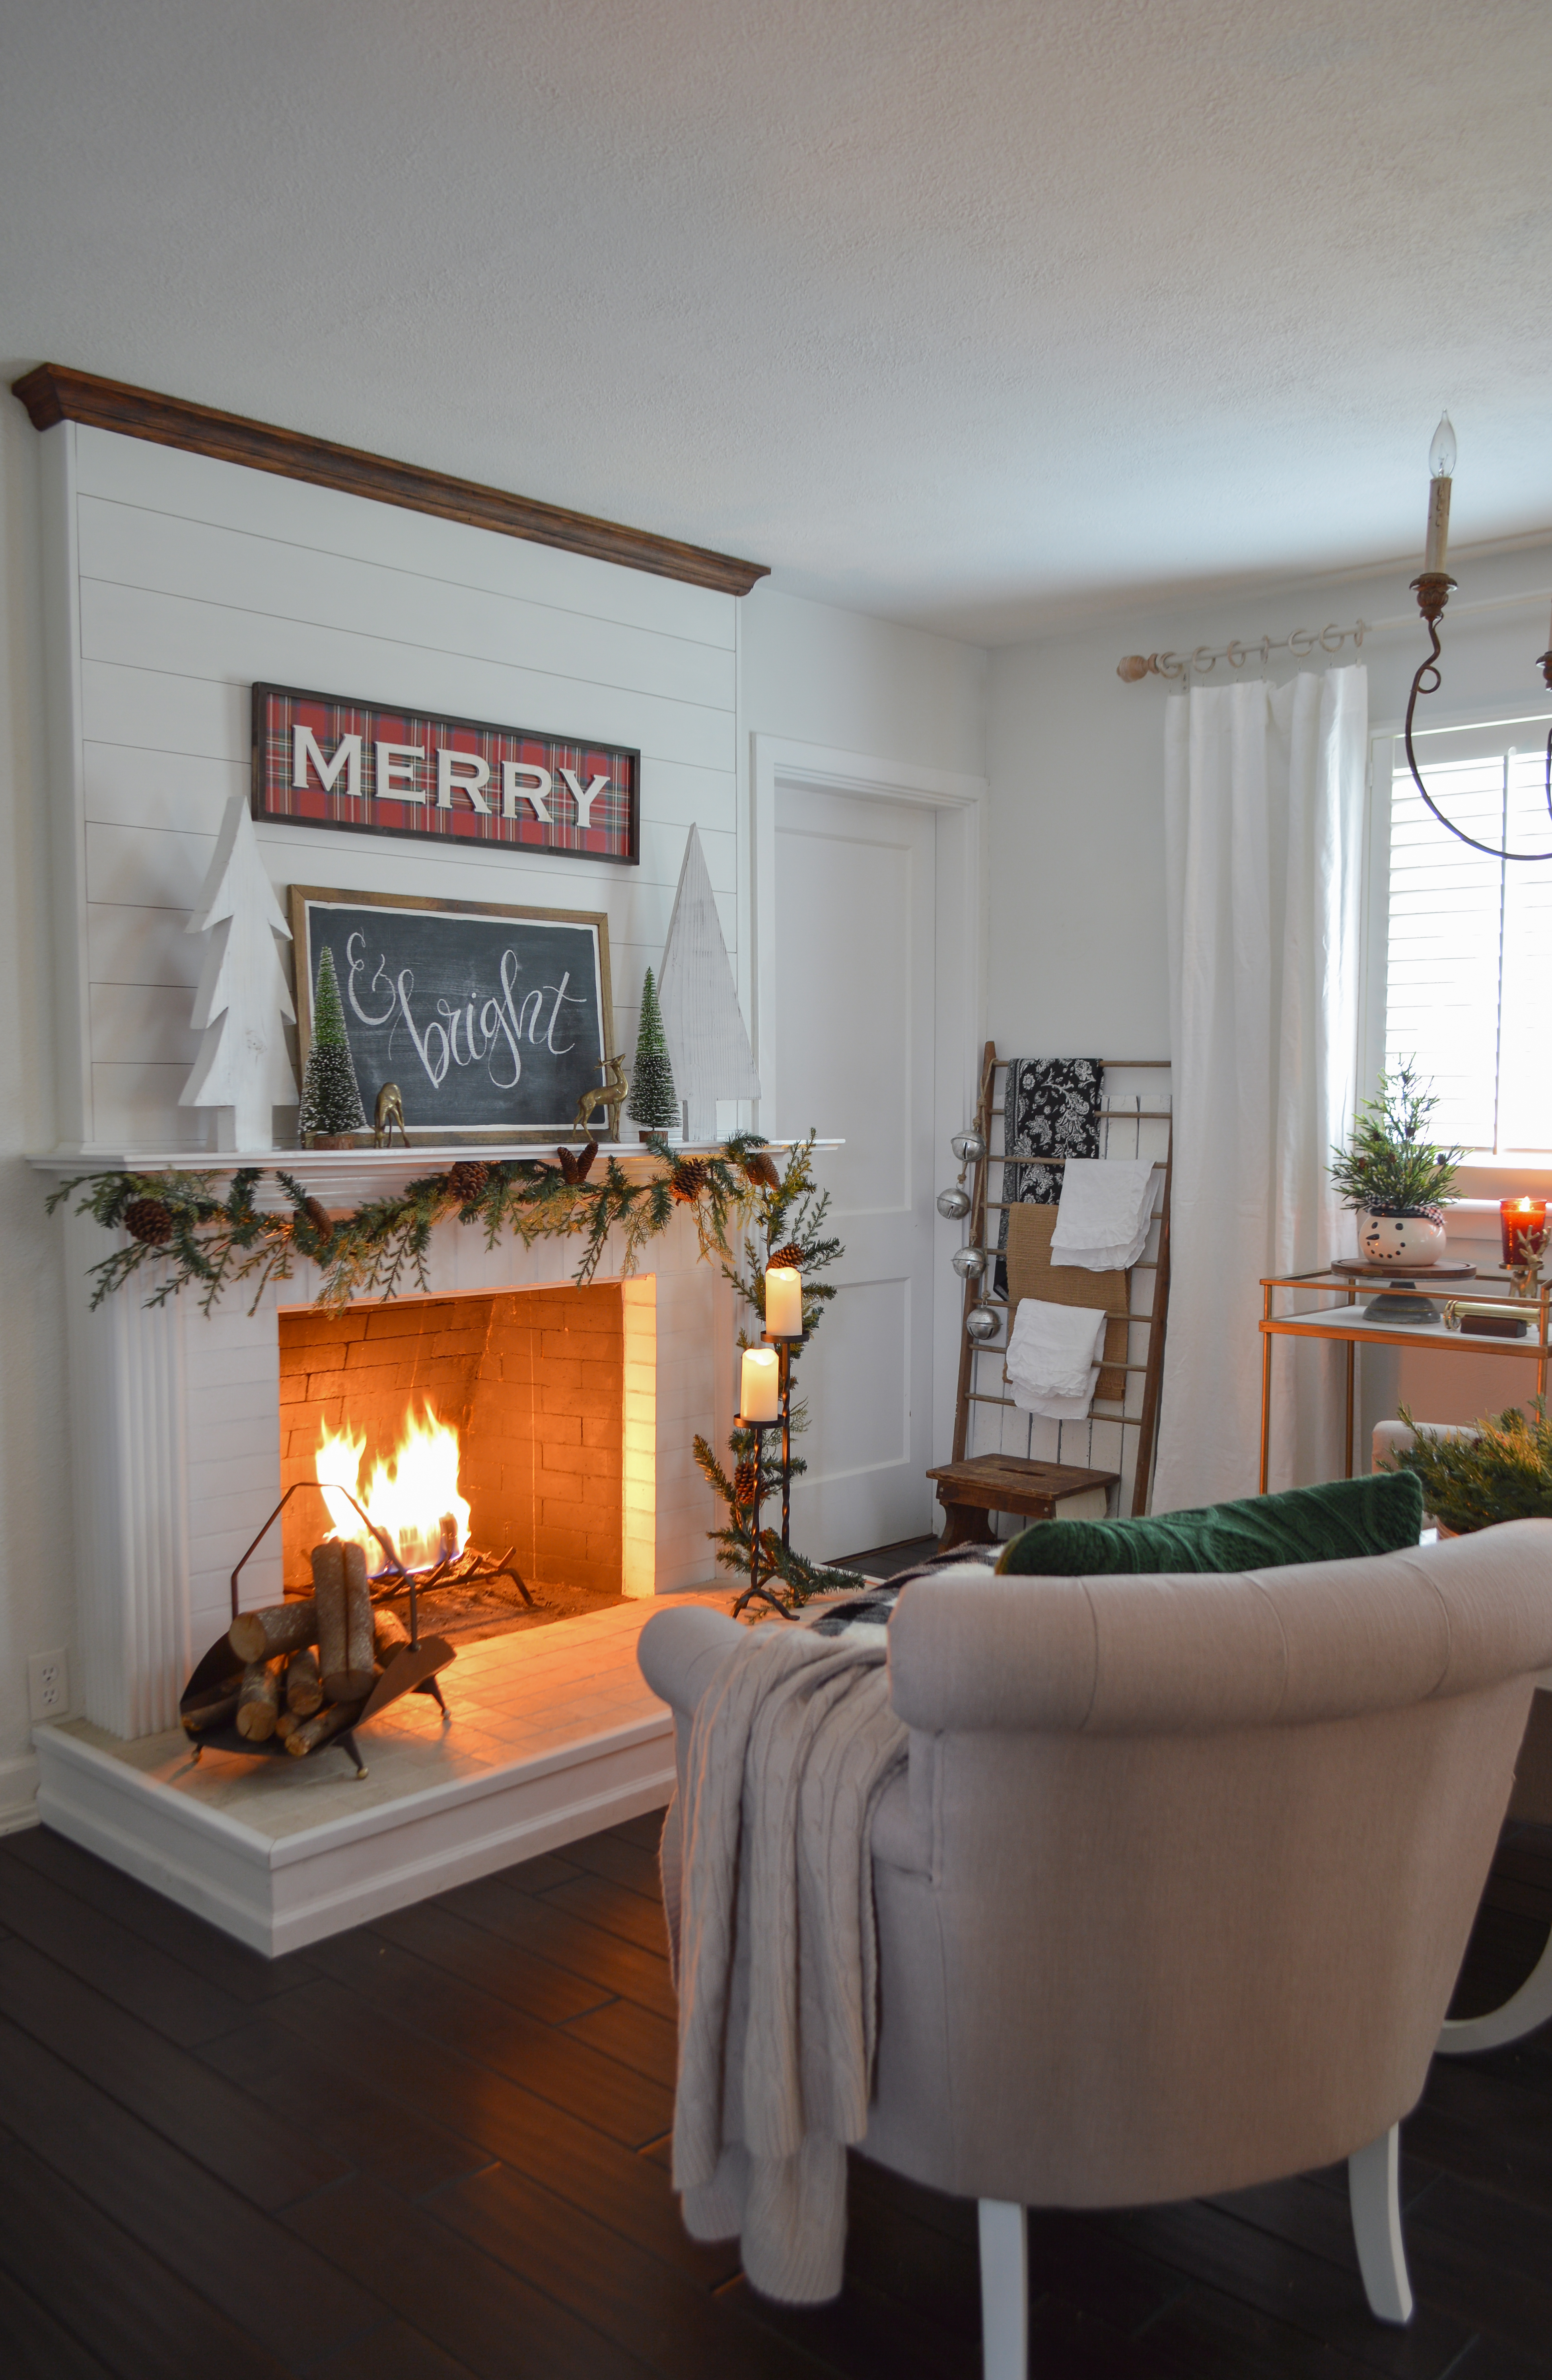
I’m very much looking forward to decorating for the sunny seasons with the new lighter, brighter look! Things are always shifting in our little cottage, and I’ve since moved the farm table back in front of the fireplace. It’s perfectly cozy to have a roaring fire when I’m painting at the table!
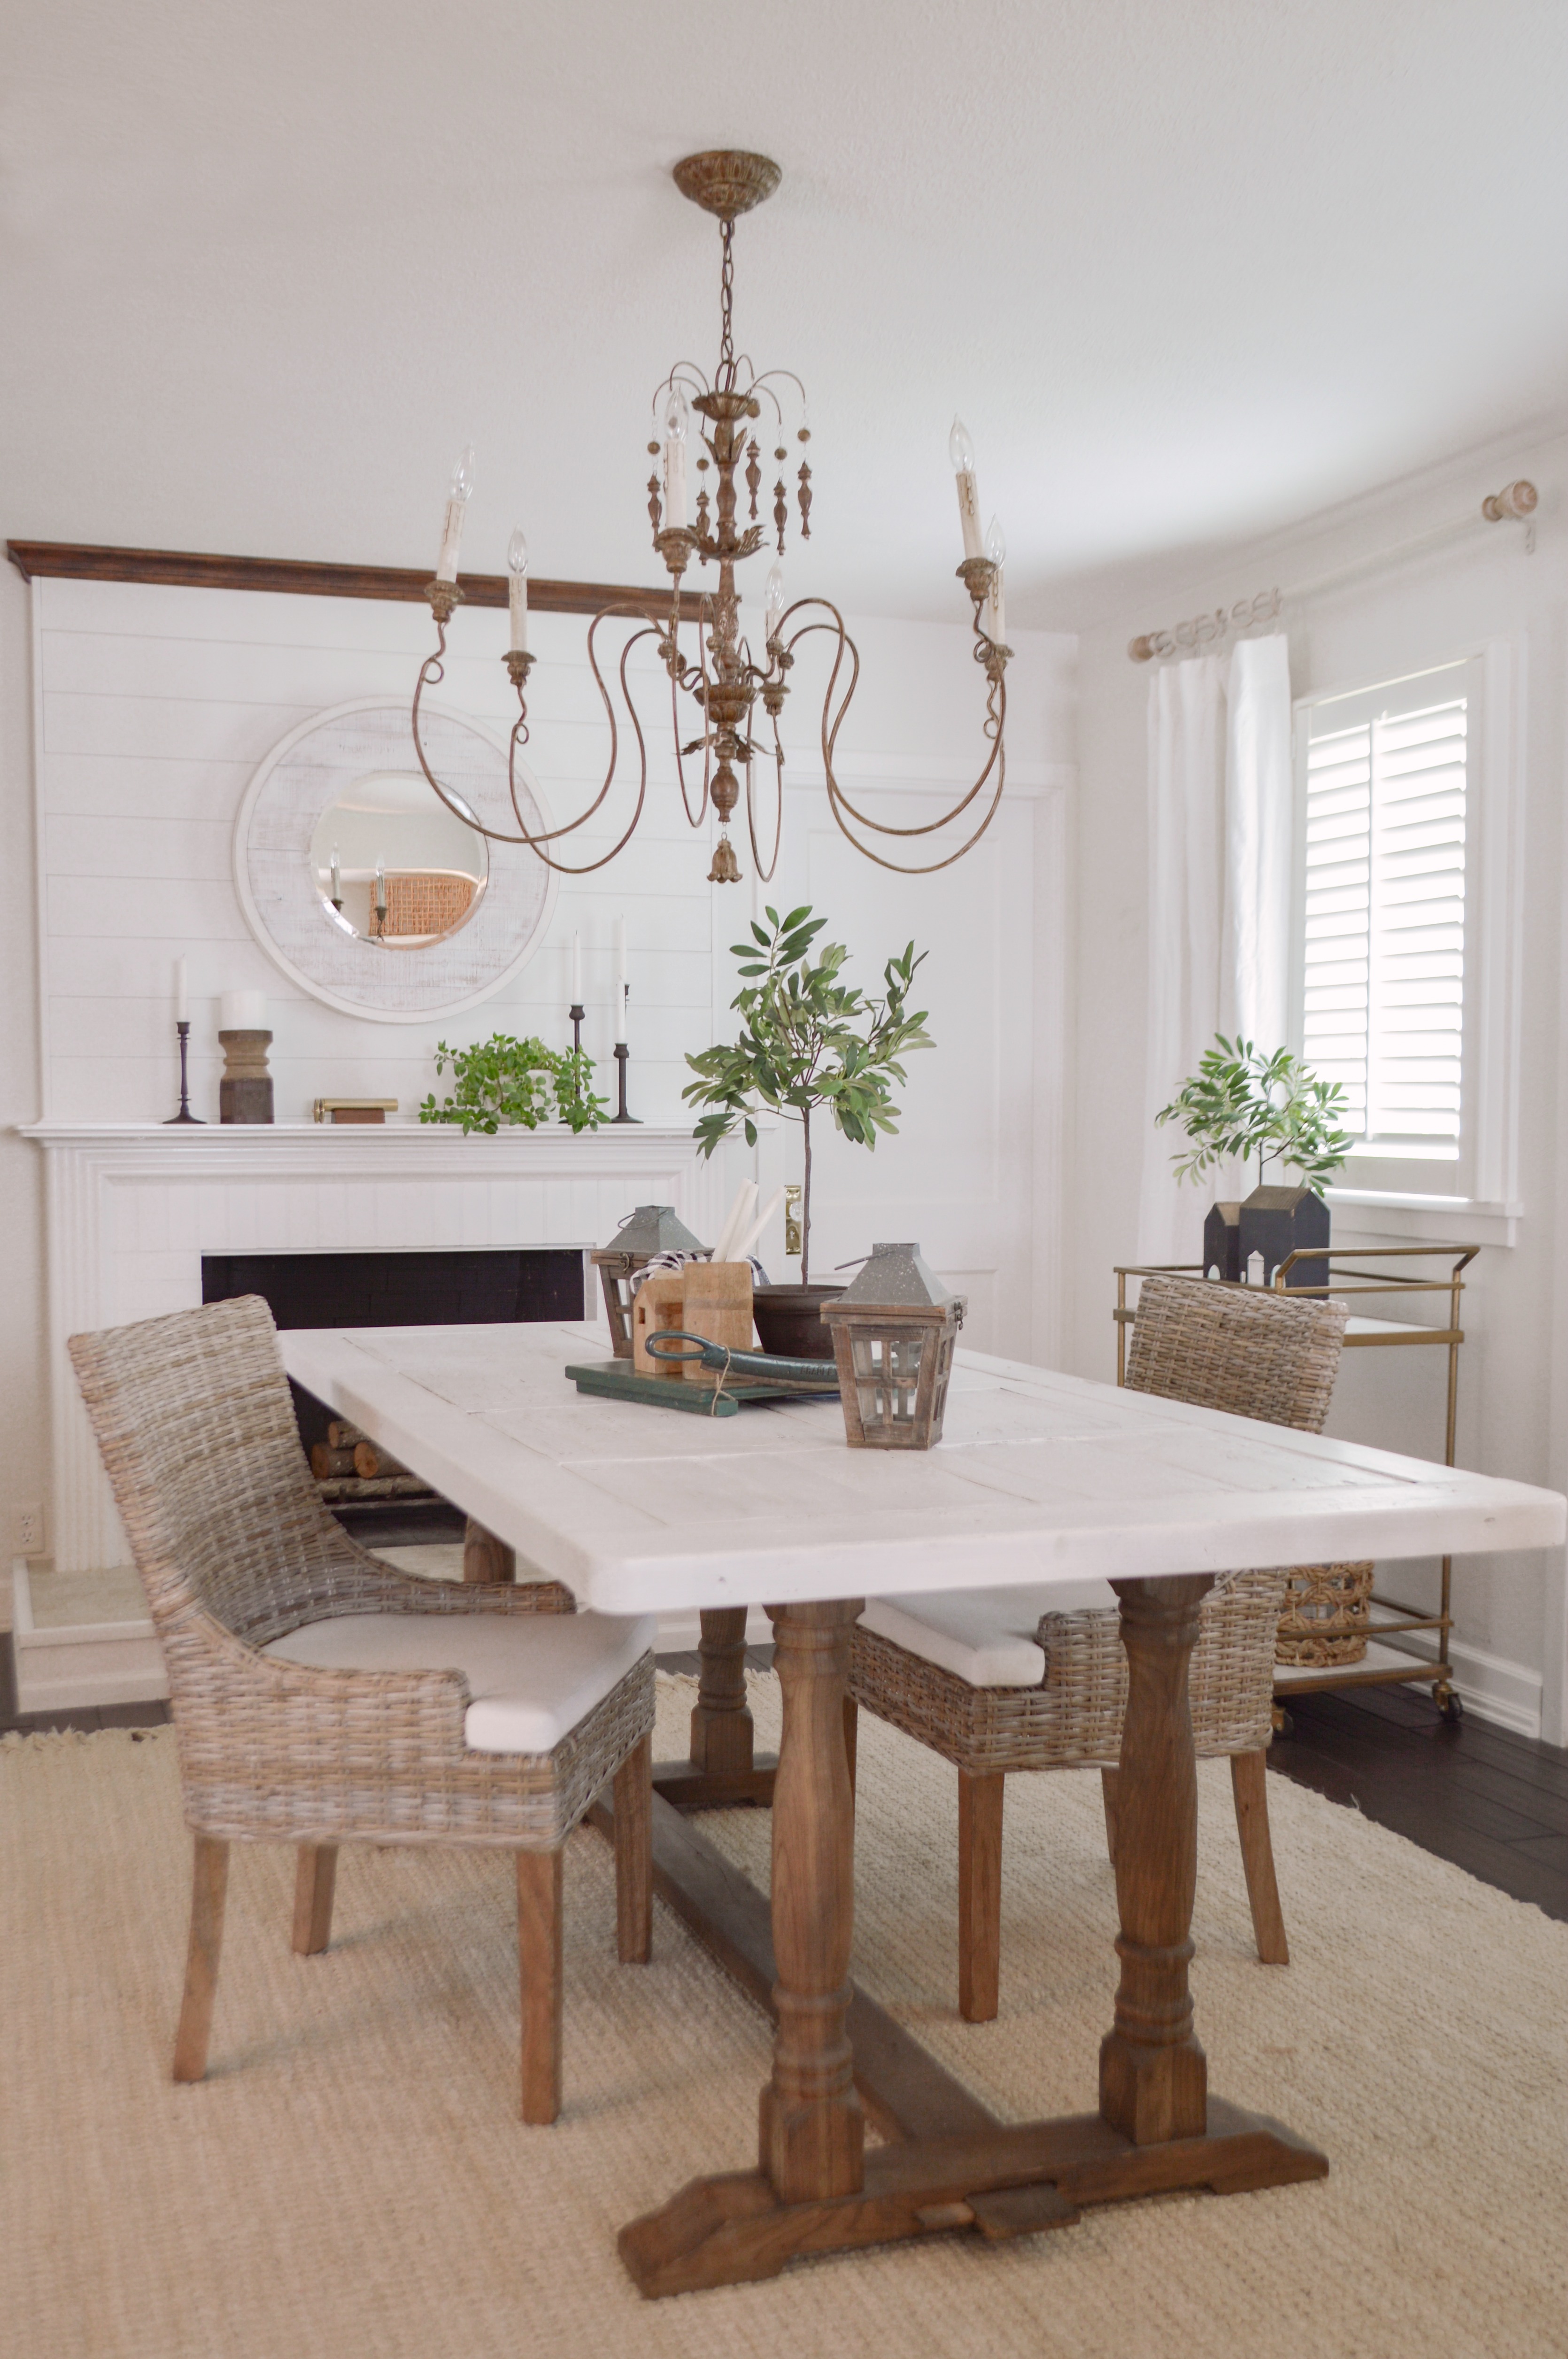
This was a very simple, and very inexpensive update! In fact it probably took me about as long to type out the material list and the instructions as it did for us to pop it up. Okay, maybe it took a little longer, but not much!
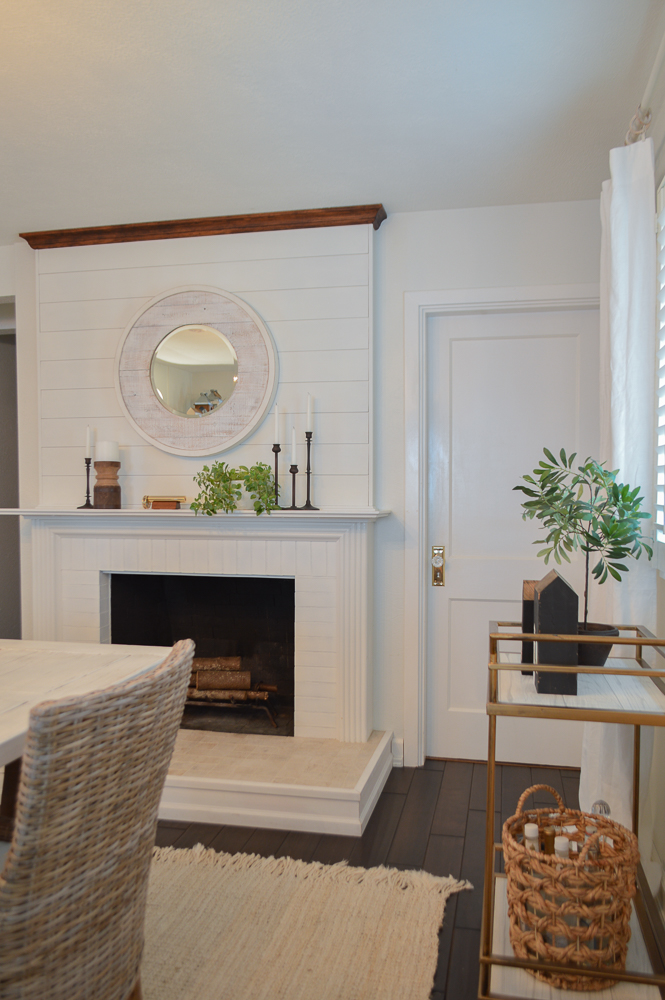
This little fireplace has had so many changes over the years, but I think this is my favorite so far! After the initial fixing of course. Because yikes, was it pretty darn ugly to start.
[twenty20 img1=”23095″ img2=”23071″ offset=”0.5″]
[Click Here] to see how we did the initial mantel and hearth makeover on our fireplace for under $150
I’ve joined in with some SUPER talented ladies today and we are all sharing a NEW DIY project with you! Natalie at My Vintage Porch gathered us all together, and I’m so glad she did! Getting this tutorial up was overdue, and I’m so happy to share it today. Pop around and check out all the girls projects by simply clicking on the links below. They’ll be waiting for you!
Visit Natalie at My Vintage Porch [click here]
Liz at Love Grows Wild [click here]
Rachel at Masion de Pax [click here]
Randi at Randi Garret Design [click here]
Bre at Rooms For Rent [click here]
and Sarah of Sarah Joy Blog [click here]
I myself can’t wait to see what the girls will be sharing and I’ll be clicking around myself! Thanks so much for joining us today. I will have a new Style Showcase post to share on February 4th with you, and then I’ve got a room makeover to reveal the same week!!!! Can’t wait to get that wrapped up and blogged. Hoping for a spot of sunshine to shoot it, but so far it’s not looking too good… come on SUMMER!! lol.
XO, Shan
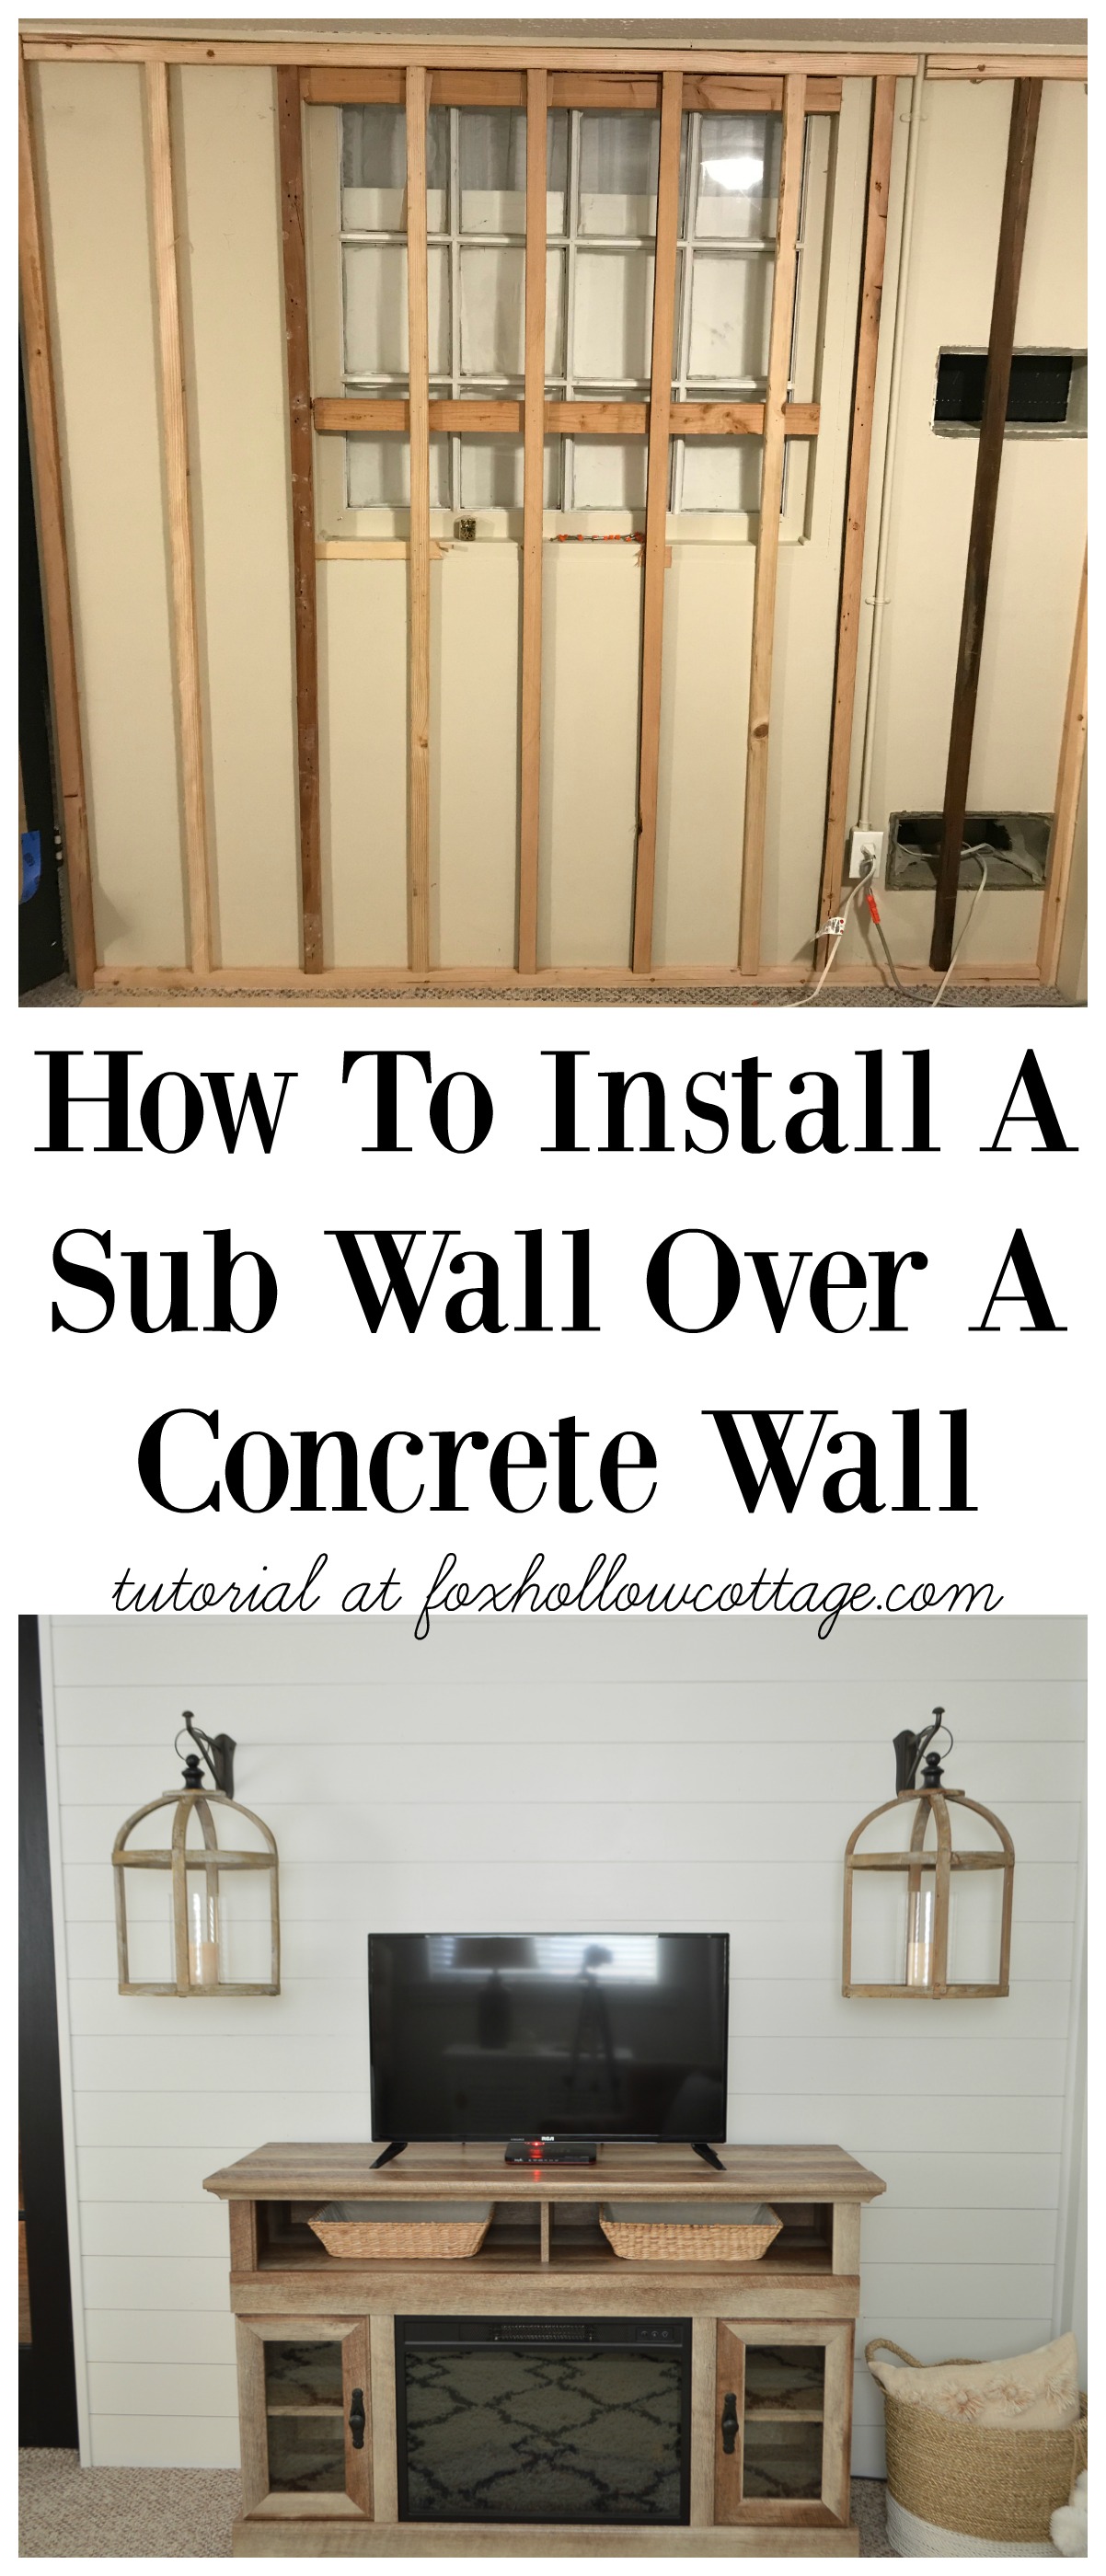
Use the tutorial below to shiplap an accent wall, whole room… or even who to install shiplap over a concrete wall! [click here for the tutorial]








This is such a great project! Love shiplap so much!
Thanks oodles Sarah! Happy February 🙂
It’s stunning Shannon! And, you make it look easy peasy!
Thanks Nat, it was seriously so simple!! 🙂
Oh my goodness! It looks fantastic! Great DIY! xoxo
Thank you Randi! We are loving the fresh look 😉
I’m jealous! I don’t have a fireplace in this home we’re in. You fireplace look amazing with that shiplap above. However, I wished you would have painted the crown molding white that ties in with the white walls. Just my opinion!
LOL – My mom thinks so too, but when you see the whole room in person, the dark finish looks good with our dark floors. To me 😉
There are loads of great ways to add a fireplace look, and electric fireplaces too, if you have the wall space!
Hi, I can not find those measurements at my local home depot store. Any suggestions, I know we can cut to size but the way it looks over your fireplace is amazing.
Thanks,
Tammy
Hi Tammy! Thank you 🙂 We cut our board width to 5 1/8 and the length is cut to our wall, it’s about 5 feet across.
Shannon, I love the clean bright look that the ship lap gives your mantel!!! I knew you had changed it up but I didn’t know exactly what you had done!
Hi Jane 🙂 Yes, we did that going into Fall… and I just didn’t get a chance to blog about it. With Christmas as all. Glad to get a chance to get it written out!
Happy February to you and Leo. xo Shan
I love it, Shannon. It adds so much character to your fireplace!
It worked well for the space we were refreshing. Thanks!!
PS: I adore your fireplace!!!!
It’s beautiful. Y’all did a great job!
Thank you SO much 🙂
It looks great and I love it.
Hi Betty!
Thank you, we are very happy with the refreshed look 🙂