DIY Planter Pot Poles For Cafe String Lights
Many of you have been so patiently waiting for this one… and today I’m finally sharing how we made our planter pots with poles to hang our cafe lights from! The good news in my delay, is you’ll know it really works — they are sturdy and secure. Lasting through Winter, and all our crazy wind storms. Keep on reading and we’ll walk you thru this super simple and fuss-free DIY tutorial on how to make your own planter pot poles for hanging outdoor string lights of any kind. You can use plug in lights and solar powered work too . You can use a DIY planter pots, or store bought planters. This beginner friendly tutorial will work for either, and you don’t need any special or expensive tools to accomplish this project!
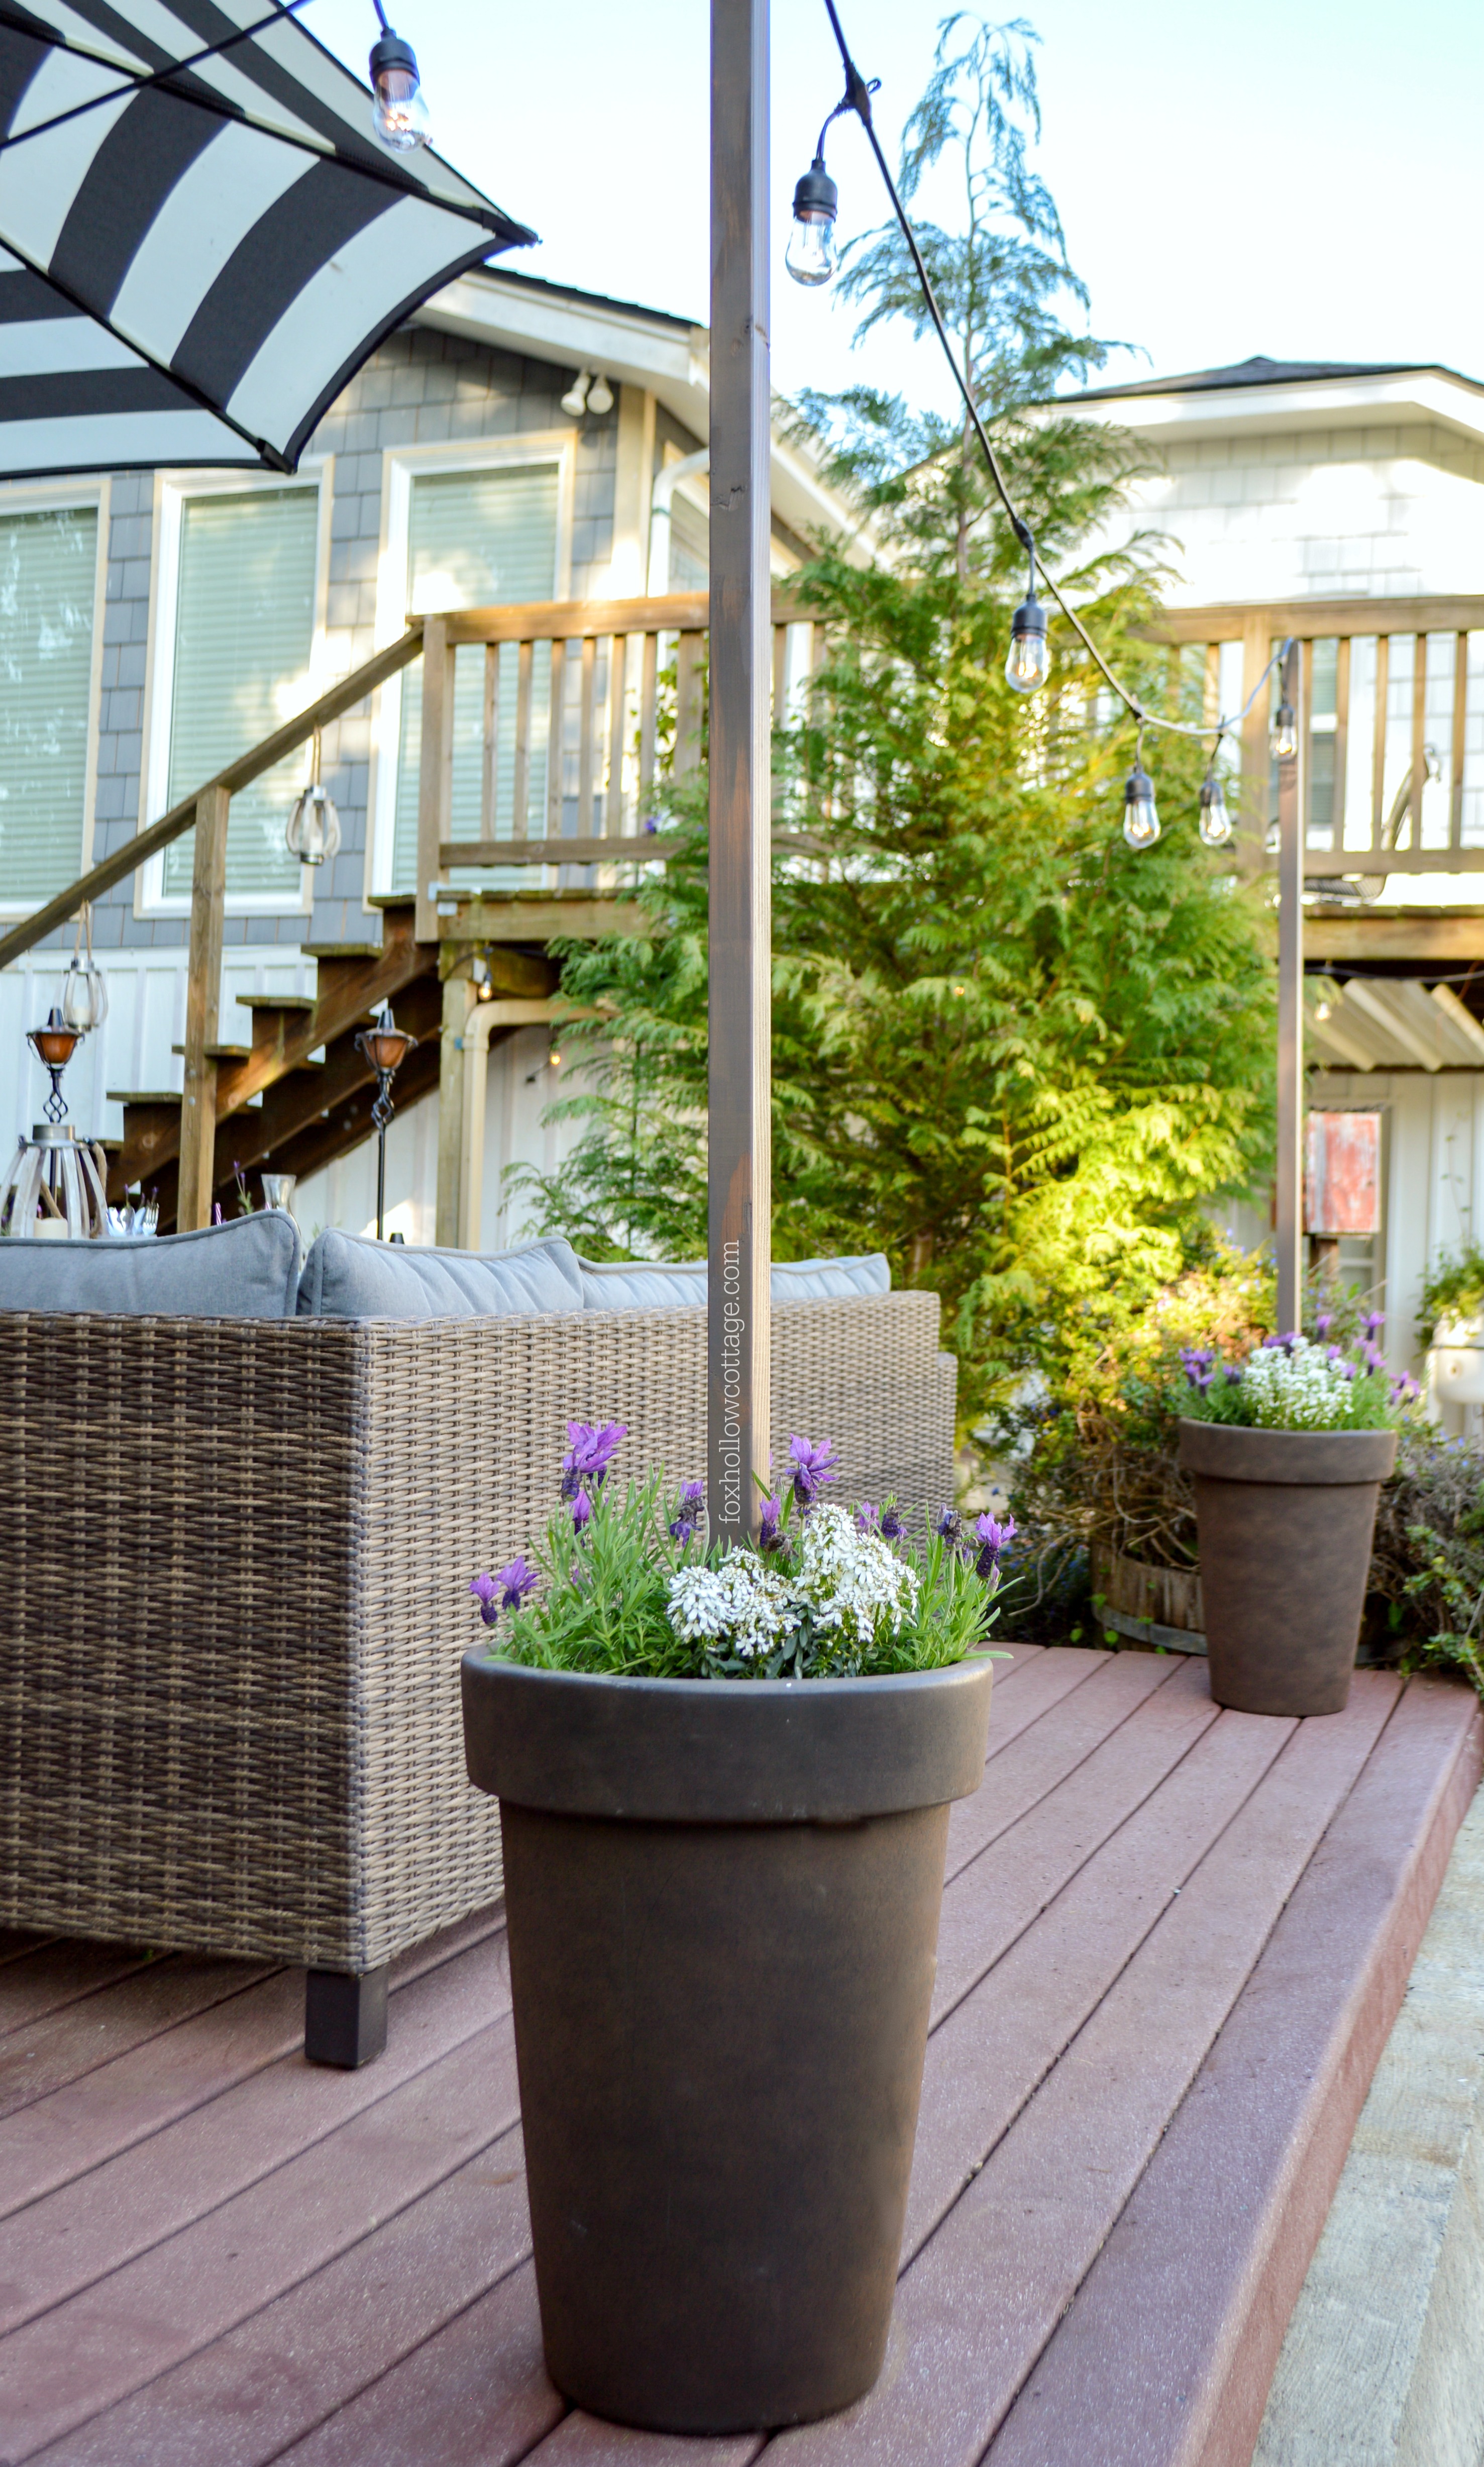
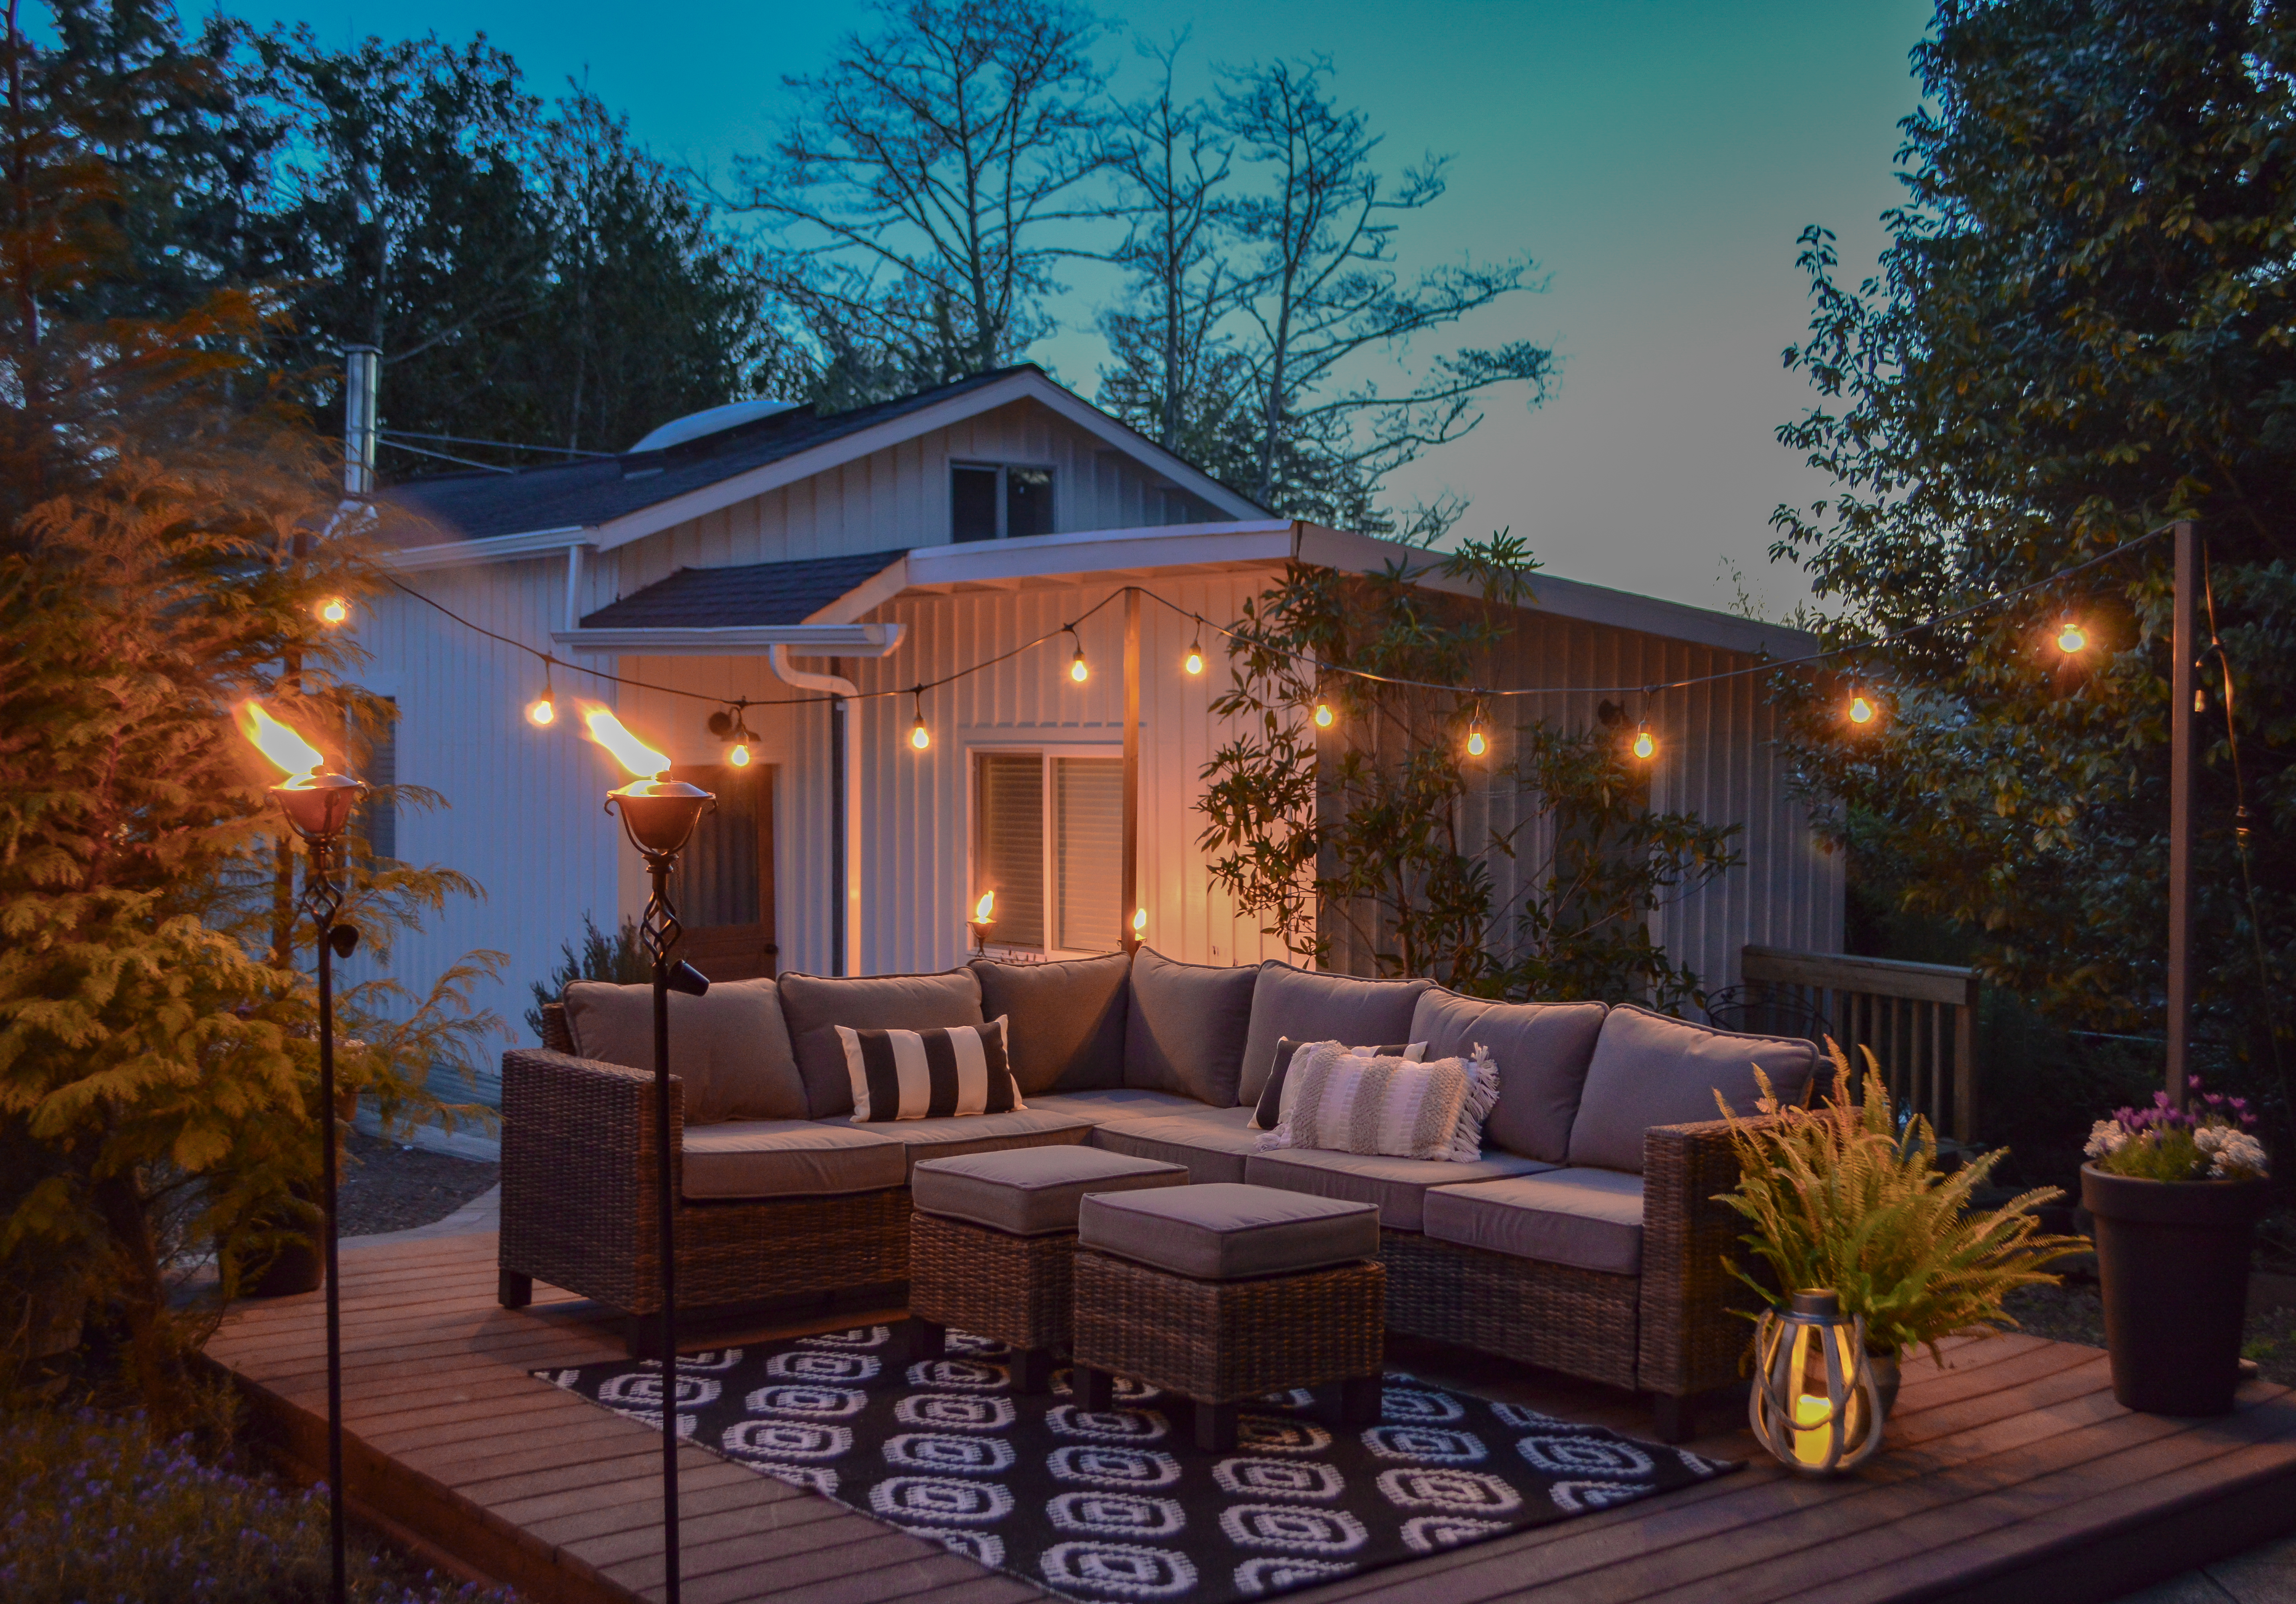
You’ve seen our light pole planters in a few different posts over the last year, and I’m happy to say they have held up so well. I think the key to being secure, even in high winds, is that the slim profile doesn’t give the wind anything to grab onto. Our lights have stayed in place and weathered well too! We did not remove them over the Winter.
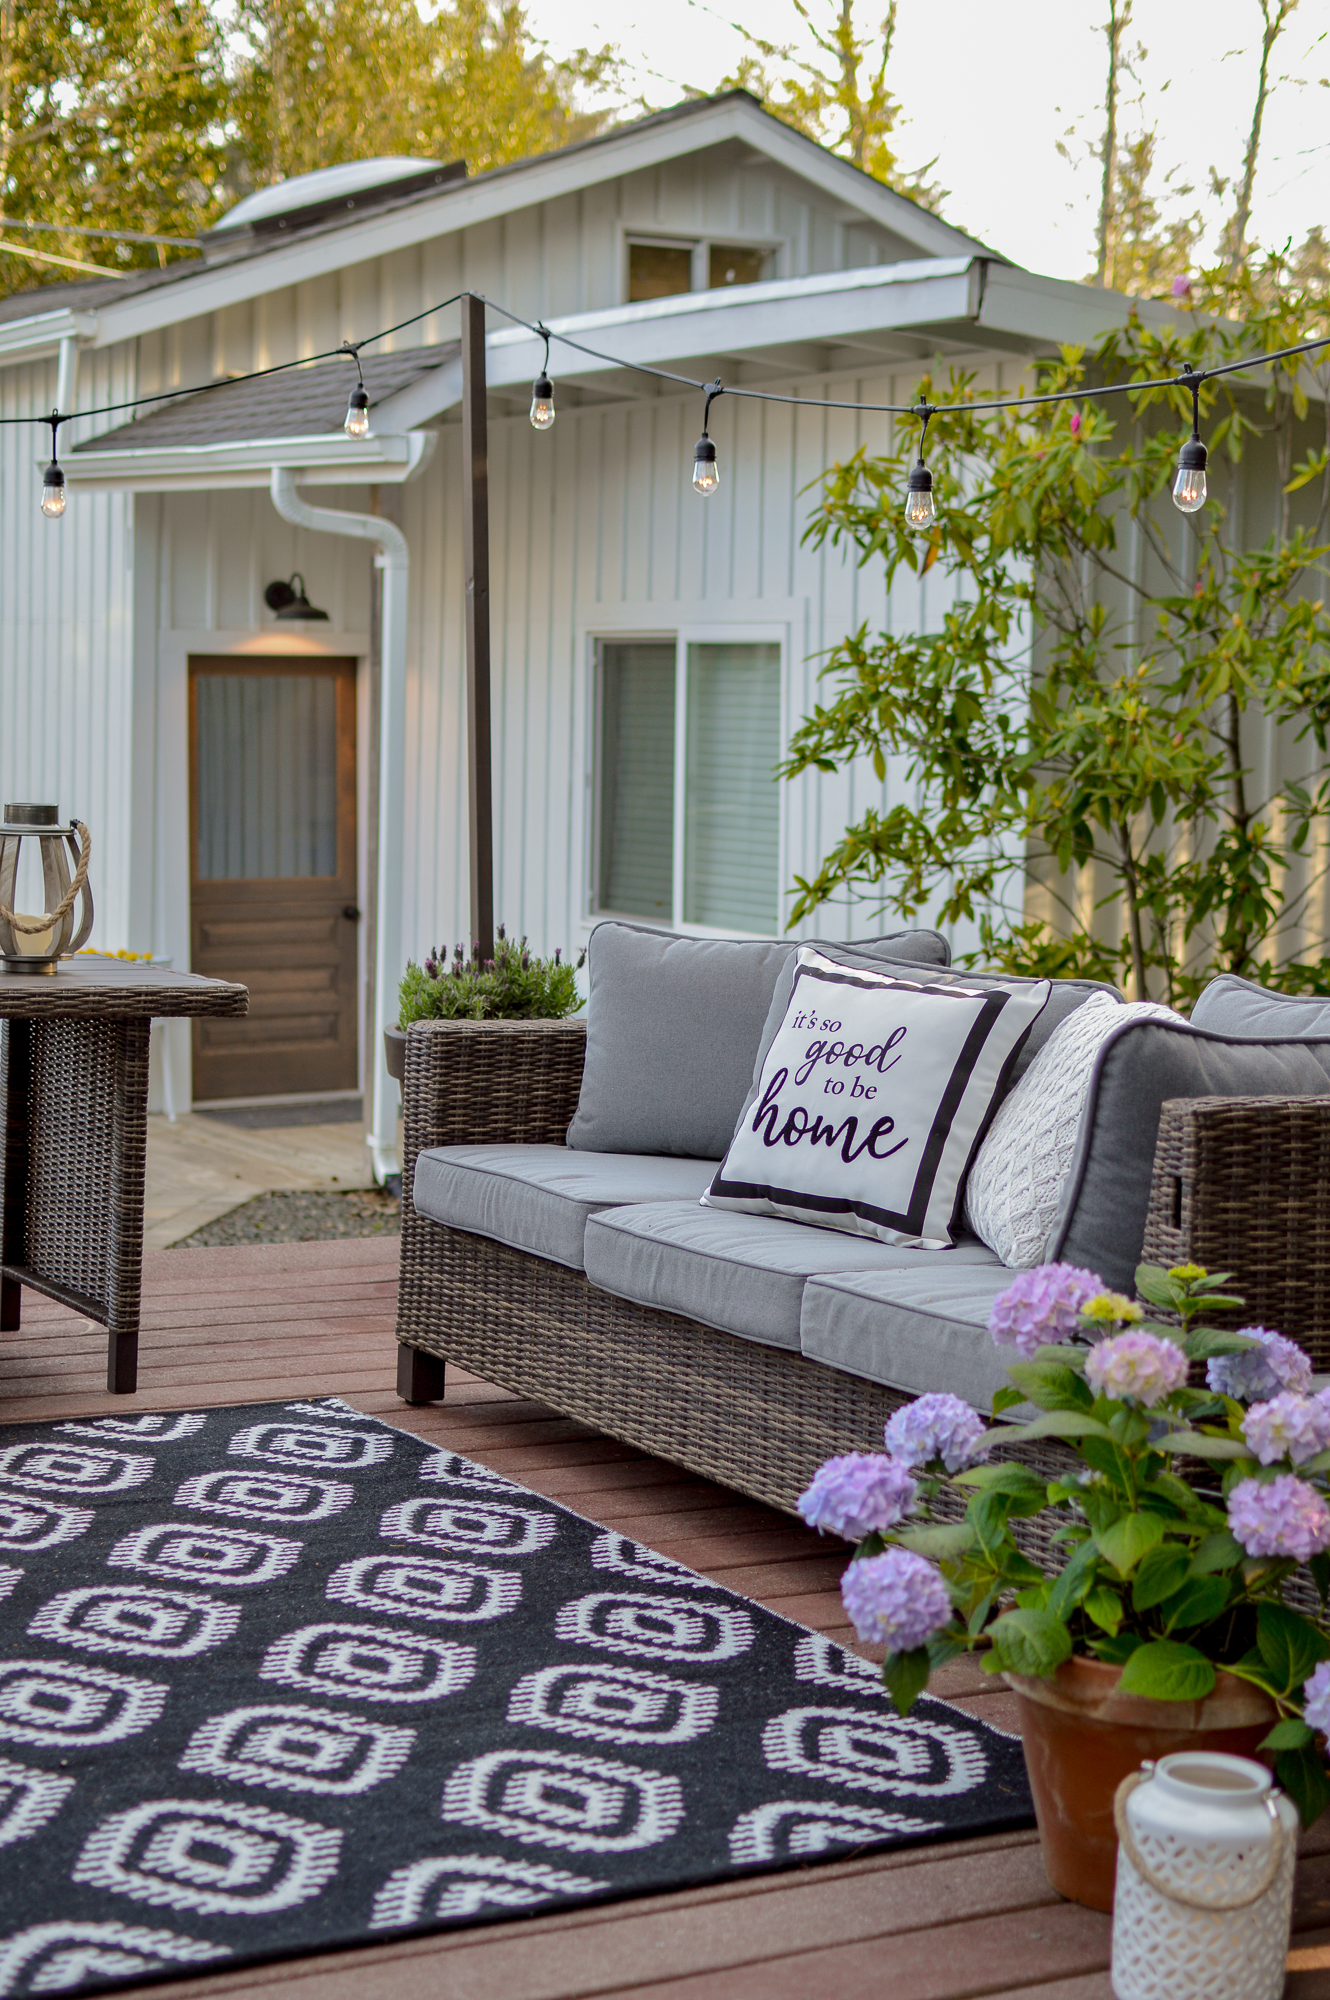
We did pull out last Springs plantings and re-plant this season though. If necessary, you can always add fresh soil, fertilizer and new plants to suit your tastes or the weather conditions.
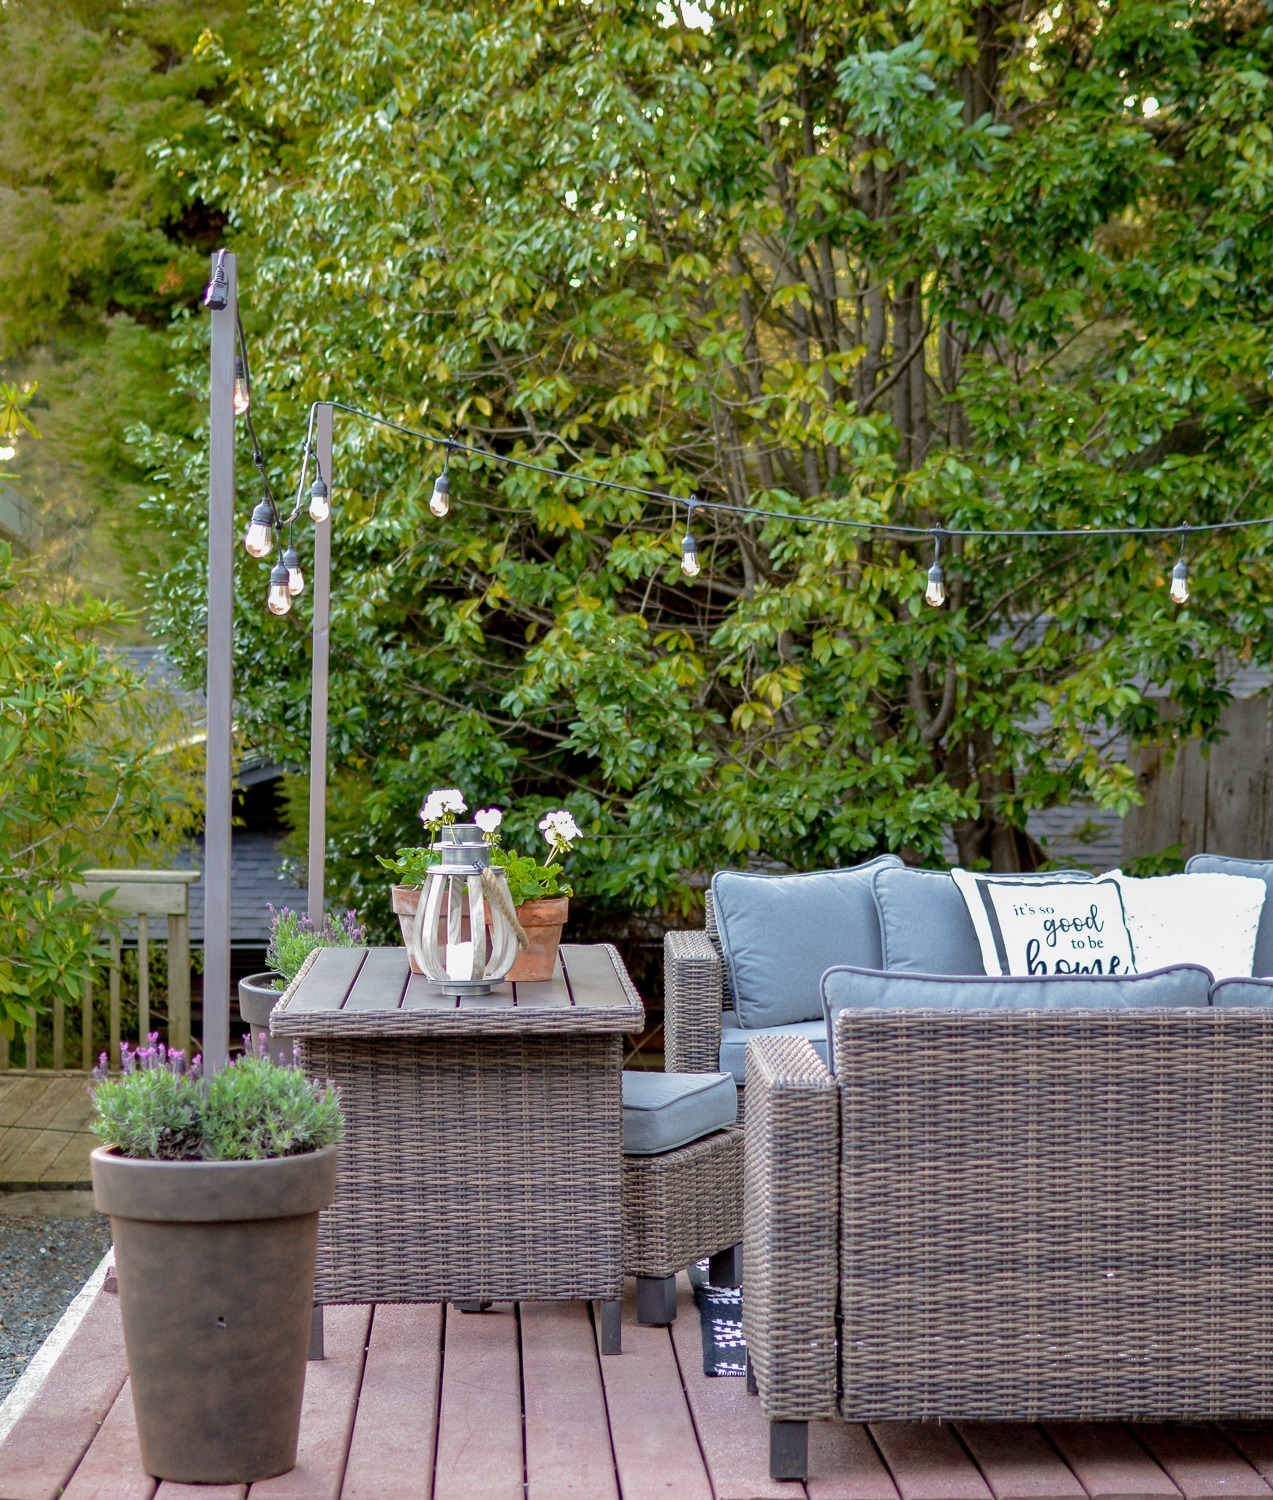
PERSONAL TASTE & SPACE CONSTRAINTS MAY DICTATE SOME OF THE MATERIALS YOU CHOOSE TO USE (LIKE PLANTERS SHAPE/SIZE), BUT THE BASIC STEPS TO CONSTRUCT WILL STILL APPLY.
YOU WILL NEED:
-
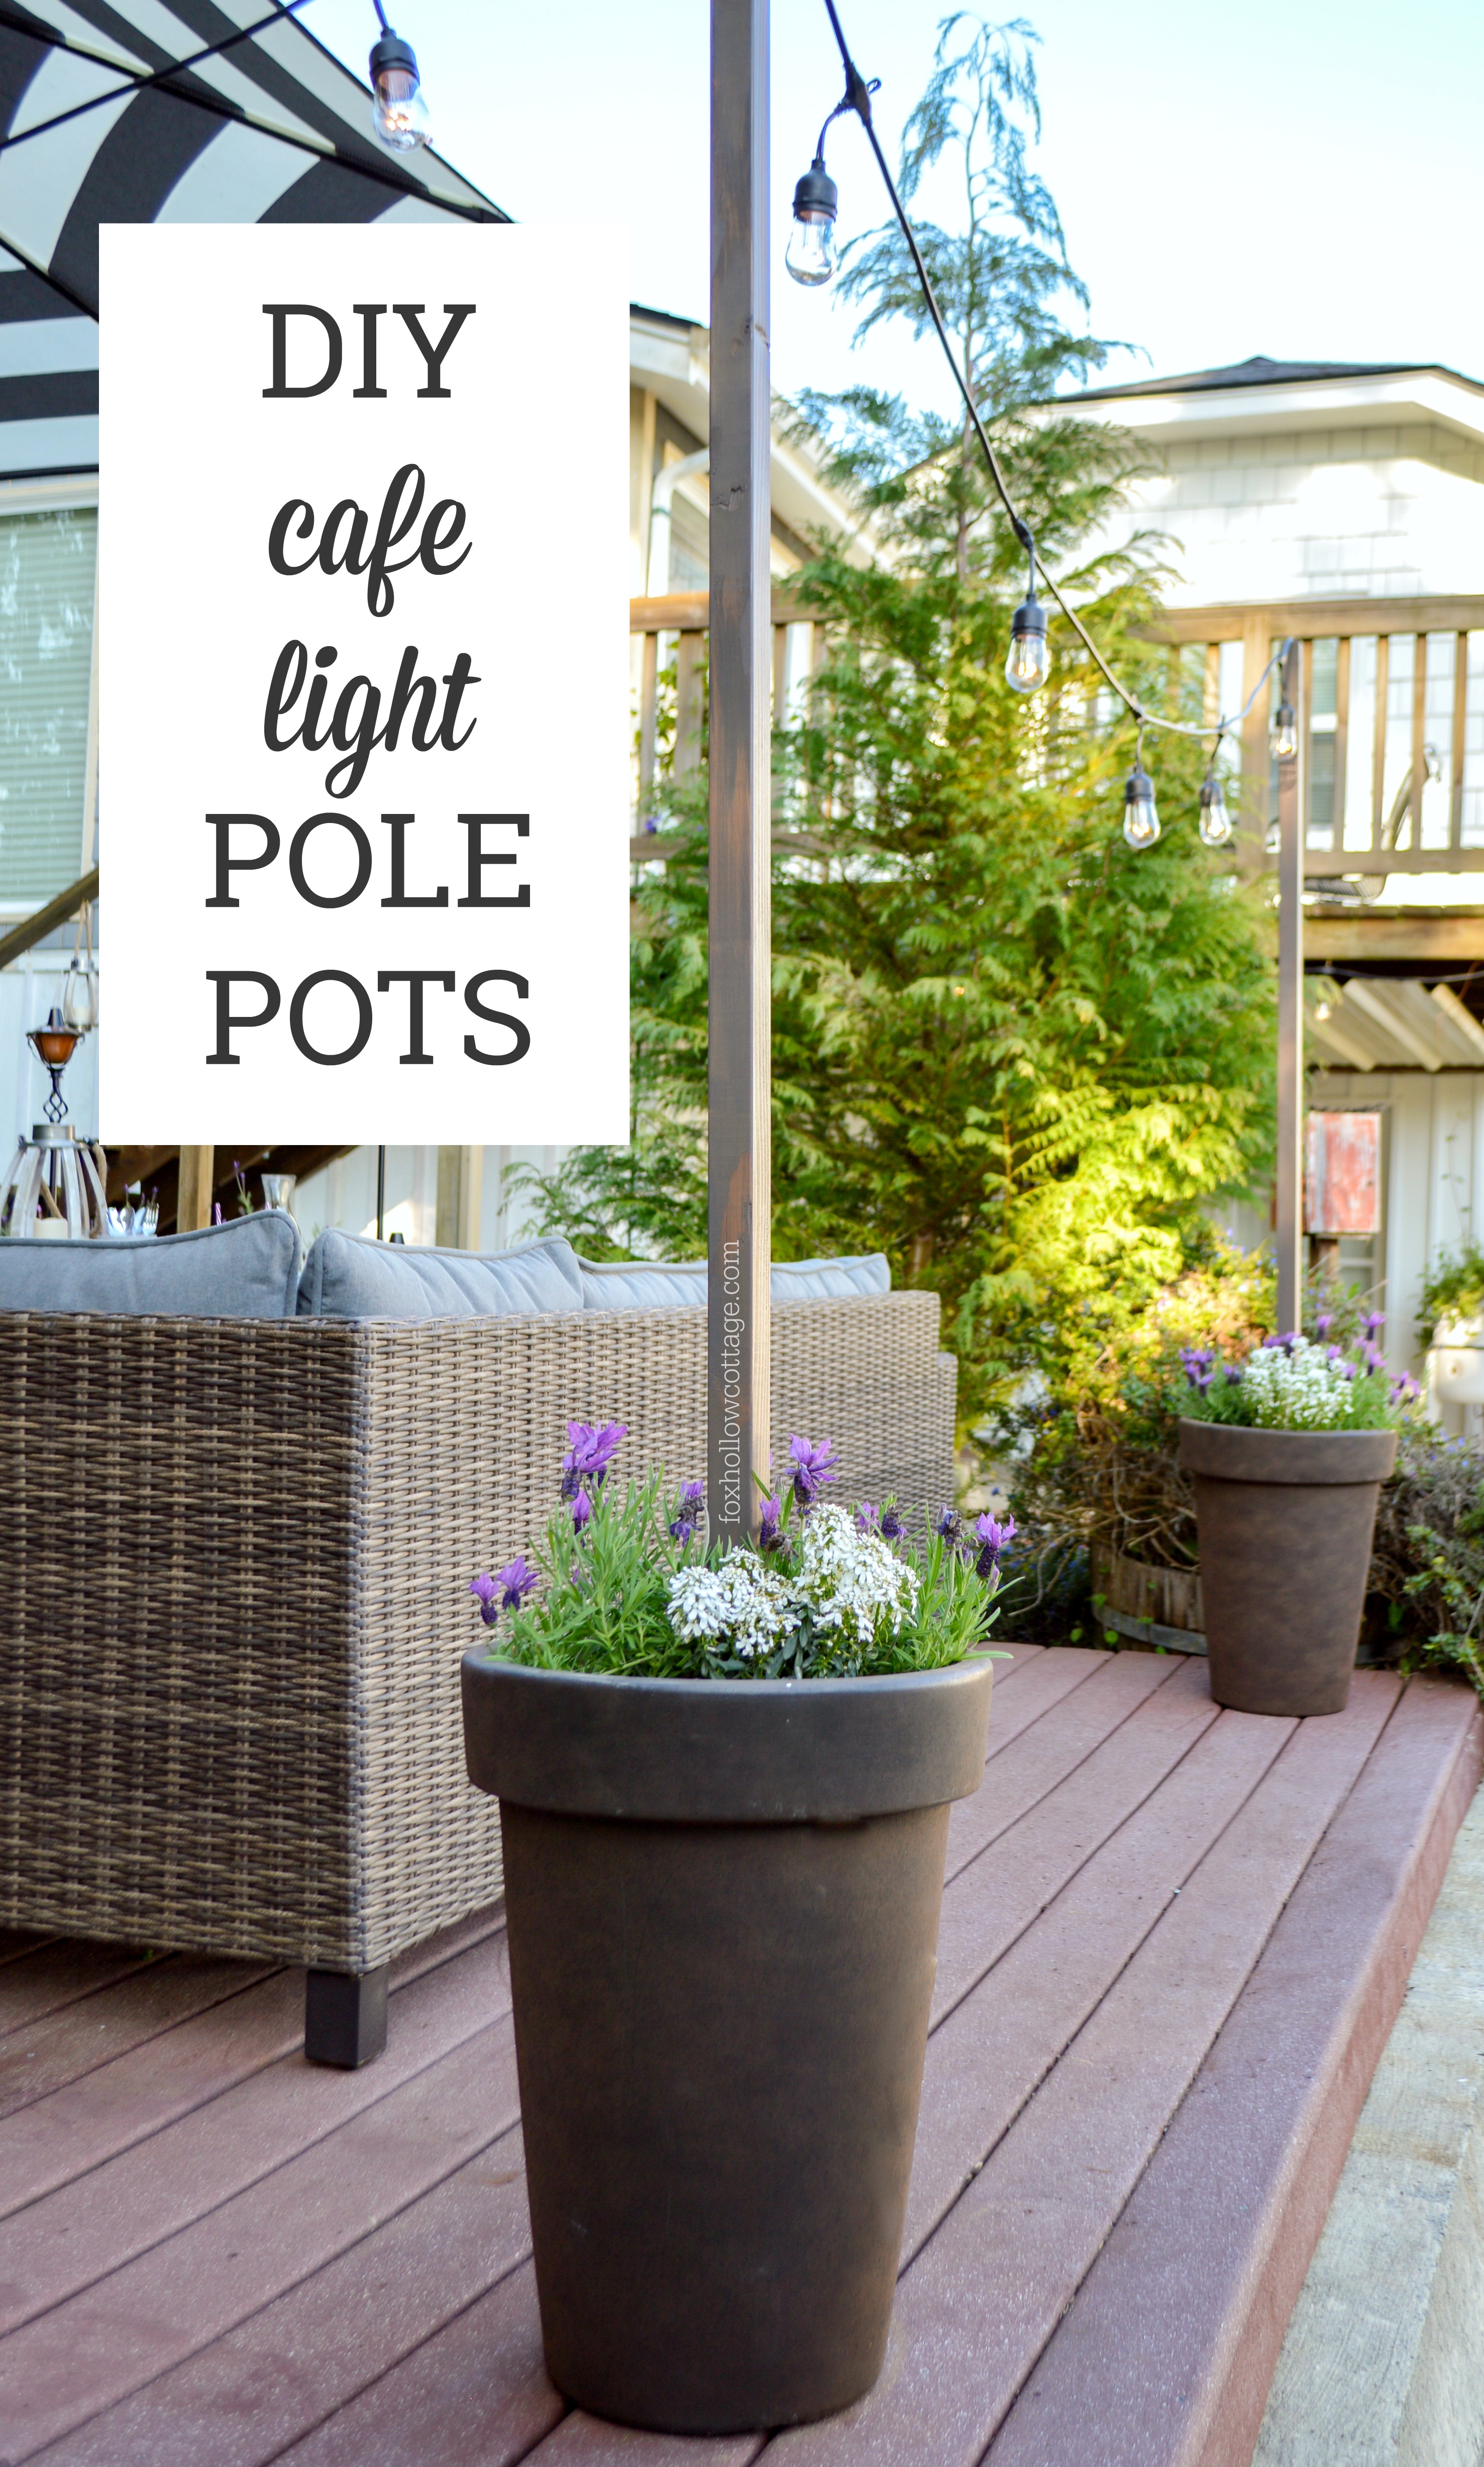
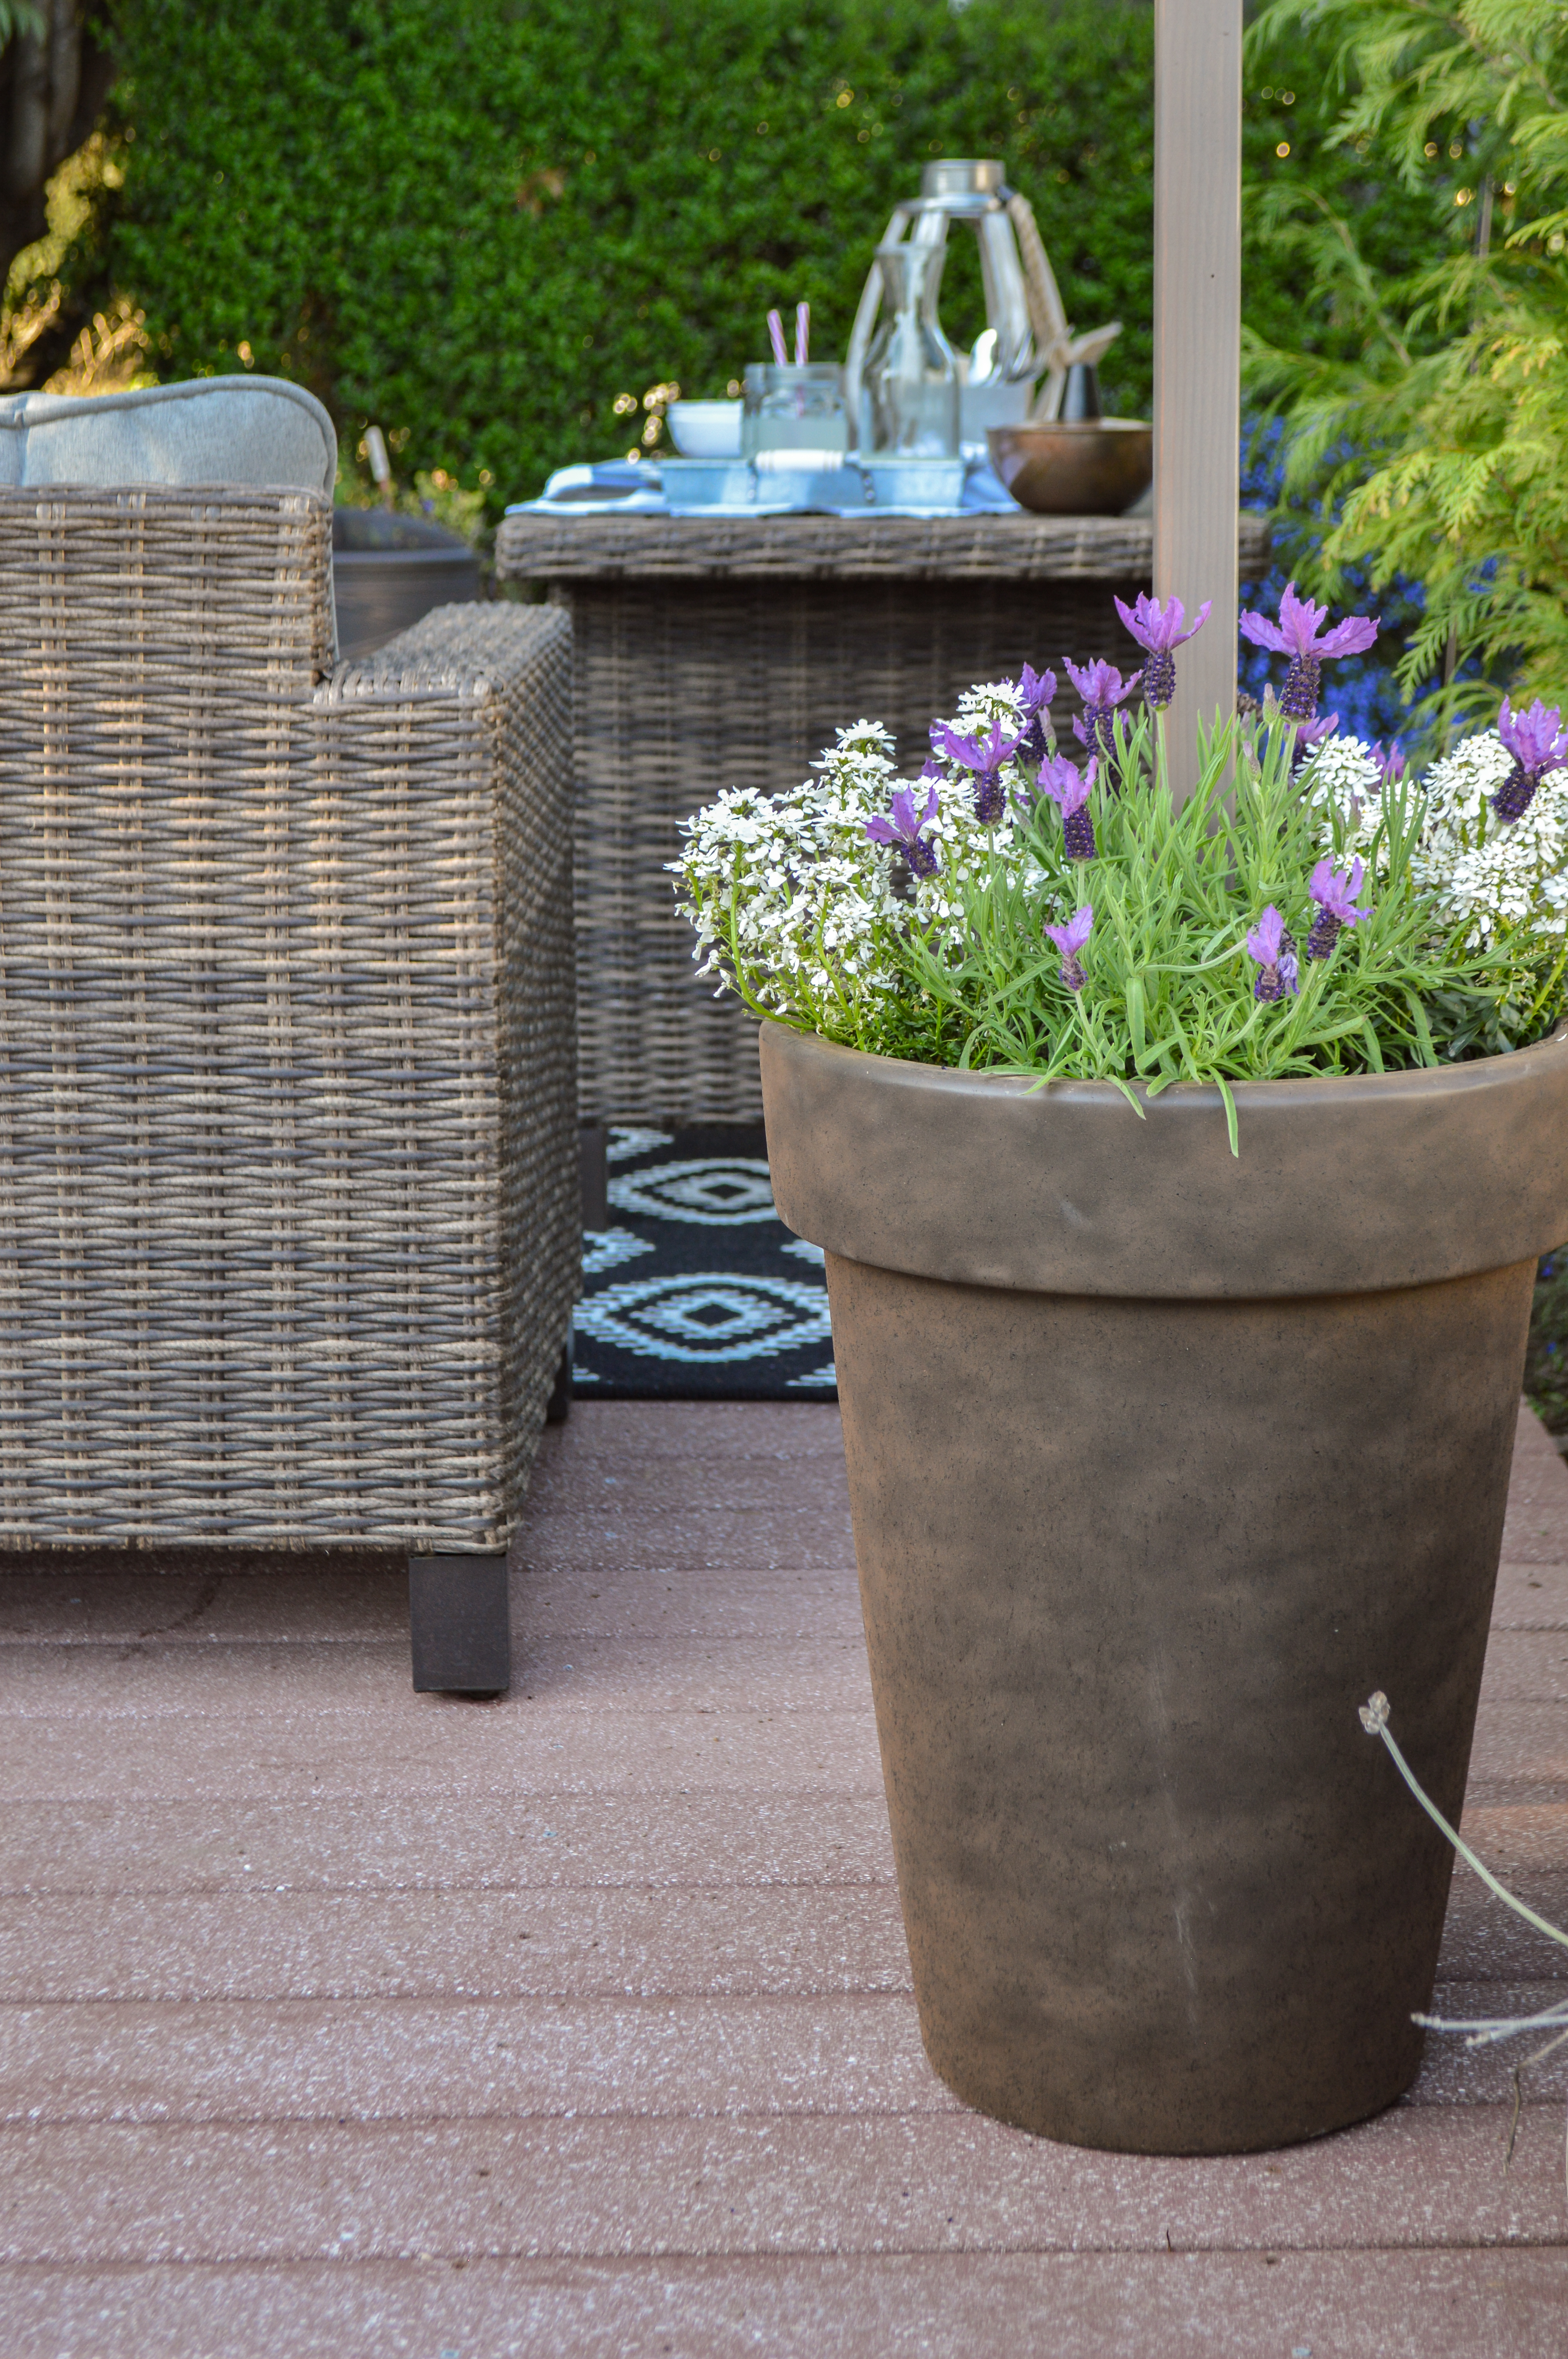
PLANTER POTS. We went with these exact tall/skinny planters [click here to order] for space issues, as well as the thought that the slim design and height would allow for our poles to sit a bit higher as well. Our pots measure 20 inches high, with a 15 inch opening. They are plastic/resin. You can use the following tutorial with store bought or DIY planter pots. Please take into account your pot material and climate combo, as quickrete may expand slightly in high heat climates.
-
POLES. We used one 2 x 2, 6 foot Douglass Fir wood pole for each pot. In Oregon that is a specific wood to us, and if you are East of the Rockies, you’ll more than likely find Southern Yellow Pine. That works too! If you want your lights higher up, you can use an 8 foot piece as your pole instead.
-
QUIKCRETE CONCRETE. We used one 60 lb bag for each pot.
-
SCRAP WOOD (for braces). Alternative: duct or painters tape can substitute, though I recommend the sturdier wood braces.
-
LEVEL
-
WATER. Hose, or other water source.
-
FASTENERS. I used U shaped nails.
-
TIME: It took us about 15 minutes for each pot, so this is a fast & easy project!
HOW TO MAKE A PLANTER POLE POT:
-
Pick your pot of choice. Size will determine the amount of concrete you will need. A substantially larger pot will require more concrete for a sturdy and stable base.
-
We used one 60 lb bag of Quikrete concrete mix for each 20 inch tall pot.
-
Pour entire 60 lb bag or Quikcrete concrete mix in your pot.
-
Add approx. 3/4 of a gallon of water.
-
Mix concrete and water with wood pole, small shovel, or auger.
-
Place wood pole in center of pot. You can check your pole placement with measuring tape, or eyeball it.
-
Check for level.
-
Apply brace. Either scrap wood (recommended) or heavy tape.
MAKING A BRACE: A brace can be made with 3-pieces of wood, made long enough to overlap the circumference of your pot, and made with an opening the same size as your poles.
-
After applying your brace, check for level again on all sides — make any adjustment necessary.
-
Let set up. Standard set time is 24 hours.
The video tutorial below is a collection of Instagram stories I had done as we did the project live, so it’s very casual. I’m including it in case you are a visual learner.
I’ve included convenient clickable shopping links below for you. Some may be affiliate links. Click here for full disclosure.
EXTRAS
-
OUR STAIN COLOR: I stained my poles with this exact [wood stain here] — in a perfect world, I’d have done this to the whole pole before putting them in the concrete. But we were working against the weather and I didn’t have time. I did it after, to the concrete level, and prior to planting.
-
OUR CAFE LIGHTS: [Outdoor café lights – click here]. This heavy duty style are the best we’ve found, and hold up to all the rain we get here in Oregon! They don’t however hold up to the BBQ… lol. We did get a little melt on one bulb. We grill under our sun deck a bit too close.
-
HANGING YOUR LIGHTS: I used U shaped nails [like this] and they worked perfectly. I simply determined where I wanted my cord to rest, and placed a U shaped nail on top of my cord and nailed to secure. Note: be careful not to nick your cord – and only apply enough pressure to hold the cord in place.
-
DRILLING DRAINAGE HOLES: We did drill holes in the pot sides for sufficient drainage, after the realizing the initial holes we drilled in the bottom of the pots weren’t effective enough.
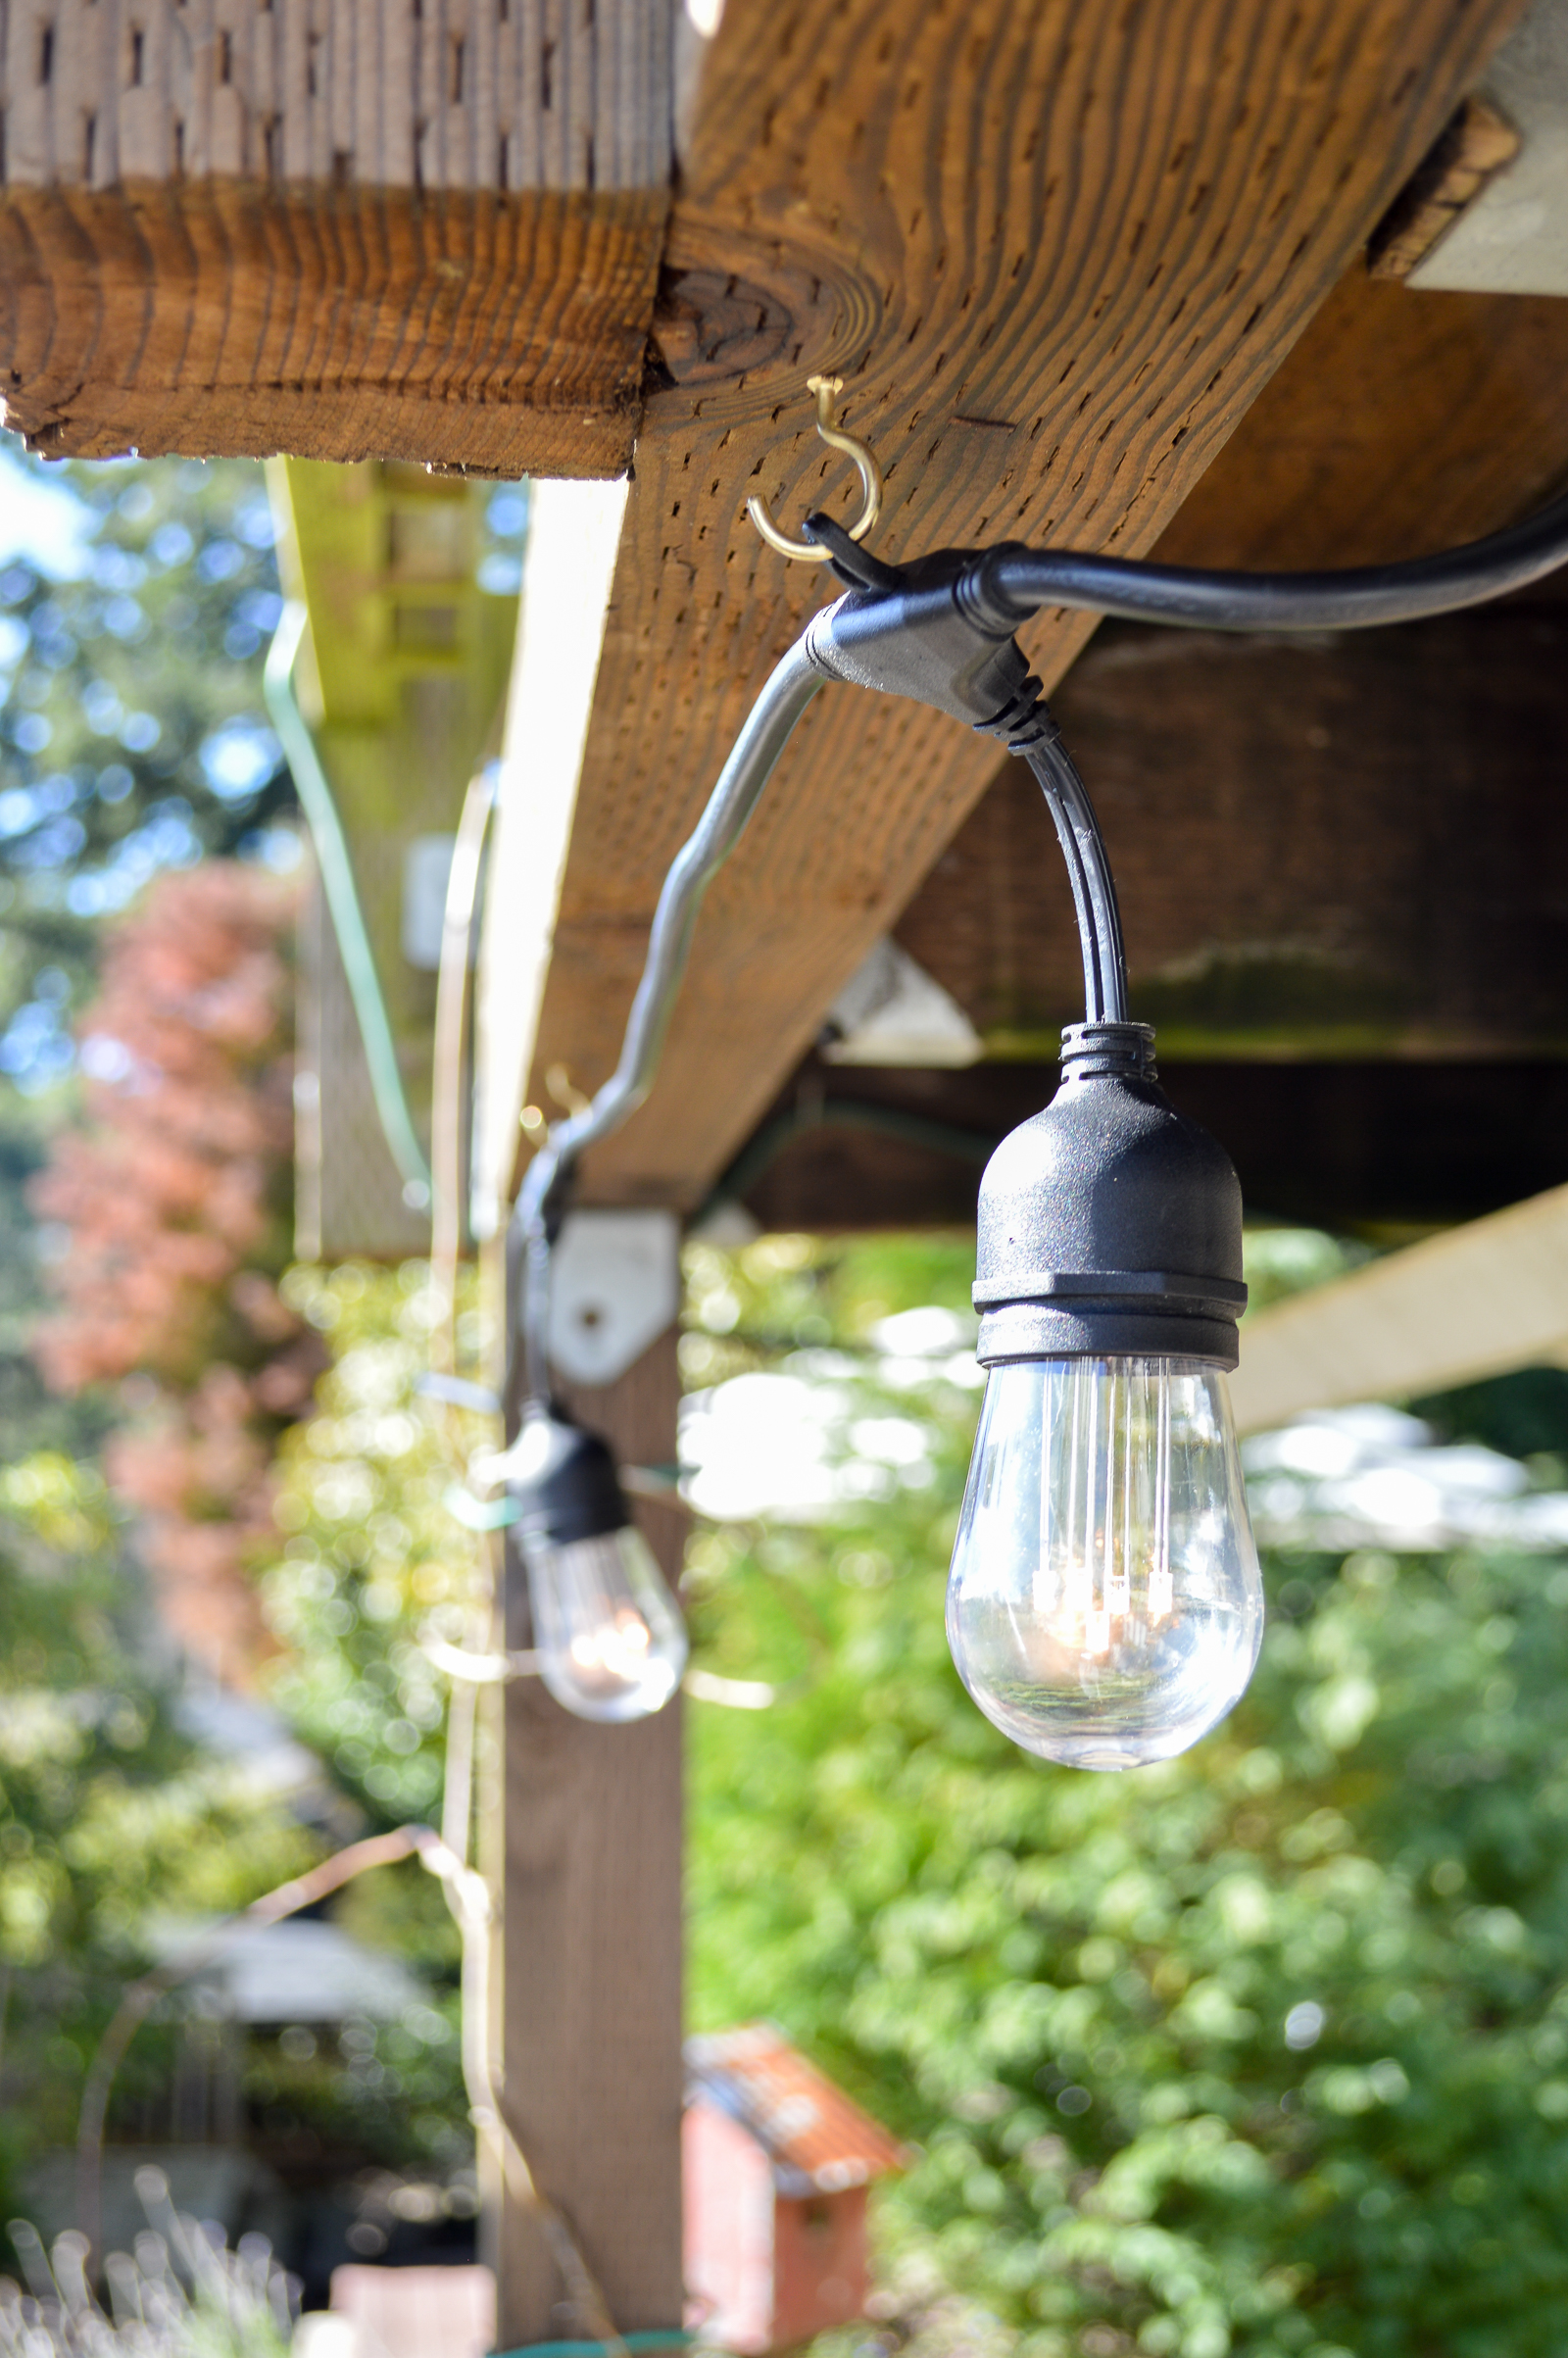
We’ve gotten so much enjoyment out of our café lights, and love that we were able to add some ambiance and extra lighting to our free standing deck area by making our own café light hanging posts. In total, it took about 30 minutes to set up all three of the light pole planter pots. And about ten to make the braces for three.
I planted two one gallon Spanish Lavender plants and two 4 inch Candy Tuft in each planter. Unfortunately (and so rare) the plants were very poor quality, and we had to start over (which is so uncommon). We replaced them with fresh Lavender of the same variety earlier this Spring.
If you have any questions at all, just give me a shout and I’d be happy to answer them. Wishing you many twinkly nights ahead!! Love and light, Shan
PS: If you want details on our outdoor space, you can most likely find the answers [here] & [here], as I’ve got lots of information and sources listed for you.
PPS: As with all of our project tutorial, we try our best to share our experiences and ideas with you, but we are just at home DIYers and not professionals, so DIY at your own risk.




Hi! I love your planters do you remember where you found them?
Hi Gina,
I got them at Walmart. I didn’t link because they are sold out.
You might be able to find some in-store? Good luck! 🙂
Thank you! I found a similar one at another home store! When you plant the flowers, I’m guessing the concrete is only halfway up in the pot? Then add dirt to plant? I can’t wait to tackle this over the weekend!
Oh that’s great! The composite pots are good to use, because the concrete adds enough weight.
Yes, the concrete only goes up about halfway. Then add soil.
Don’t forget to add drainage holes. You can do them above the concrete, at the soil level, in the sides (that’s what we ended up doing).
We originally did them with a large bore bit in the concrete from the bottom, but the sides work better.
PLEASE share when you are done, I’d love to see them!!!! (you can email me at foxhollowcottage@gmail.com) or tag me in stories on IG.
Happy weekend 🙂 Shannon
How many sets of lights did you use for this project?
Just one! 🙂
Hi – did you use pressure treated wood? thanks
No. We didn’t on this project, though it would make it last longer, I’m sure.
We just used some Douglas Fir we had on hand, and I stained it down the the concrete line adding a little additional protection.
I love this idea and we need some in our lives! Pinned
If you make them, I’d LOVE to see!
Happy Summer, Shannon
I love this!! Could you please share pictures and information on how you ran power to the lights and keep it throughout the year? I am unsure of how to best do this. Thank you for this idea! It is going to add a lot to our backyard patio space. We bought all of the supplies yesterday and I cannot wait to get started with my husband!
Hello Jessica. We have a covered outdoor safe outlet in back of the deck area. I simply used a dark green exterior extension cord, and ran it up to my light pole to connect. The connection is about 1-2 feet down from the top of the pole, and hangs off the back side. Hope this info helps.
Can’t wait to see you completed project!!!!
Where did you get the pots?
Hi! They are BHG from Walmart, and some store locations may still have them in stock, but they aren’t available online.
~ Shannon
love your idea!
Thanks a bunch Maria 🙂
Hi – are your pots still available? Can you source them for us?
Hello Lori, I didn’t add a link because they are sold out for online ordering.
But they are BHG from Walmart, and some store locations may still have them in stock 🙂
~ Shannon
https://www.walmart.com/ip/Better-Homes-and-Gardens-Bombay-16-Outdoor-Garden-Vase-Rust/23591017