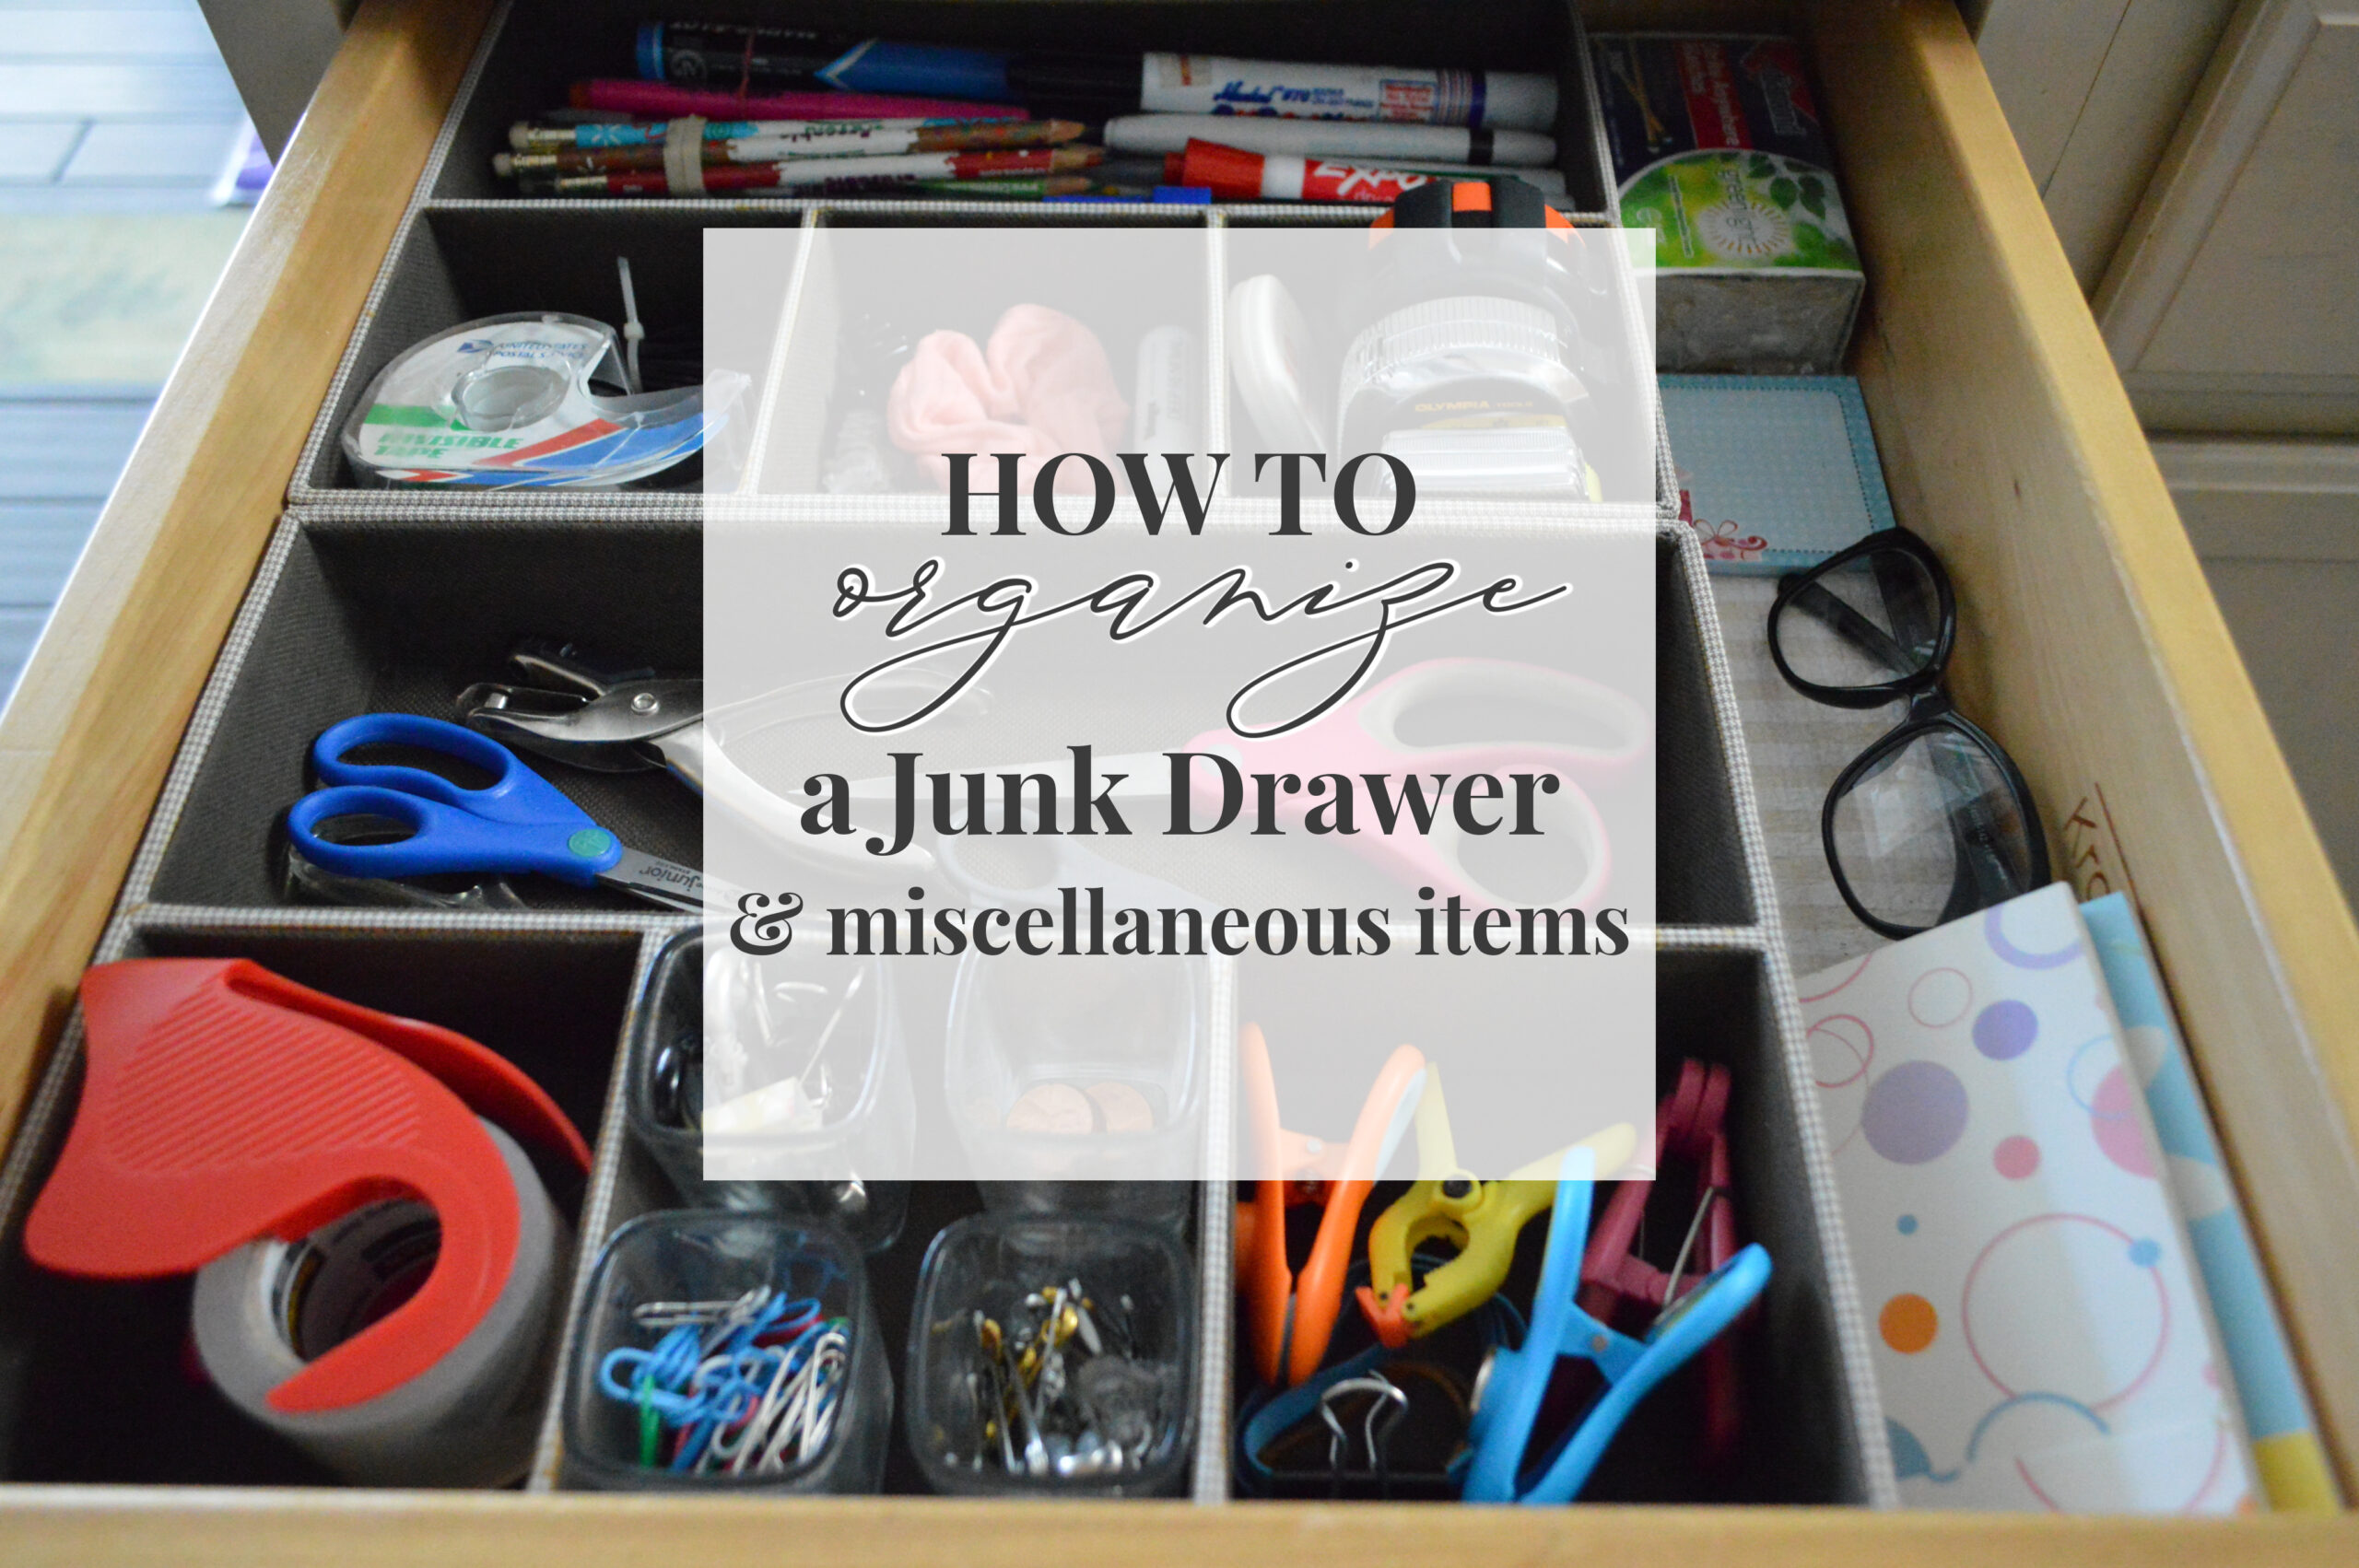
How To Organize A Junk Drawer And Miscellaneous Items
We’ve all got them… and it doesn’t matter where they are located, junk drawers can be black holes in our homes! Today I’m continuing to work in my kitchen, but your junk drawer might be in a mud room, laundry room or office. I’m going to show you how to tackle your junk drawer, no matter the location, and how to make that organization last (you’ll see)! Plus, I’ve also got some ideas to help you clear the clutter and organize all those miscellaneous items that can quickly take over the drawers in your home.

Junk Drawer And Miscellaneous Item Organizing Ideas
Hello & welcome to day 10 of the Weekly Cleaning and Organizing Challenge! If you haven’t joined the challenge with Jess at Mom4Real and I yet, you can jump in at any time. You can start here to follow along — each day of the challenge will be listed. Plus you can print, download or take a screen shot of the Free printable checklist too!
I’m going to tell you a secret. I organized my junk drawer a few years ago… and it’s stayed 97% organized since then!

So I don’t have a dramatic before and after for you.
And that’s actually a very good thing. THAT MEANS ORGANZING REALLY WORKS.

Maintenance level. All my junk drawer needed was a quick cleaning of the actual organizers of dust/lint, and a few things edited out. It’s like preventative maintenance, and took maybe 2 or 3 minutes tops.

You see the trick is — it doesn’t matter if you use fancy organizers that all match… or what exactly goes in the drawers… it’s the simple change that starts when we clear out all the crap and junk and clutter, and we get down to only storing and housing and keeping, that which we actually need and use. And than doing it an organized fashion that affords ease-of-use and quick access to our belongings, and offers order to our lives.
HOW TO ORGANIZE A JUNK DRAWER:
As with any organizing post, your junk drawer will probably look different than mine, because our homes and our junk is going to be different and personal. Keep in mind, that these tips will also basically work for any drawer in your home!
-
PURGE: You’ve got to take every single thing out of the drawer. There is no getting around this. Go through every item — get a bag/bin/basket (whatever works) and separate everything into piles. You can make one for donations, one for trash, one for items that don’t go in the drawer at all, etc…
The problem with junk drawers, is that they tend to become a catchall for everything. Try to steer clear of that pitfall by repeating this “a place for everything, and everything in its place” It’s a classic for a reason, and a handy phrase to remember as you organize anything!
-
LOCATION: Try to relocate as many items as possible that don’t absolutely need to be on-hand in your junk drawer. Be brutal and consider it prime real estate. Be thoughtful about what you will allow to stay in your junk drawer once you are done organizing it.
-
CLEAN: Clean the drawer — sometimes kitchen drawers can be crumb collectors so vacuuming is often a good first step, clean & wipe down, lastly dry/or air dry. Drawer liners really do protect your surfaces, so install drawer liner if desired.
-
ACCESS: Look at what you’ve got left after purging and relocating, to see what you want to keep where, so you can plan for exactly what type of organizer will work best.
-
TIP: Life is fluid and ever changing, try to leave a little wiggle room for something in the future that you may need to add to this location. If you can help it, don’t fill your space 100%, instead allowing for flexibility.
-
MEASURE: Measure the length, width and even the depth or your drawer(s). You’ll want to consult those measurements when you are shopping for organizing options to make sure they will fit in your desired space.
-
PLAN: Remember to plan for the layout in your drawers as well, if you plan to or need to use more than one organizational item to complete your project. Tis will ensure you can maximize the space in your drawers to there full potential.
-
SUPPLIES: There are zillions of organizing options out there, and there is no right or wrong. Use what works for you. Try using Dollar Store bins, or even homemade. Google DIY organizers if budget is an issue. You can make dividers out of cardboard if necessary!
-
SHOPPING SOURCES: I’ll share links to some organizing items that you can grab online at the end of this post, if pre-made is more convenient for you.
-
MAINTANANCE: Once your organizing projects are complete, occasional cleaning and quick edits should keep them neat and tidy for years to come!

You may even be able to shop your home for items that will do the trick. Organized is organized at the end of the day — you may have noticed I used four square shot glasses to drill-down and further organize some small items in one of my divided squares. I know, shot glasses… but they fit perfect!
The cost was zero, and it has worked wonderfully!

Ever wonder what I keep in my kitchen island drawers?
A mess. hehe. Well it was up until a few days ago!
I just followed all the tips I shared above with you, and used them on my kitchen island drawers.
THE LEFT

I’ve always liked to keep my chandelier lightbulbs upstairs where my chandeliers actually are. They were hiding under all the appliance booklets that belonged in the filling etagere in our office before I straightened up.

THE MIDDLE

I picked up the main drawer divider a few years ago at Walmart, but I only ever halfheartedly organized this drawer. After deciding what was going to stay, I continued to use the same organizer, just changing the way I had it sitting in the drawer. By adding a Dollar Tree bin and the little white ceramic dish, I was able to contain the rest of the items.

I simply laid the lighters in the void that was left.

THE RIGHT

A hodgepodge of items can be difficult to organize. I decided it would be best if I assigned this drawer an identity and purpose, and stored items with a common thread in it! The items I removed all went to much better locations that made better storage sense.

The flashlights stayed put as it’s a really good central location on the upper floor for them in case of emergencies or power outages.
Two white plastic bins from the Dollar Tree were a perfect fit for this drawer size, and a super budget friendly way to get it organized for only $1.00 total!

With it’s proximity to my potted deck garden, this drawer worked out perfectly to hold garden tools and a few plant/garden related items. Last Summer, I started to keep a few extra pair of sunglasses upstairs, because I kept going out to water or deadhead and would end up spending hours outside squinting, because my everyday sunglasses were downstairs in my handbag. It’s worked out so handily.
In this age of Pinterest & Instagram, with so much perfection at every turn, I hope that by sharing my modest home and organizing ideas, it helps you to feel encouraged and empowered to tackle your own organizing projects in your home.
Please let me know if there is anything I can do to help you along, or any questions that I can answer for you! ~ Shannon
I’ve included convenient clickable shopping links below for you. Some may be affiliate links. Click here for full disclosure.
SHOPPING SOURCES:
-
Fabric Covered Drawer Dividers, Walmart by Better Homes & Gardens (look in-store, can not locate online)
-
White Plastic Bins, my local Dollar Tree
-
I’ve gathered up a wealth of organizers in my Amazon store for you, link below
C L I C K TO S H O P
SOME OF MY FAVORITE CLEANING & ORGANZING FINDS


Subscribe for free today to receive all my latest DIY tutorials, decorating ideas, upcoming projects & more, sent right to your in-box!

Join us on our adventures... and let's make our houses "homes" together!
Your email address will never be shared or sold. I promise!
More Ideas & Inspiration
 Collected + Cozy Cottage Living Room Makeover
 Beautiful Aged Terracotta Pot Paint Makeover
 Spray and Chalk Paint Folding Chair Makeover
 Style Showcase 63 | Simple Kitchen Organizing Tips, Winter Decorating + DIY Ideas
 How To Organize A Kitchen Pantry
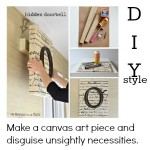 DIY Monogrammed Art {doorbell in disguise}
 How To Organize Your Kitchen Utensils
 How To Makeover A Bathroom Without Remodeling
Looking forward to reading your post.
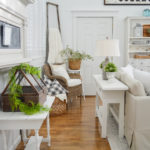
Love the photo view in your kitchen. Can you tell me where to find the olive trees?
Hi Fran,
I can! I ordered those from Ballard Designs. And my size is the 18 inch.
This is a direct link to them https://bit.ly/2McrEf8 (affiliate)
They were a splurge for me, but so worth it. I’ve pretty much had them out somewhere in the house since the day they arrived!!
They are well made and don’t look super fake. A good decor investment.
BEST ~ Shannon