DIY Monogrammed Art {doorbell in disguise}
Maybe it’s because I’m just getting older, but I’m not quite the shopper I used to be. I’d like to think it’s because I’ve gotten just a wee bit wiser and would rather figure out how to turn something that I want to buy into a DIY project.
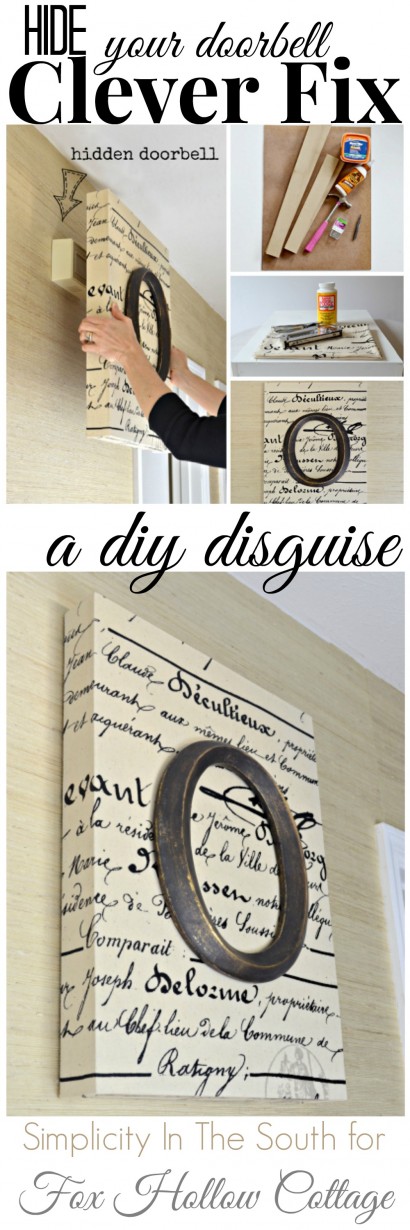
I’ve been working on redecorating our hallway this past month and have been looking for artwork to fill the empty space along one wall. I also wanted to find some way to conceal the doorbell that was sticking out like a sore thumb.
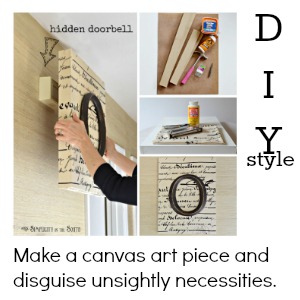
Making my own piece of personalized art with some scrap wood seemed like the perfect solution. I love typography, decoupaging, and simple woodworking projects. This monogrammed and decoupaged art combines all three.
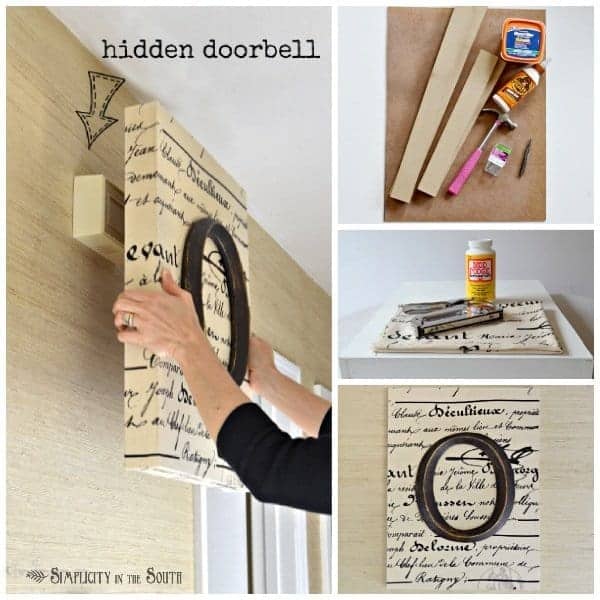
There are two main parts to making your monogrammed artwork; first, building the frame and then decoupaging the frame with fabric.
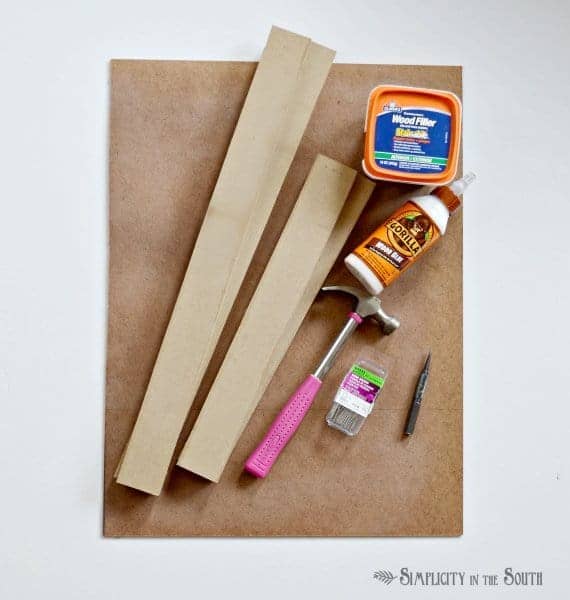
These are the supplies you will need for building the frame:
1. Tempered Hardboard or Lauan Plywood cut down to 22″ x 16.5″
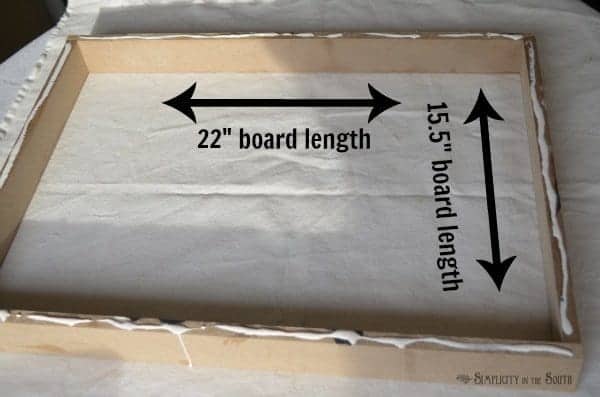
2. I used 1/2″ strips of MDF left over from our hallway board and batten project. The measurements are shown in the picture below. If you use 1 x 3″ boards instead, your lengths will be different due to the thickness of the wood. Home improvement stores will usually do three cuts of wood for free and then charge a small amount for anything over that.
3. Wood glue and wood filler
4. Hammer, 5/8″ brad nails, 1″ brad nails, and a nail punch
5. Primer is optional. If you are using a lighter colored fabric, I recommend priming the frame so the wood does not show through.
Directions:
Put a thin strip of wood glue along the top edge of the strips of wood.
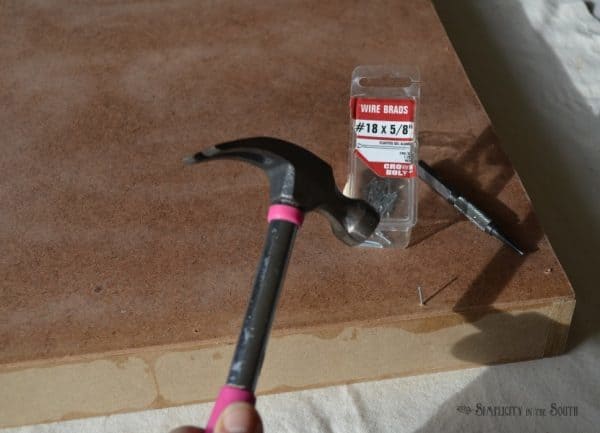
Lay the tempered hardboard on top and nail it down with 5/8″ brad nails. Nail the corners with 1″ brad nails. Countersink the nails and fill the holes with wood filler. After the wood filler is dry, give the frame a light sanding. Prime the frame if you are using a light-colored fabric.
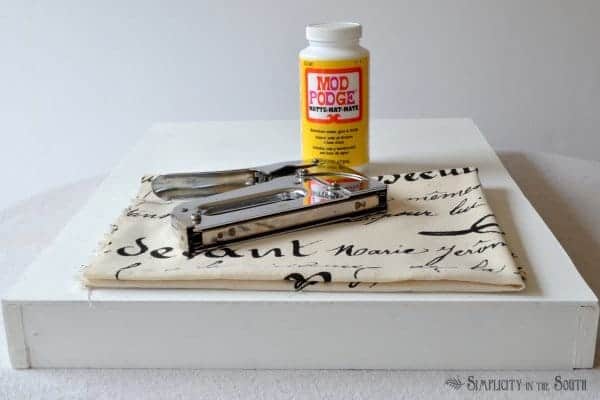
To decoupage the fabric to the frame, you will need:
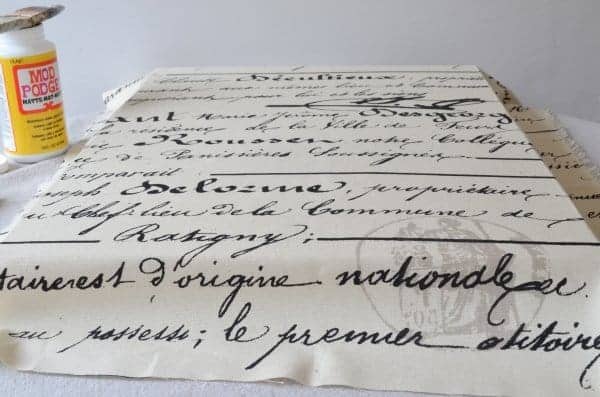
1. Fabric that is cut large enough to wrap around the sides of the frame plus 2 inches on all sides. I found my fabric at Hobby Lobby. You will need to iron out any wrinkles.
2. Mod Podge
3. Staple gun
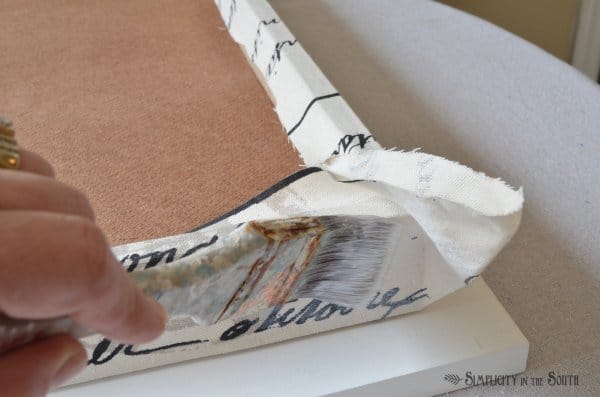
Put a coat of Mod Podge on the front of the frame and smooth the fabric down.
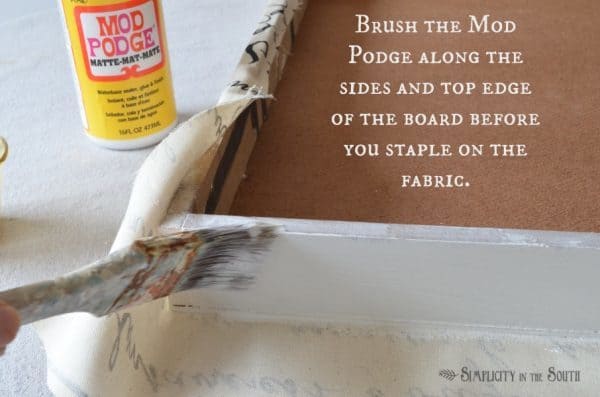
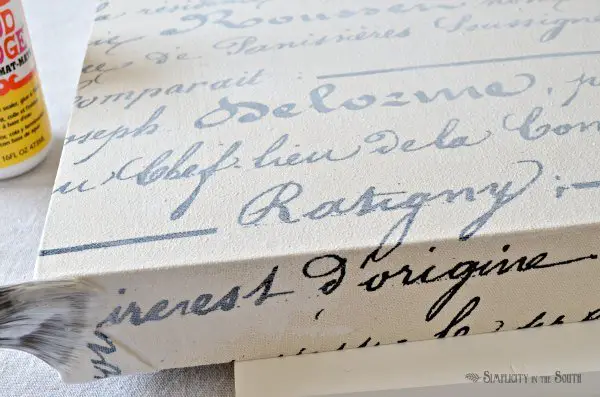
Flip the frame over and coat the top edge and sides of the frame. Smooth the fabric down, making sure it is taut. Then, staple along the inside edge.
For the corners, add some Mod Podge before you fold and staple your corners like you’re wrapping a gift.
Finish it off by coating the fabric with a thin layer of Mod Podge.
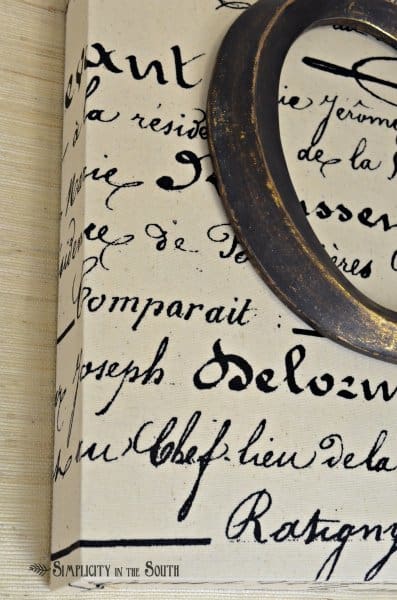
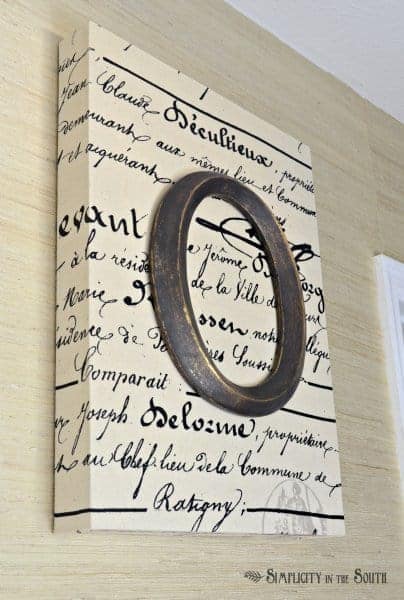
After the frame dries overnight, you can hang the letter with a couple of screws. The letter that I purchased from Hobby Lobby has keyhole hangers on the back. They only letter “O” in stock was gold, so I brushed on a mix of brown and black craft paint and then sanded it down to let a little of the gold peek through.
Not only do I now have a piece of personalized artwork to fill that empty space, but I can also sit it on top of the doorbell to hide it.
Thank you, Shannon, for having me over to your blog to share my tutorial with your readers this month!
It’s so nice to have Tricia here at Fox Hollow Cottage to share with us. Getting another persons insights on decor, styling and even how to camouflage an everyday thing like a door bell is priceless.
They say two heads are better than one, I think they were right!
If you want to see more of Tricia’s ideas make sure to visit her at Simplicity In The South.

She just did an entire hallway makeover and it’s so pretty.
Definitely worth a click over to see for the board and batten alone!
As always… thanks for stopping by. Tricia and I appreciate your company today!



Love the idea! Thank you for sharing!
What a cute way to cover up one of the uglies we have to have in our home.
I thought so too! So ultra stylish looking 🙂
This reminds me we have a doorbell and we took out the wall it was on years ago, and I’m not sure the box went back up! I’ve gotta check, and if not I’m adding it to the to do list.
Bliss
hehe. Mine is hidden in the hallway up behind a vaulted section. Of course… you can’t hear it either! LOL.
This is a great idea and project. I don’t like those doorbell “thingies” either. LOL. Thanks Tricia for sharing this.
Cynthia
Simple and clever!
Ah..clever!! What a great idea! Way to create a work of art!!
Thanks so much! It was fun doing something different 🙂 I think I am totally hooked on the chalkboard thing. Jumped in with both feet 🙂
What a wonderful idea! I love it! Pinning. 🙂
Thanks for pinning, Claire!
What a fabulous DYI! I would use that canvas as just a gorgeous piece of wall art!!!! Thanks, Tricia and Shannon!
Thanks, Yvonne!
What a beautiful idea! Love it!
Debbie
Thank you, Debbie!
Now that is dead gorgeous. We all have those unsightly things… what a great idea.
Thanks for sharing!!!
Hugs, Gee
So glad that you like it, Gee!
What an awesome idea! I think I may try this to cover my ugly thermostats!!! Thanks for sharing, Shannon and Tricia!!
I wonder if that would affect it’s ability to read the temperature accurately? Oh well. It would look cute 🙂 LOL!!!!
That girl is just so clever. I love this look Tricia! Nice job.
Thanks, Debbie! I have my clever moments every now and then, so when I have one, I run with it. 😉
What a super fabulous idea…I just love it, because doorbells sure are ugly! Too cool!
Glad you like it, Jessica! I figured that even if I messed it up, anything would be prettier than that door bell from the 1980s!