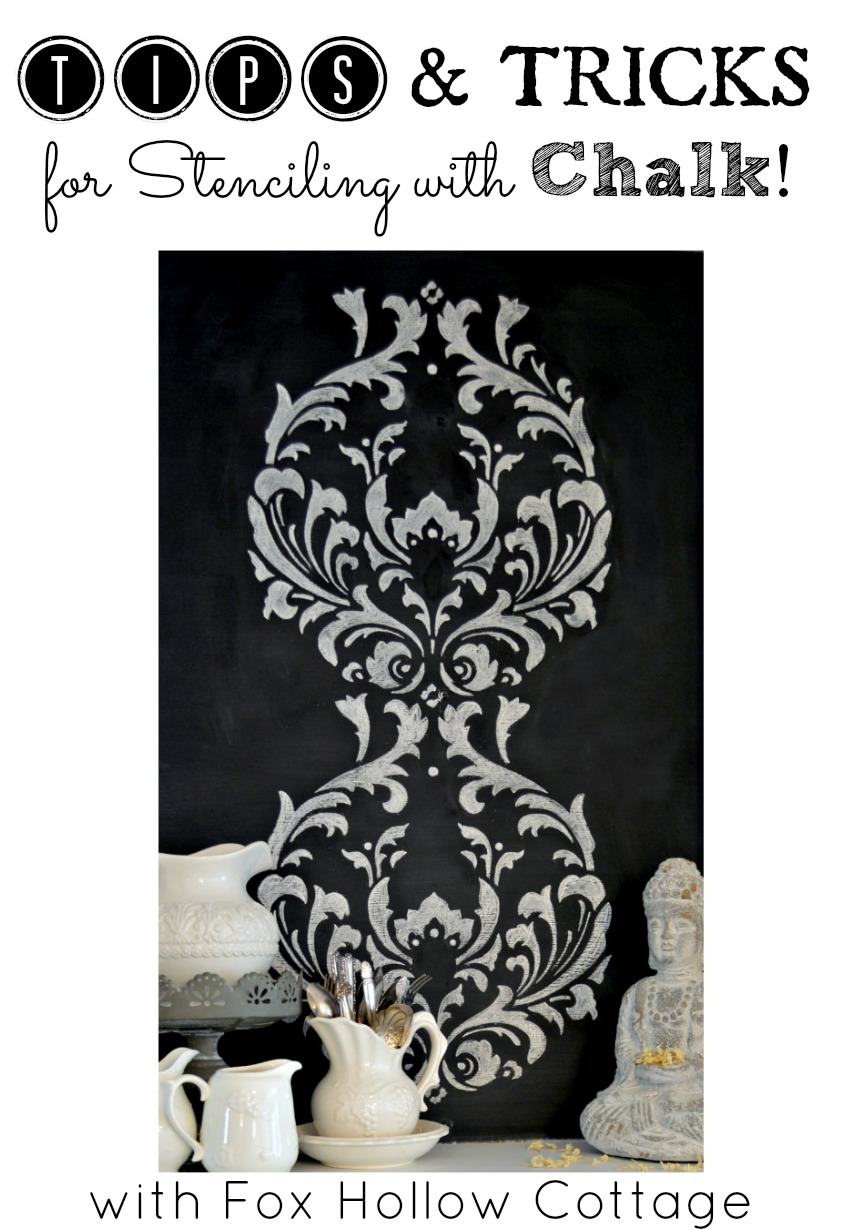
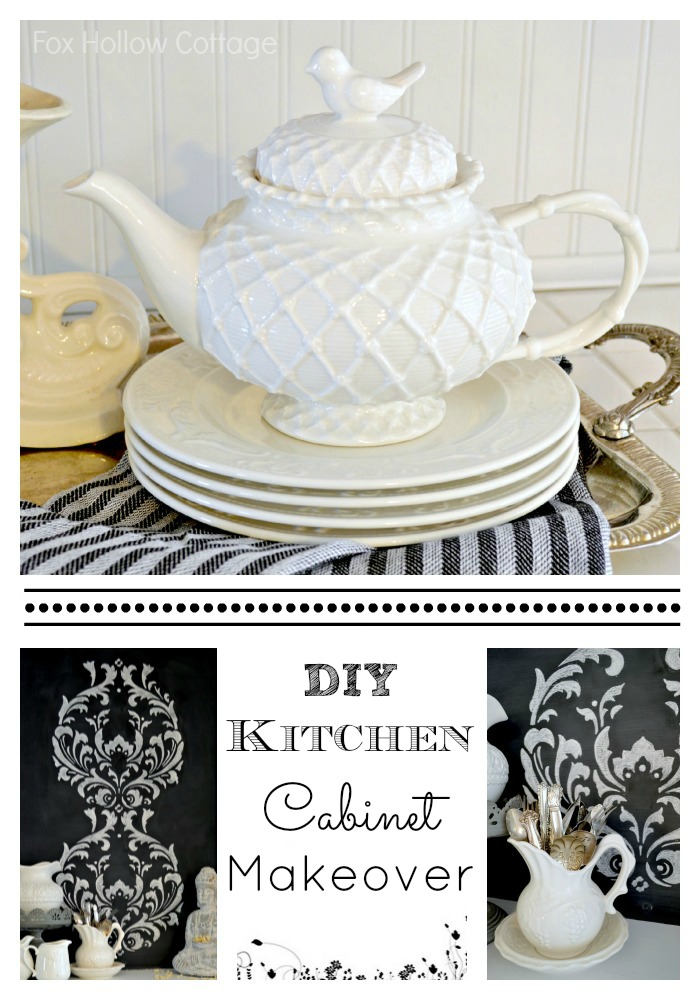
Last week I shared the Kitchen Cabinet Makeover that I did using a Anna Damask Cutting Edge Stencil and chalk.
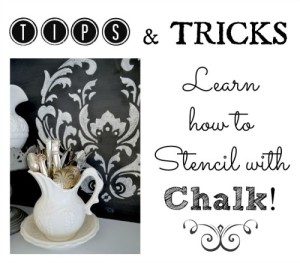
Today I’d like to share How To Stencil With Chalk! {tips to get it right}
I wanted to take a few minutes to share what I learned while using chalk to fill in a stencil design. I though it might help if you want to try it too. I’ll start from the beginning since that makes the most sense. I have KraftMaid Cabinets. I wanted white. Due to budget constraints, I did not get the white cabinets I wanted. Wait. Too far back?
Anyhow… that would be another blessing in disguise, because the cabinets I did get are a better quality then the white I had planned on. Note to self; Remember this… “it almost always works out for the best”.
Silver lining, silver lining, silver lining. haha
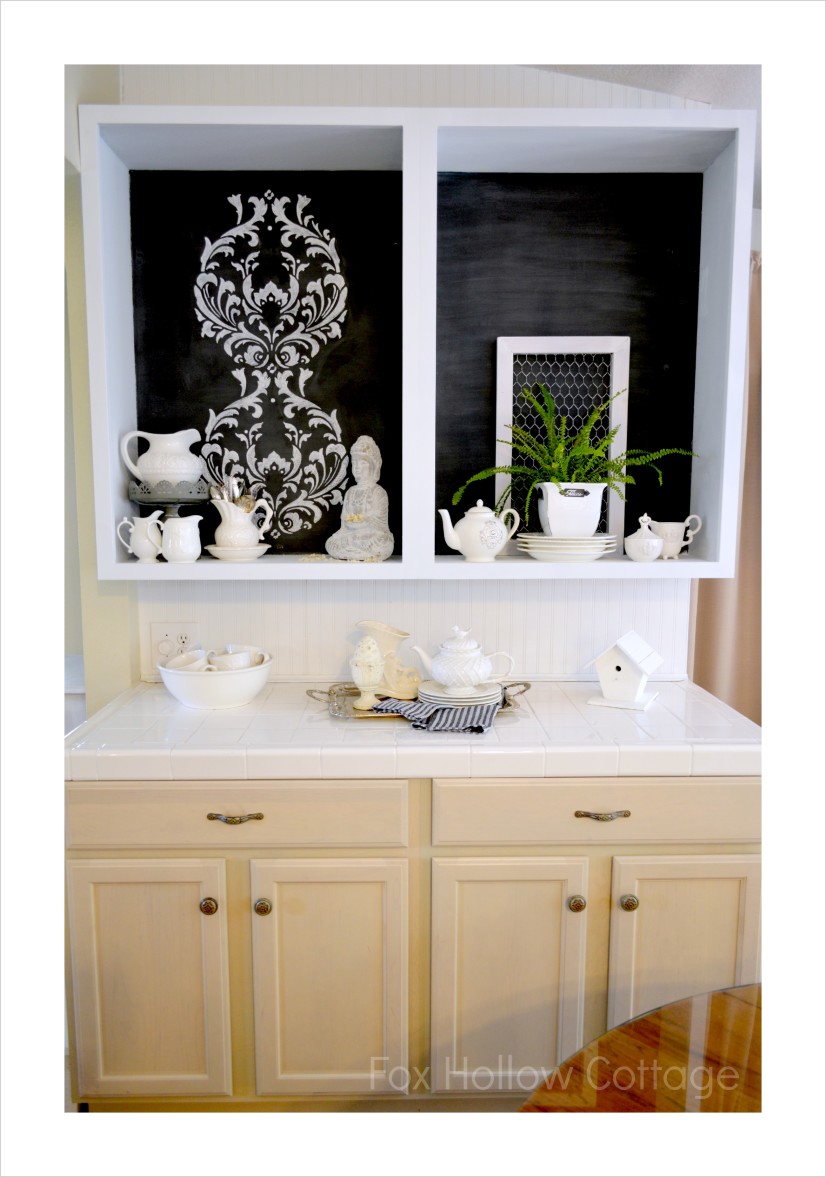
One day last week’ish, I decided I would go for it and paint a section of my cabinets white. They are on the far side of the kitchen. The perfect test area. I used Maison Blanche La Craie paint in Magnolia (white) and painted the upper cabinets. I liked it, so I kept going, but I painted the cabinet backs in La Craie’s Wrought Iron (black). It’s a calcium carbonate based paint so my Wrought Iron back acts just like a chalkboard. I had a plan. Shocker right? But I did!
I was going to stencil a design on the cabinet backs. And it worked!
Here are some tips I can share with you;
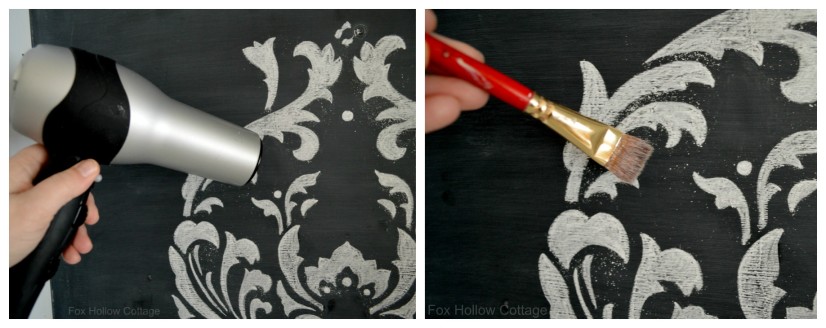
1. Wait the recommended amount of time for your paint to cure. I actually (I do not condone this) got my hair dryer out and literally watched the paint dry before my eyes. It was completely awesome! I did still let it sit overnight though before I seasoned it.
A Chalkboard Being Seasoned
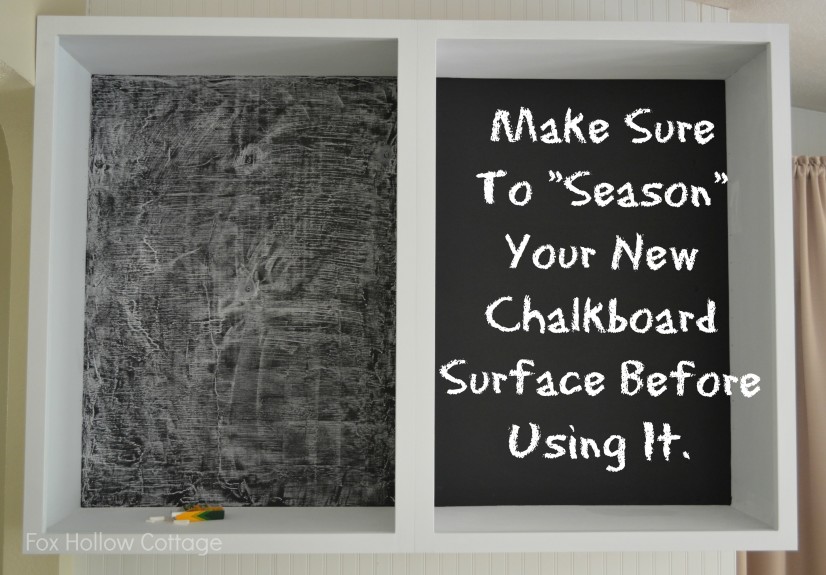
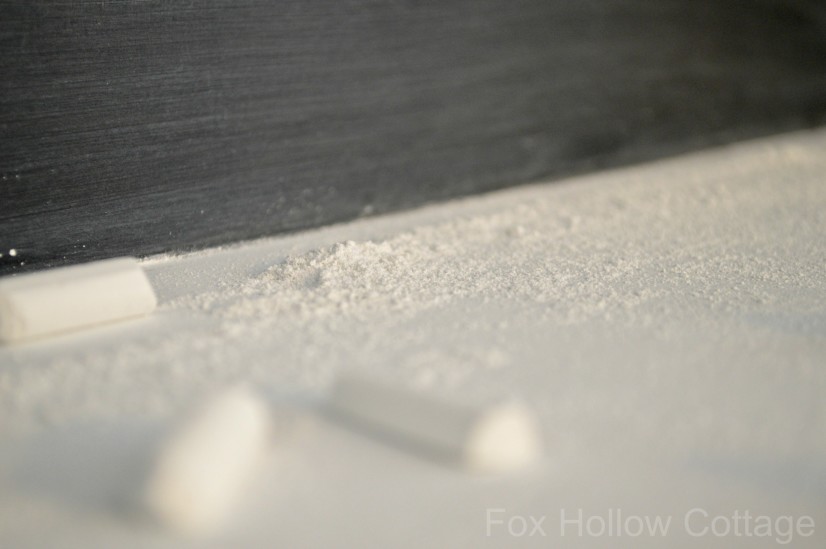
2. Next, “Season” your chalkboard surface. This prevents ghosting. To season, get a stick of chalk and hold it sideways, rub the entire surface from top to bottom & side to side with the chalk. I also went criss-cross and everything in between. I wanted it thoroughly seasoned.
A Successfully Seasoned Chalkboard

3. After you’ve seasoned, wipe all that chalk off with a soft, dry cloth . Choose something lint free. Do not use paper towels. Afterwards, I vacuumed the bottom shelf to remove all the chalk dust. It makes a bit of a mess.
4. Stenciling; If you decide to move forward and go the stencil route on your new, perfectly seasoned chalkboard, start from the top. That way, any fine dust will fall into an area you have not already worked on.
Learn from me. I started at the bottom.
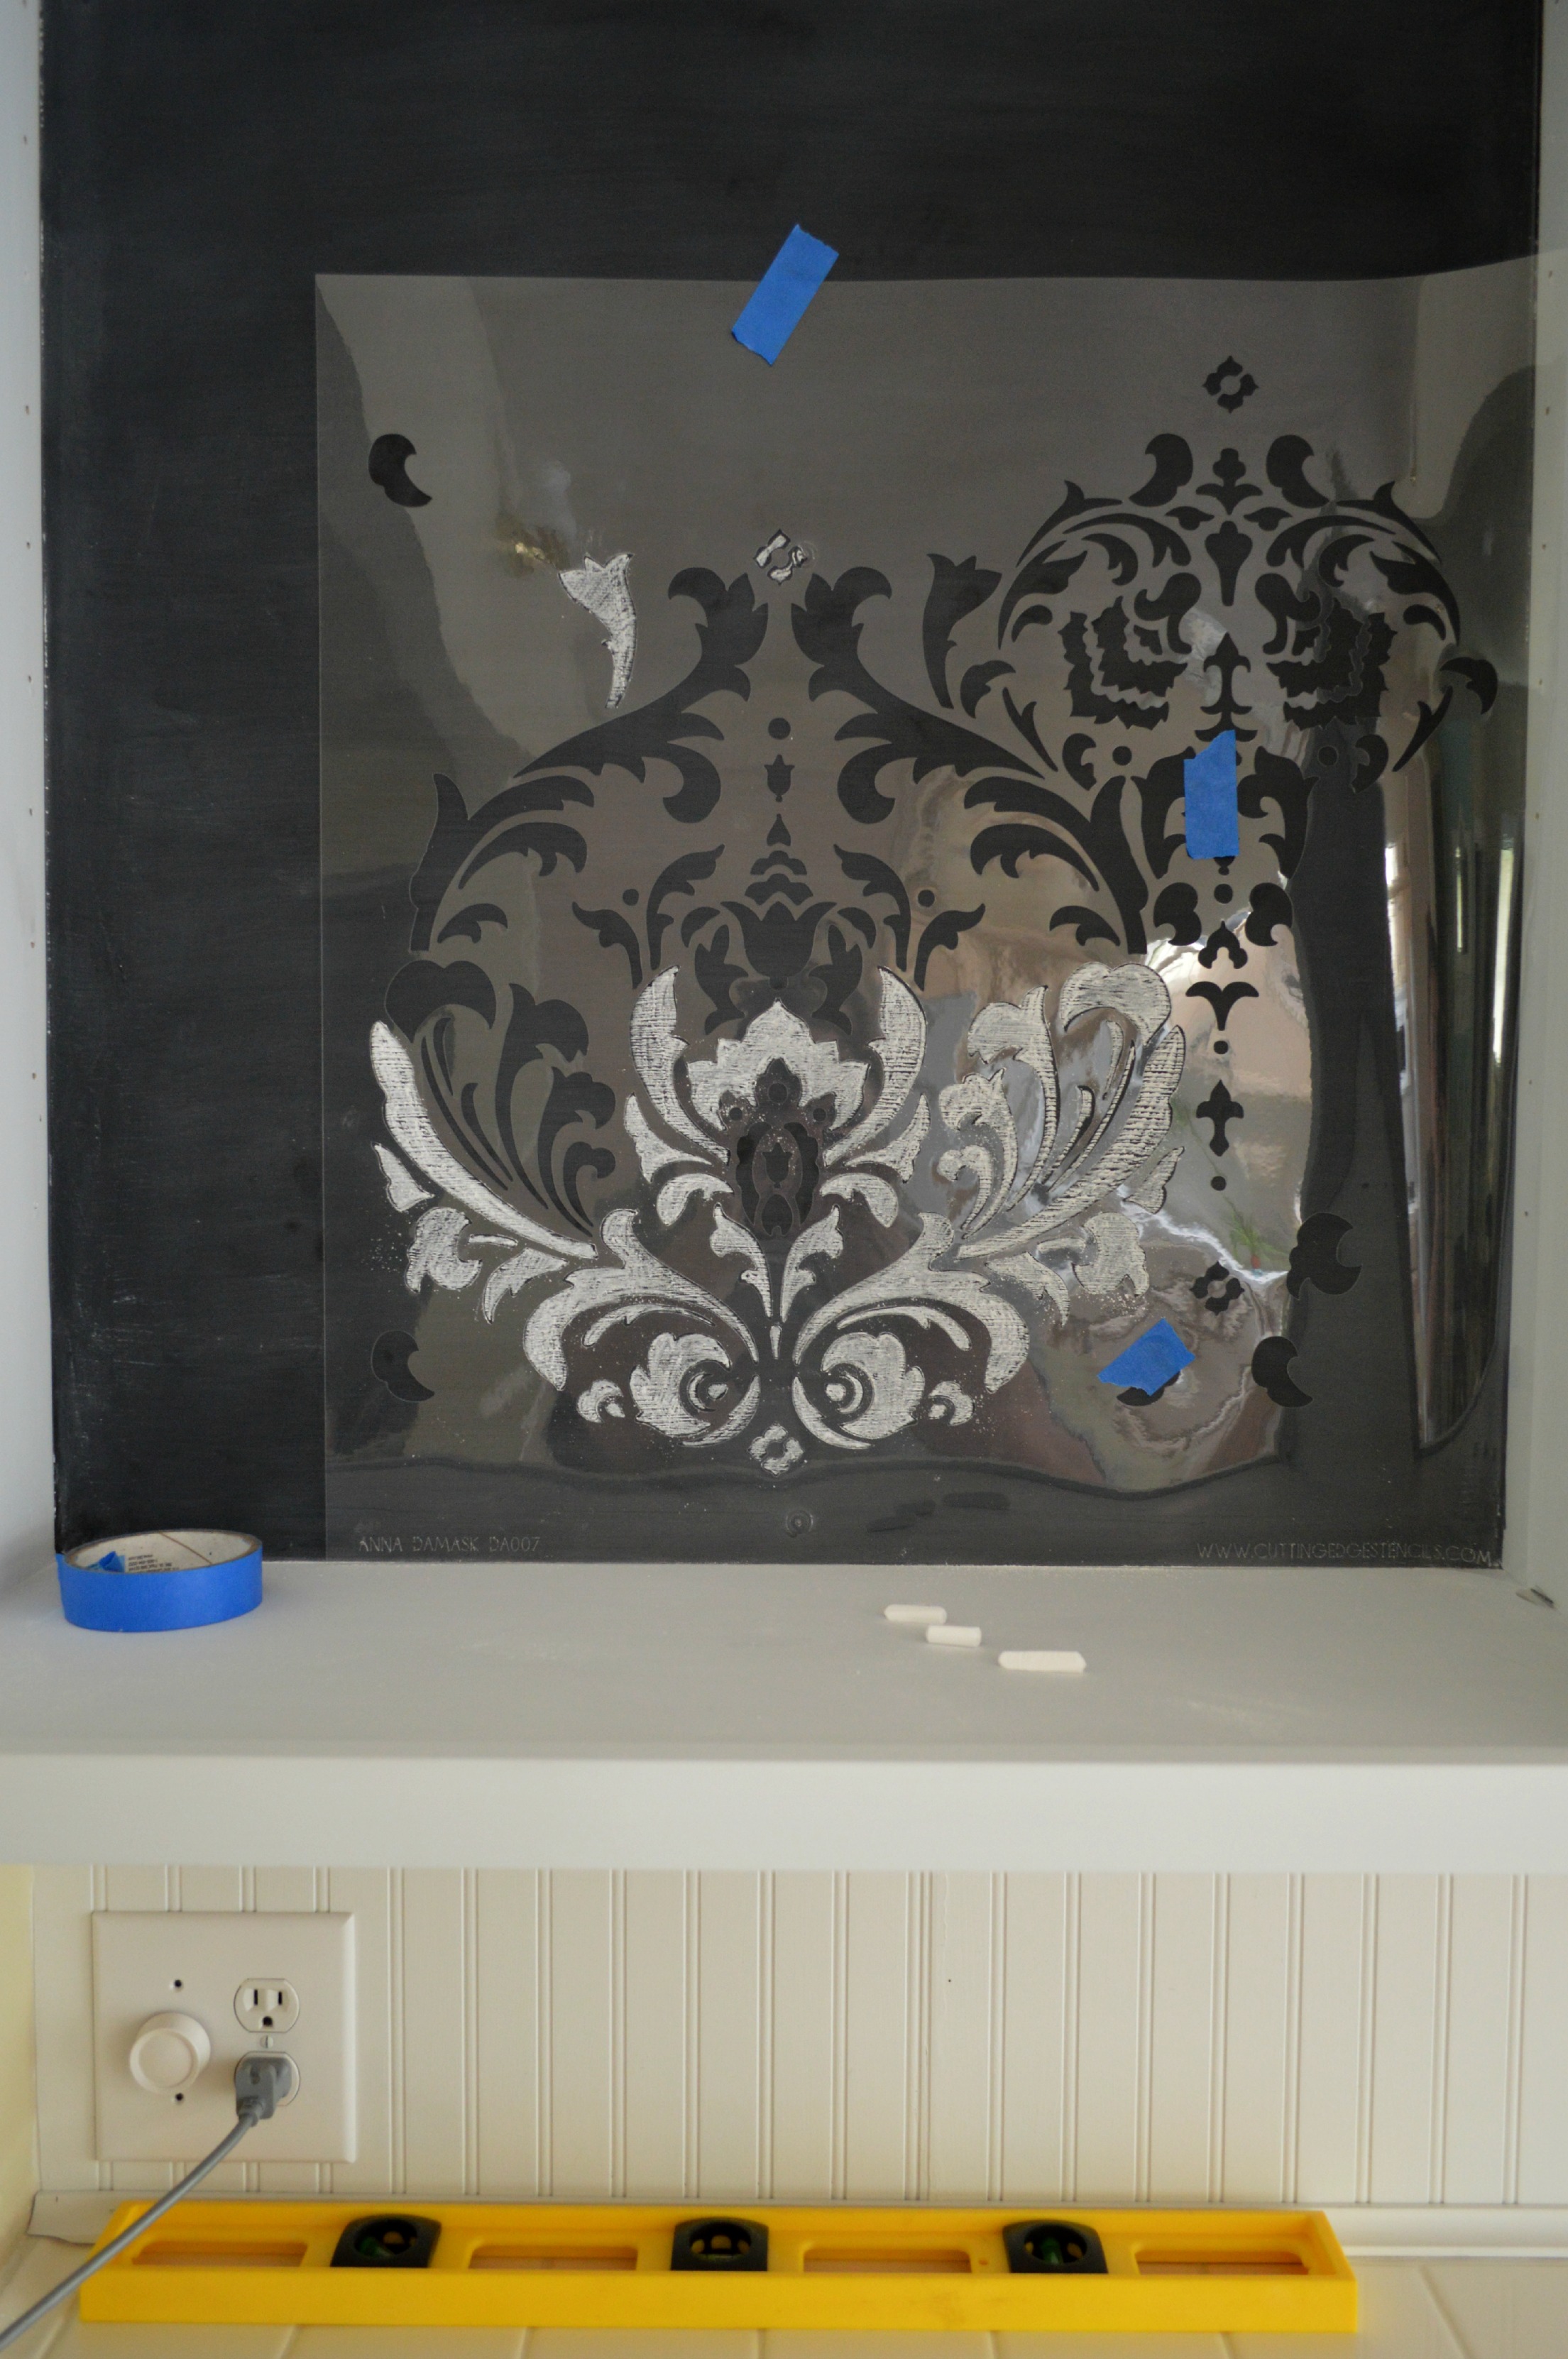
5. You want to ensure your stencil is level while you work. I used my yellow level. It’s lightweight and I love it! I keep it in the house and about growl when Jim wants to use it! Anyhow, I leveled off my stencil when I taped it up for my first pass, and then second repeat pattern. I used Scotch Blue Painters Tape to secure my stencil.
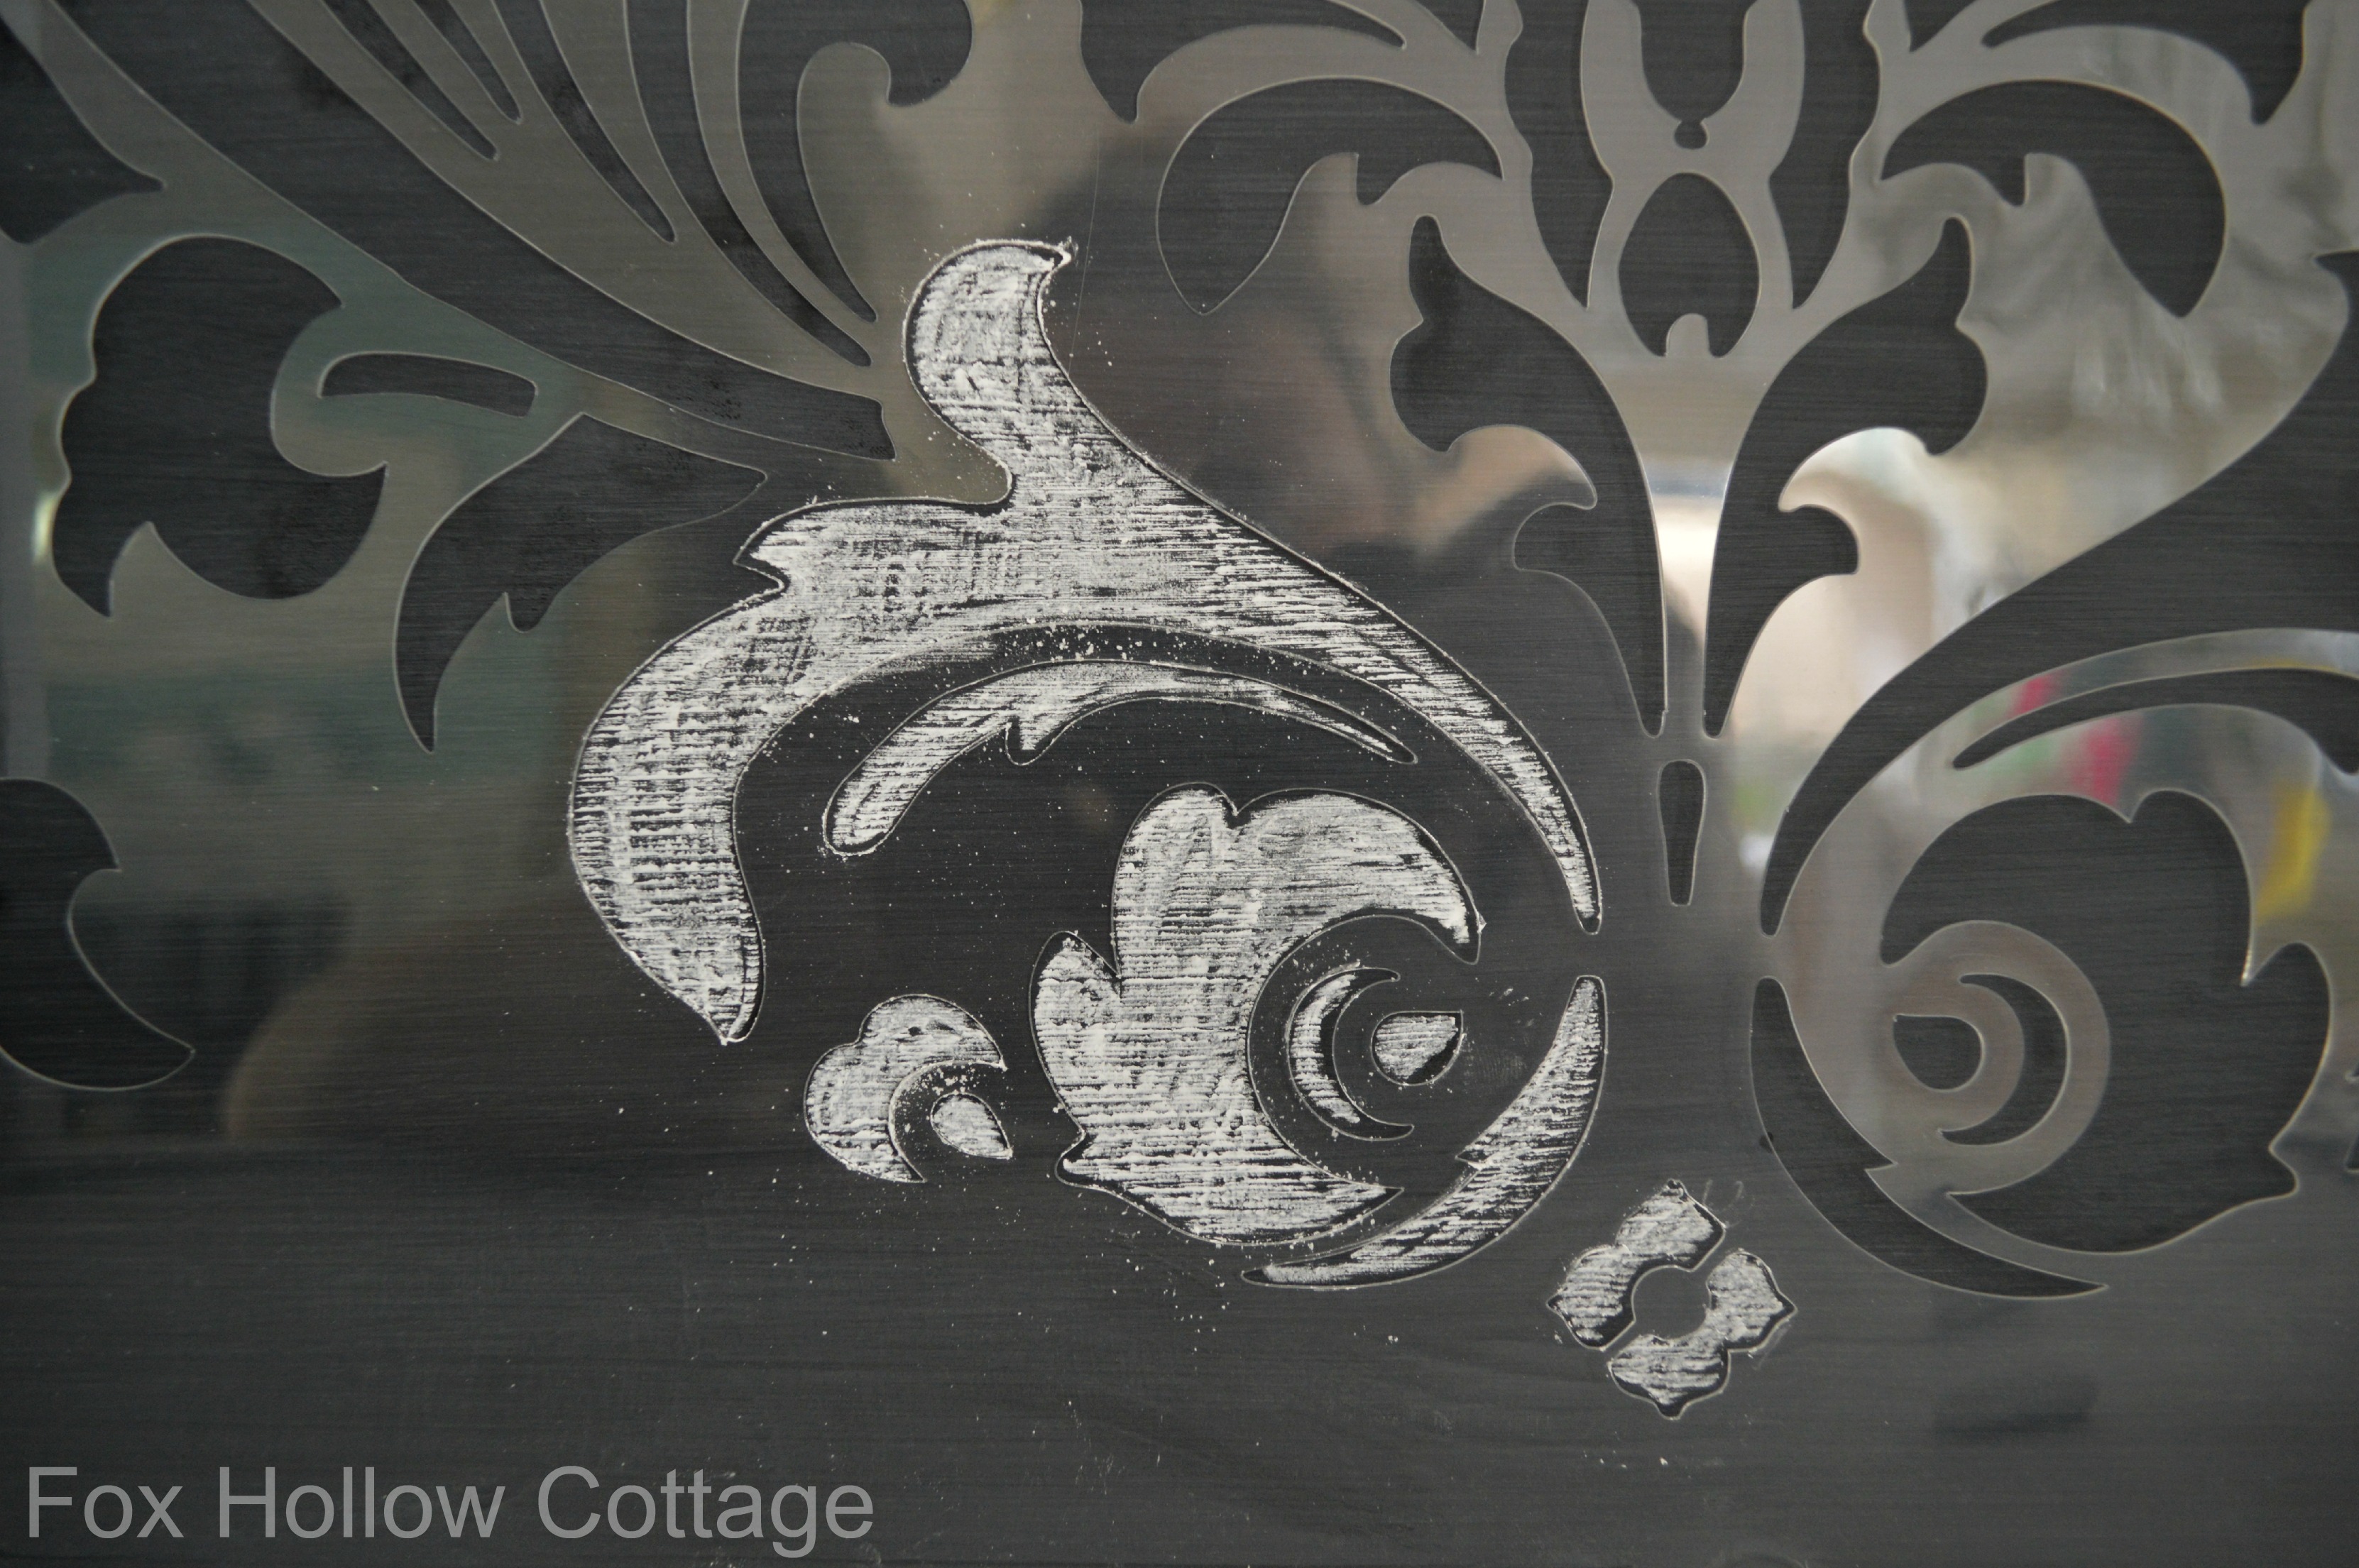
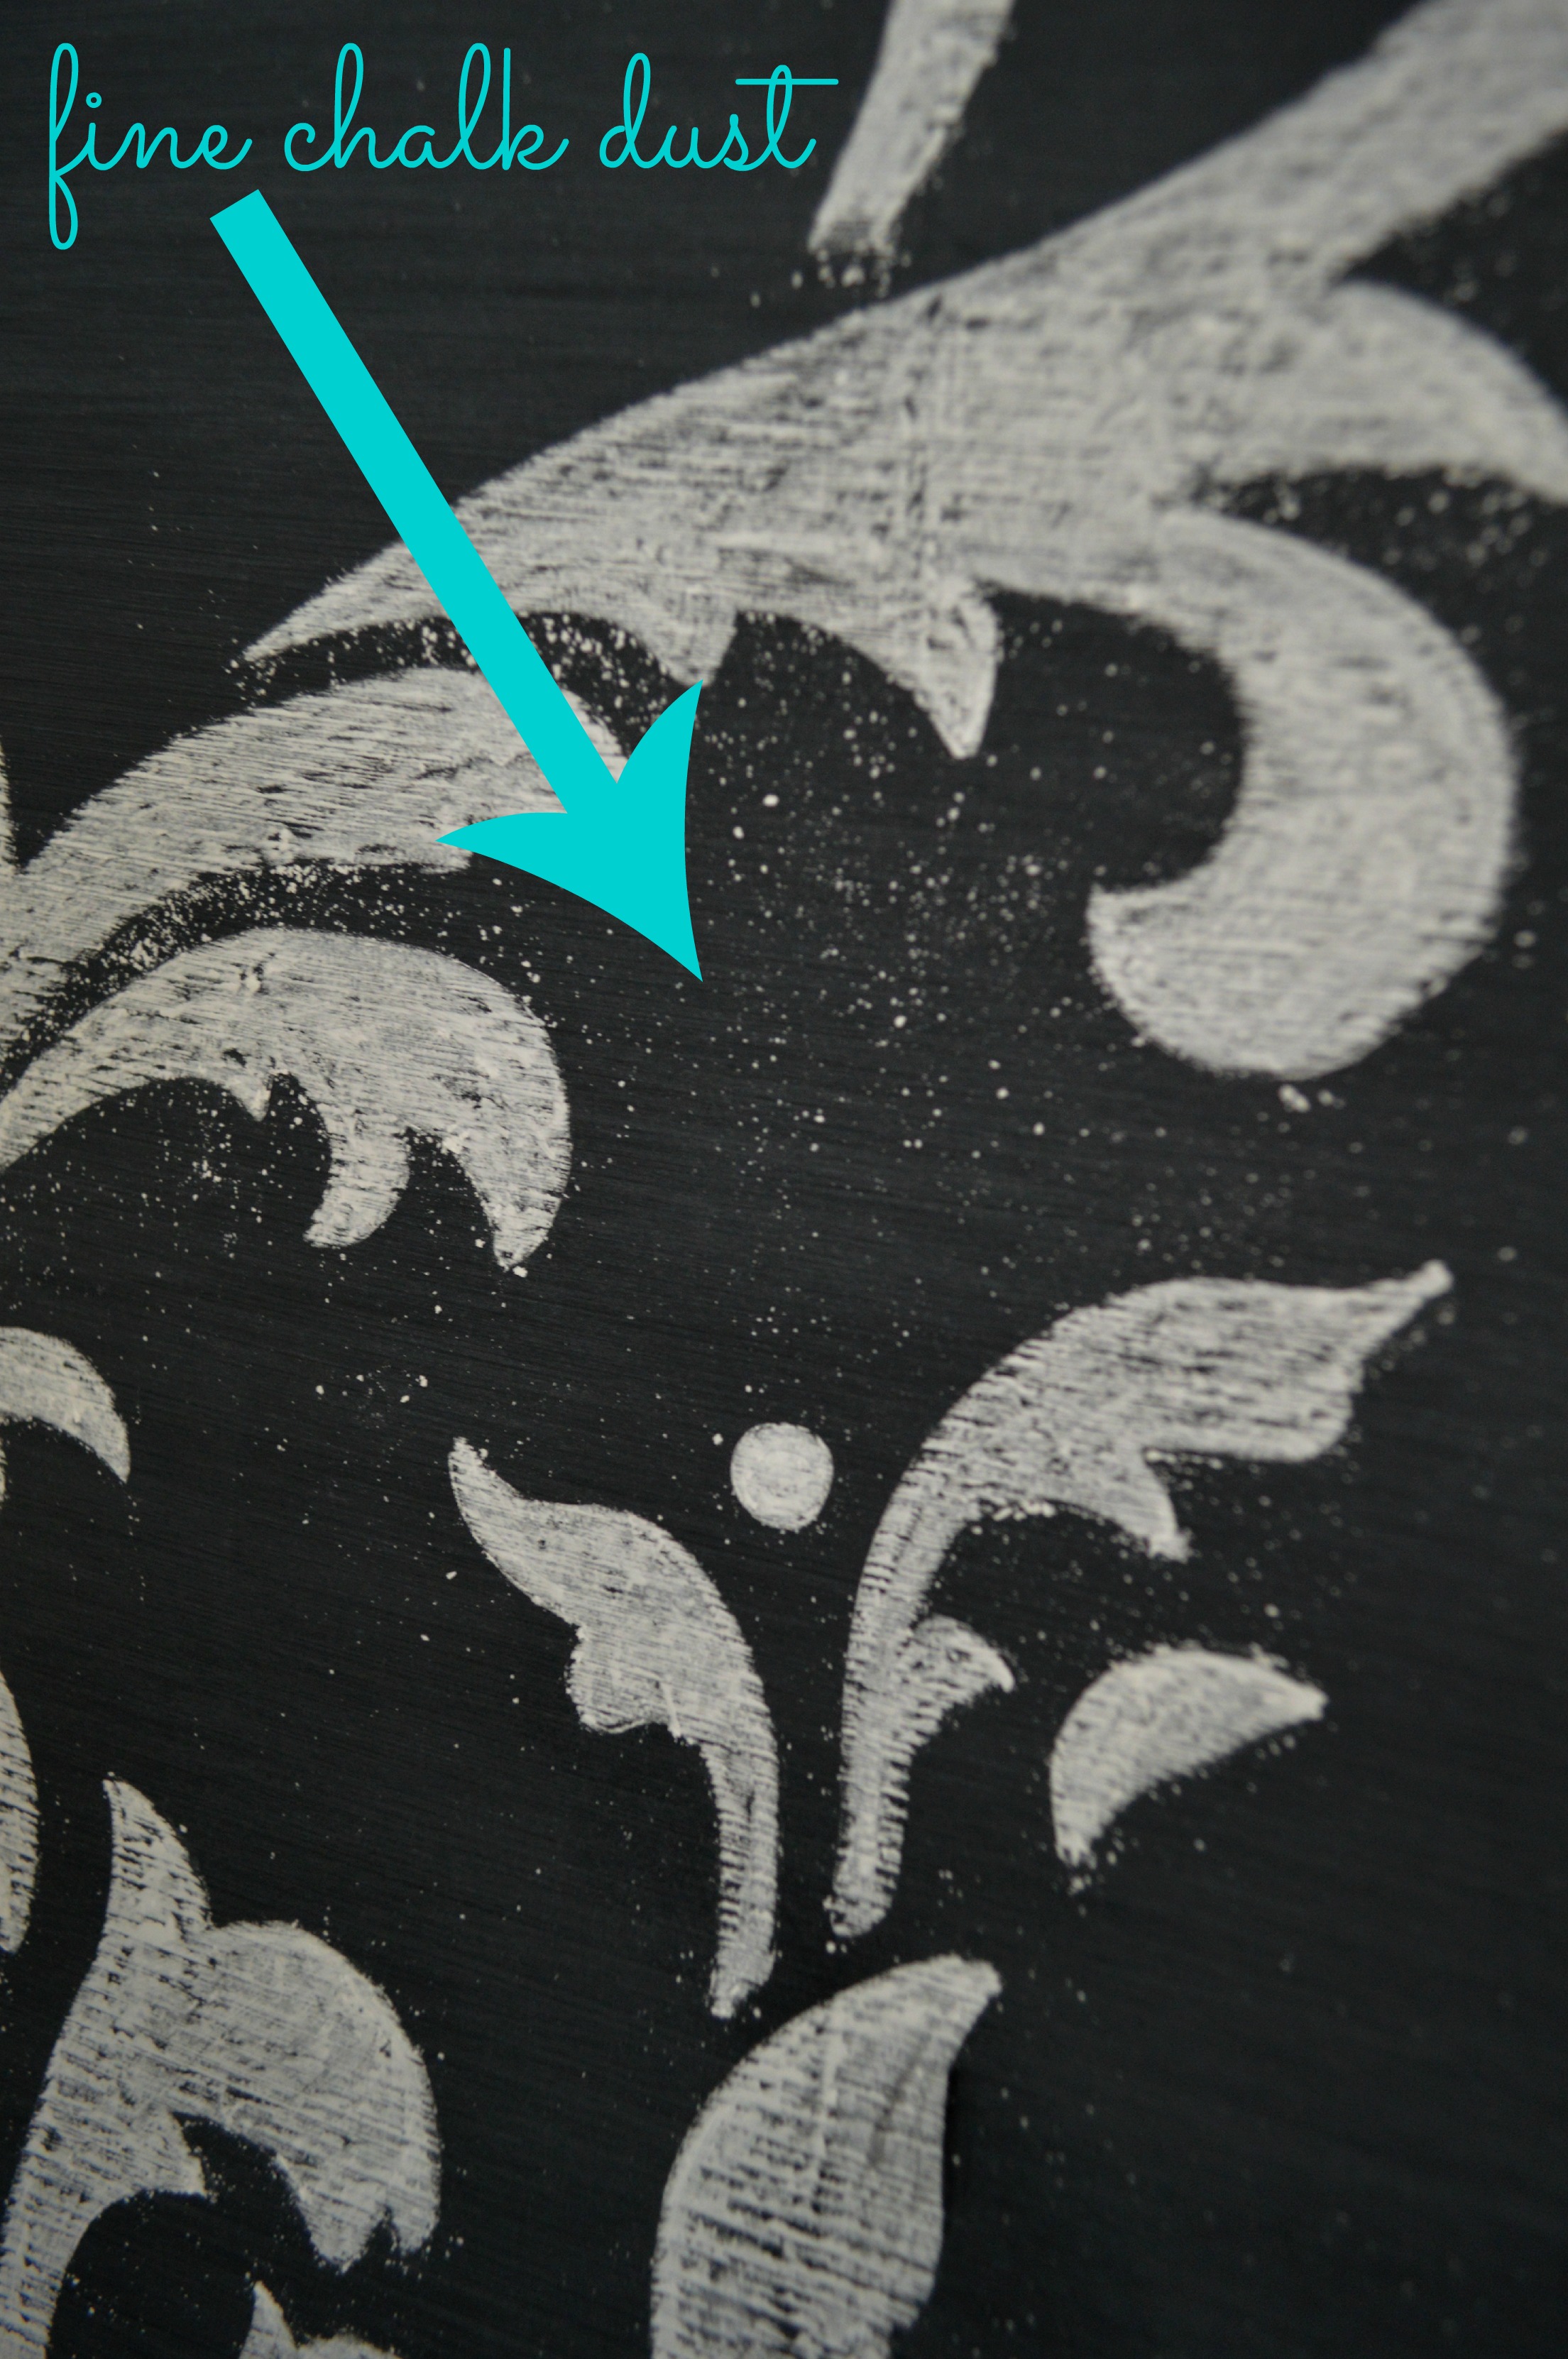
6. How to chalk in your stencil; Outline each small stencil shape and fill in as you go. (this is where the fine dust fell behind the stencil) I did not try using a stencil adhesive because of the nature of the paint I was working on. I was not sure, since it does not have a “finish” on it, if the adhesive would damage the paint.
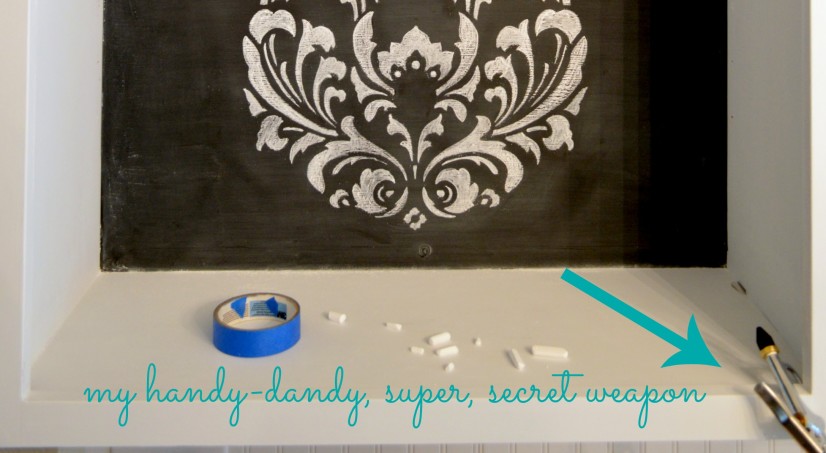
7. If you are working on a vertical, stationary surface; After the first stencil section was done. I had my husband bring me the air compressor with the fine nozzle. This was a major game changer. I lightly blasted off the fine dust that I did not want marring my design. Then, with with the second section I worked on, as I finished I did a few quick bursts and 99% off the dust was blown away. This helped avoid the “over spray” look. Note; I tried a hair dryer first but it was not strong or concentrated enough. I think canned air like you use to clean your keyboard might work if an air compressor is not handy. Also, the craft brush worked, but that would be fairly tedious and I am not patient enough for that.
8. Making it permanent; You might love your new design so much, you want it to last. A reader suggested misting with a light touch of hair spray if you are worried about the chalk smearing. Mine is out of the way and I don’t have to worry about it so I did not test this theory. I do think if you wanted this to be more permanent, that you could tape off and protect the surrounding area and mist with a fine poly spray to set, then fully cover by applying multiple layers.
Whew! I hope you got a useful tip or two out of me sharing what I learned when I did a stencil design with chalk, or learned how to season a chalkboard. And if not, pretend you learned something anyway just to make me happy.
If you have any questions that I did not address make sure and let me know, I’ll do my best to answer it if I can.
As always, loved sharing with you!

This Post Is Partying With:
The Frugal Girls, The DIY Showoff


More Ideas & Inspiration
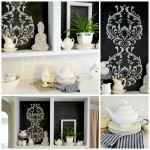 A Kitchen Cabinet Makeover to DIY For {and a giveaway!}
 Chalkboard Wall Fireplace Update
 Making Things Match… (but not too much)
 How To Paint A Door Fast and Easy
 Gilded, Gold and Glam Organza Pumpkin Makeover
 DIY a Glass Vase into a Cloche
 How To Replace A Toilet Wax Ring
 Repurposed Wine Bottle Crafting {how-to cut a wine bottle video tutorial}
Love it!
What a great idea. It’s so beautiful, and something we can all do. I am making a chalk board for the first time as we “speak’! I’m so happy you told me to season it. I probably would have just started doodling like crazy because I’m so damn impulsive. lol I was happy to see you over at Looksi today!! Yahoo!! Great work. Love it!
Hey Julie! Oh good. It was meant to be then. I am like that too. But it’s 50/50. It’s now this second. or 5 months from now. lol
Shannon, that looks so good and I never thought about stenciling with chalk.
I LOVE it!!! What a great idea!!! I seriously would have never thought to use a stencil! Brilliant!!
Hugs!
Claire
Love it! I would have never of thought about stensiling on chalk board. Your design turned out great. It is very pretty!
Jennifer @ Decorated Chaos
Fantastic tutorial – it turned out so pretty! Love the pattern. 🙂
xo, Claire
Shannon, can you share where you got the stencil. Love it!! Thanks for the great inspirational tutorial. Got my chalk out! Thanks, Karen
I can! Click on the link “Anna Damask Cutting Edge Stencil” in the first sentence and it’ll take you to it 🙂 They are having a sale now too!!
I’ve been wondering about this. Looks like something I can do. So happy to see your post, Shannon. I will be back later for a good look. Thanks!:-)
I bet you could Pat! I am going to test out the chalk pens as soon as I get a chance. I’ll let you guys know how those work.
Unbelievably cool. Not only do I LOVE the stencil you selected but how you have shared your experience and all the tips with us totally rocks. I am inspired. I have dated old oak cabinets that keep me awake at night…..I am plotting my transformation. I love the look you have created here it is worthy of a magazine spread. Very Romantic. I bet you are so pleased when you look at it. Thank you.
I figured I learned a few things, I better share!! Glad you liked it and thank you for your very kind comment!! I do like it and enjoy the change it offered but that I can change it again, whenever the mood strikes.
Great tutorial, Shannon! Love the look of this — I’d have to choose a simpler design, though. You’re a stenciling beast! 🙂
xo Heidi
You know, if it wasn’t vertical and in my cabinet, I could have worked on it much easier. The chalking was simple, it was my location that was a pain 😉 The stencil was a dream. Super nice quality!
Very cool, Shannon! I have that stencil and love it! It’s one of my favorites. Love the idea of chalk! You’re brilliant!!~~Angela
Yeah? I really like it, it’s so scrolly and flirty!
I just chalkboard painted a background for an old oak frame and purchased a stencil and was planning on trying to stencil it with chalk…what’s the odds that today I would find your site with these wonderful tips! Thanks for sharing!!! Love your cabinets and the damask design you chose. The black and white is so striking and looks beautiful with all your white collections!
Oh yeah!? How cool!! I’m planning on trying out the stencil with a chalk pen, just to see how it works. Thanks so much for stopping in.
Hi Shannon, what type of chalk do you recommend, thanks, Terri.
Love what you did with the stencil – thank you for sharing it with us. Awesome!
I totally used regular old crayola white chalk! I am going to try it out with a chalk pen when I get a chance. I’ll report back when I do. Thanks you so much!!!
Oh Shannon – I am so glad you did a post about this. First of all, I think you are pretty much a genius for doing a chalk stencil instead of paint. It is so fun that you can change it out when you want! And it looks amazing in your open cabinets. PINNING (of course)!!
WooHoo. I’ve reached genius status. hahahahaha. Thanks girl. It’s more about my inability to commit 😉 I do love it though. Thank you so much for the sweet comment!!
Wow. This is such a great idea. I love the stencil you picked. Makes me want to paint everything with chalkboard paint, right now!!
Karen
Thanks you!!
I know! Me too. I’ve got a big picture in a gaudy frame, an accent wall… and now the cabinets.
I have to stay my hand not to do it everywhere. lol
Ditto … I’ve used blackboard paint on my kitchen table top and on the little table by the front door. I leave important messages on either table as well as little notes to myself. Plus we all like to leave our little doodles : ))))
I’m new to your website and I LOVE IT!!!! Thank you.