How To Make A Wood Christmas Tree Box Collar
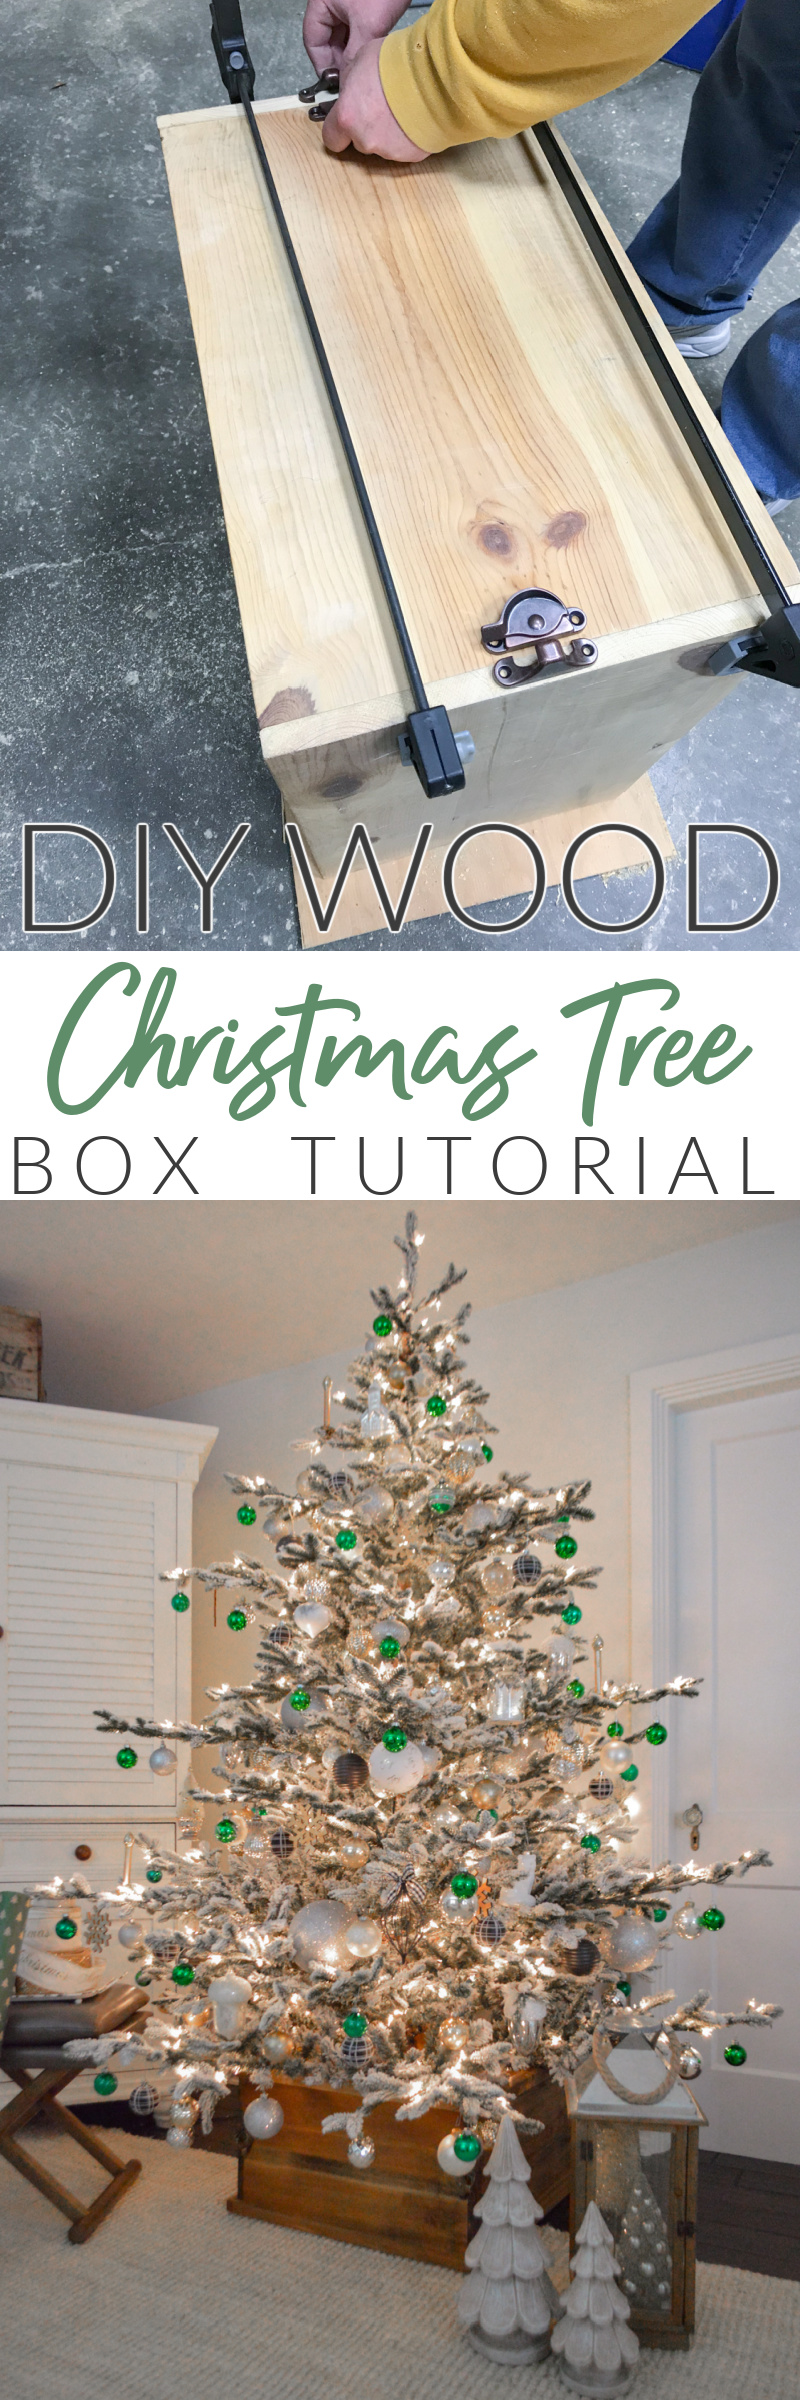
Hello FOXES! Today Jim and I are sharing how we made a wood Christmas Tree Box with you. This DIY is fast and easy, and we made this in under an hour. And that included taking lots of pictures and video to share with you as we did.
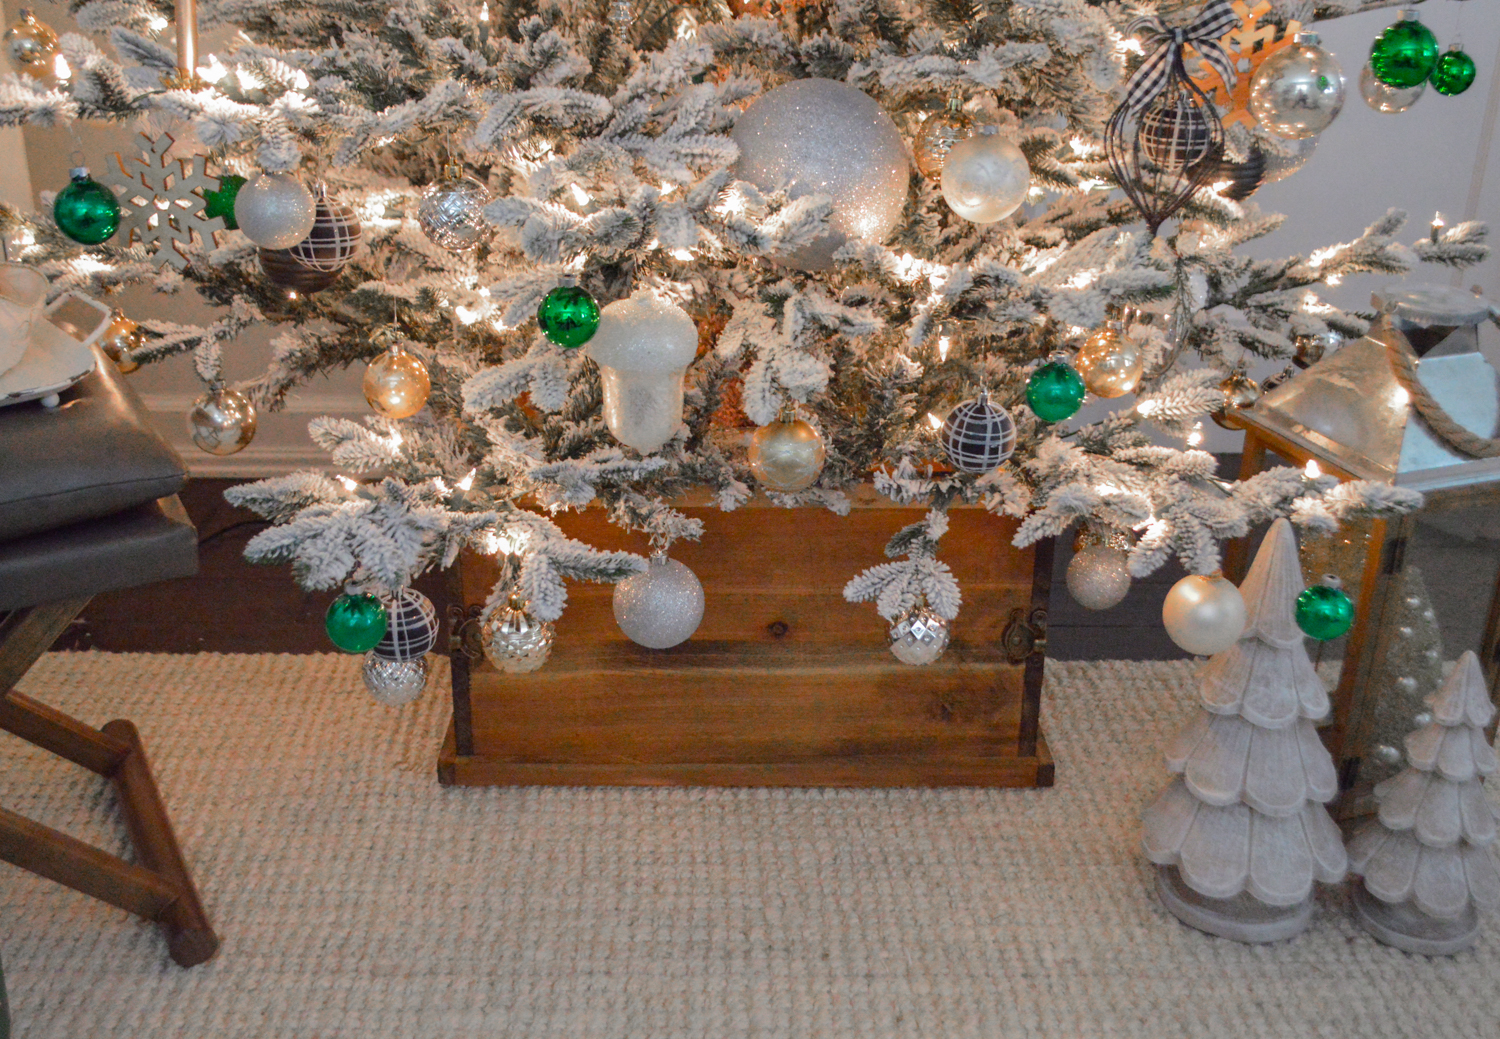
This DIY wood box will act as a collar of sorts, to finish off your tree. And it’s used in place of a traditional Christmas Tree skirt for a polished holiday home decorating look. The style can be adjusted to make your wood Christmas Tree box a little more cottage, farmhouse or even glam, depending on how you embellish it, the hardware you select, and how you finish it… with either wax, stain or paint.
For this holiday home decor DIY, I’ve both written out directions on how to make your own wood Christmas tree box, and we have a full video tutorial (I’ll add this soon) as well!
MATERIALS & SUPPLIES:
-
WOOD – we used solid pine but plywood would be acceptable, especially if trims were applied to the raw edges.
-
CUT WOOD SIZES – We used TWO boards cut to 21.25 inches – and TWO boards cut to 20.25 inches to create our box. Trims pieces were cut to fit each box side as we assembled them.
The Simpler Way To Build – if you don’t feel the need to have your front piece be removable, and you don’t care if you’ve got nail holes showing, this box can be made more simply! Just attach your back and two sides with the Inside Corner Braces, and then simply nail the front piece in place, and them trim it out.
-
TRIM – you can rip down boards to use as trim (as we did) – or use a style of choice, even moldings like baseboards & crown could be gorgeous for a more polished look. Rip trim to width size of choice. Our trim pieces are 1 x 1 square for reference.
-
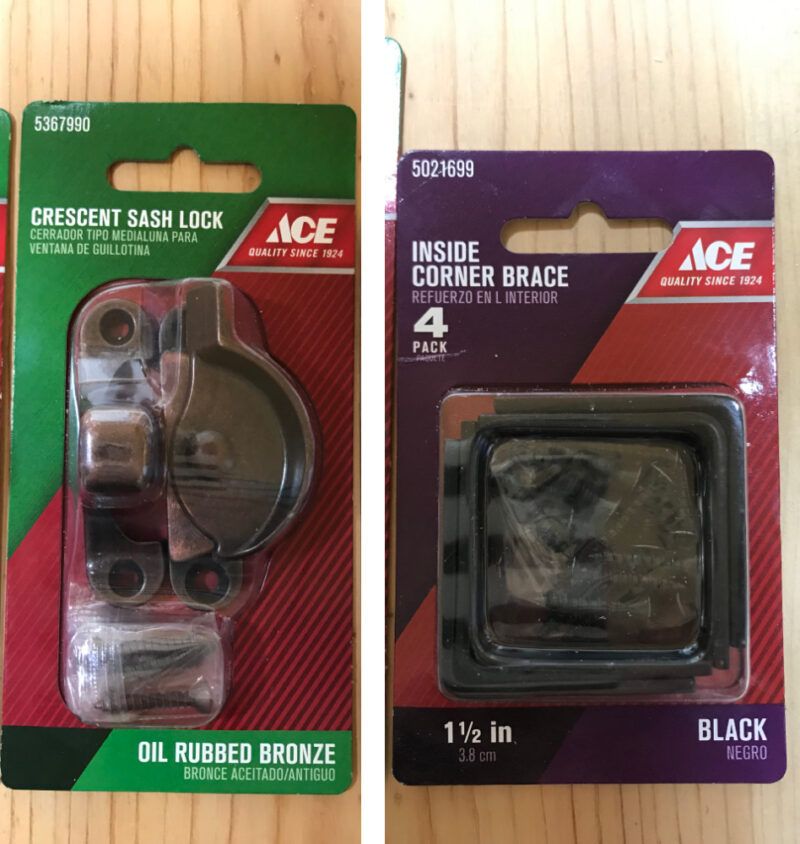
HARDWARE – style of choice – can be used functionally, or for looks only. We used 2 Crest Sash Locks and one pack of 4 Inside Corner Braces on each tree box we made. At our local Ace Hardware, the Sash Locks were available in in bronze, silver and white. We used Crescent Sash Locks because the hole placement matched the thickness of our wood.
-
NAILS – we used our nail gun, and 1.25 inch brad nails.
-
OR HAMMER & NAILS & NAIL SET – if using nails, a nail set helps to counter sink the nail, for a better finished look after filling, sanding and finishing. Or if you are going super-rustic, nail holes might not bother you!
-
CLAMPS – These are handy but not absolutely necessary. We used clamps to secure the wood/trim so we could nail from the back side and avoid nail holes showing.
-
TABLE & COMPUND MITER SAW, A CHOP SAW WILL DO – We used the table saw to rip our pine down to size for the box and trim, and the miter saw to chop for the trim down to length.
-
DRILL AND/OR SCREWDRIVER – we used a drill to pre-drill for the hardware placement before screwing in. Jim uses a gouge to puncture the wood surface to mark his spot for drilling. You can use a pencil or whatever you’ve got handy to mark your spot.
-
FINISH – The finishes you can use are endless. Wax, stain, paint… wallpaper, peel and stick wallpaper, stencils, StikWood… so many options to fit any decor style!
The wood sizes I shared made a tree box with the measurements of 23″ x 23″ Square and 13″ High.
It’s important to note that you’ll want to make sure that the INSIDE clearance of your finished box will accommodate the tree stand of your Christmas Tree.


TO ASSEMBLE:
-
STEP ONE – You are going to want to use one short board as the back, and add two longer boards for the left and right side.
-
STEP TWO – Measure (we eyeballed it) for location of Corner Braces to be added to your short board back piece. We had a piece of lumber with a knot-hole missing and opted to use that piece as the back.

-
STEP THREE – To add the Corner Braces, place them on the wood and mark the screw hole location.
-
STEP FOUR – Pre drill for screw holes.

-
STEP FIVE – Attach Corner Braces onto your back board piece with screws provided.
[when complete, your back board piece should look like this]

-
STEP SIX – Lay your side piece down, and stand your back piece up vertically, line them up, and attach the two pieces together by adding screws to the side of the Corner Brace resting on your side piece.

[Have clamps? Use them to line up + secure your back & side pieces while adding screws to the Corner Brace]

-
STEP SEVEN – Repeat for the other side piece.
[Once assembled, your back and 2 side pieces should look like this]

STOP NOW – You can make things simpler from here forward, if you simply want to slip your last piece (the shorter one) in between the two sides, line it up, and nail in into place by putting nails into the sides, to secure the front piece. Then add any desired hardware or embellishments for form, not function.
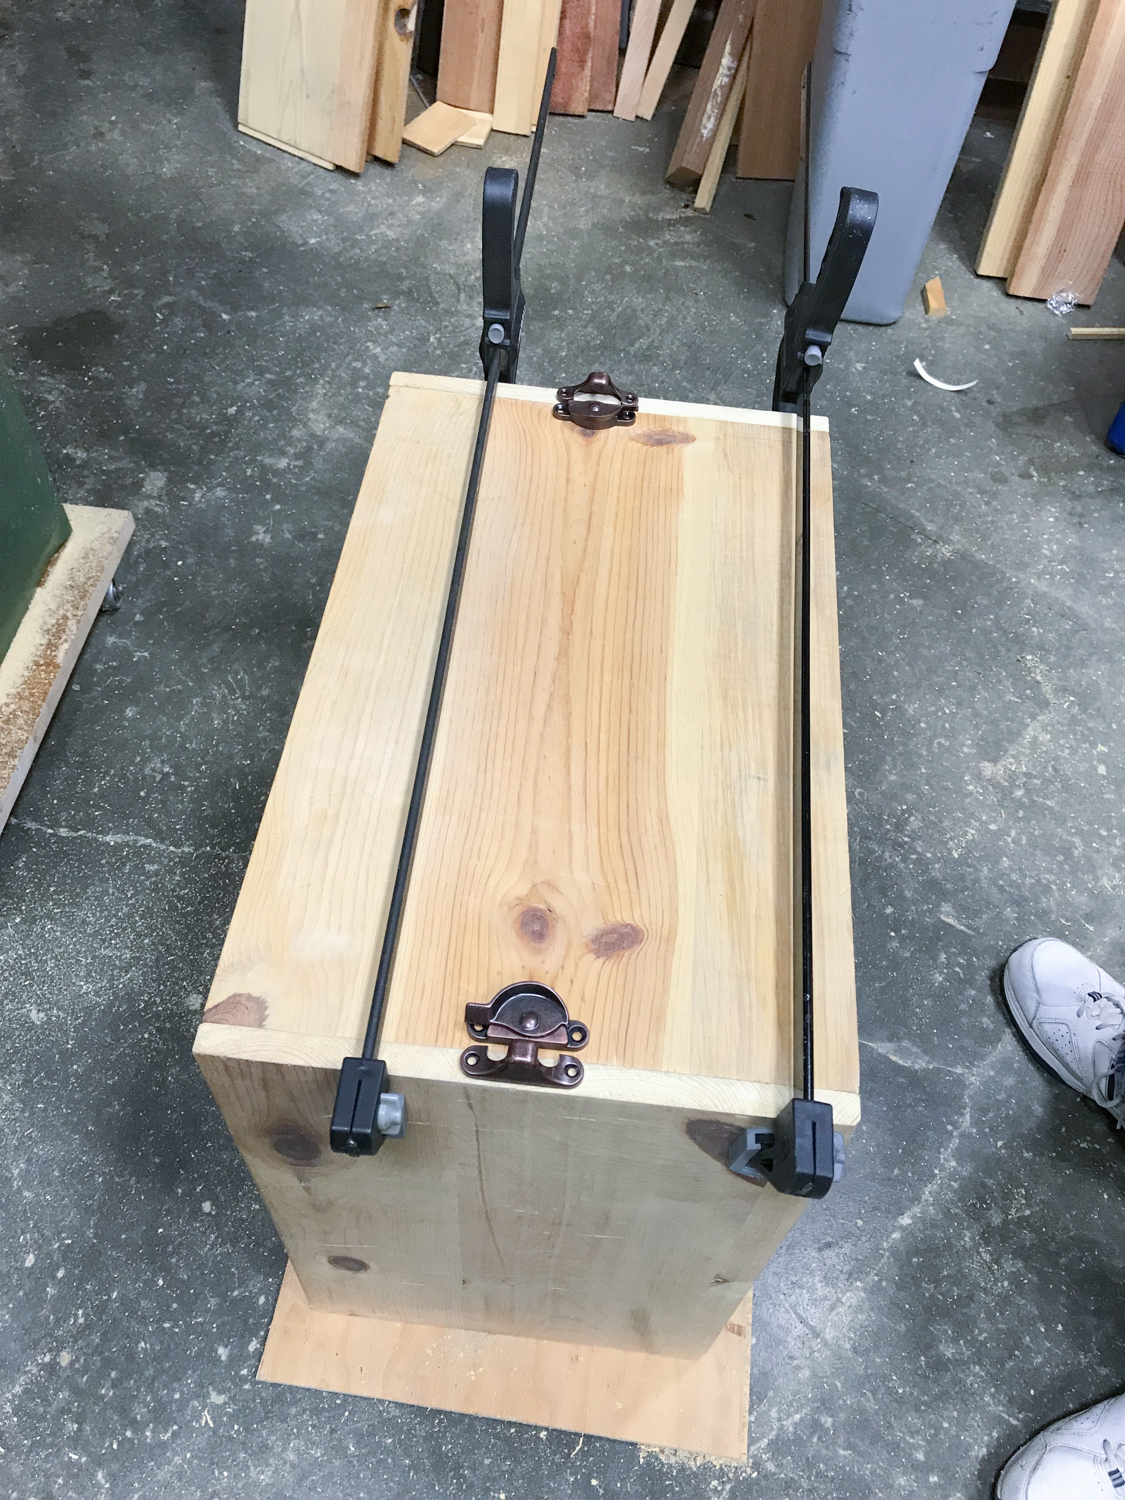
STEP EIGHT – Slip your last section in-place between the two sides. Clamp to hold in place.
-
STEP NINE – Set Sash Hardware in place.
-
STEP TEN – Again, pre-drill your holes before attaching your hardware to prevent your wood from splitting. And make sure that your hardware lines up correctly, and that you can comfortably but securely open & close the hardware before you permanently affix it to the wood.


-
STEP ELEVEN – Add a small scrap wood piece to act as a stop when using the Cresent Sash Lock hardware version of the build. This will prevent the front piece from “pushing inward”. It won’t fall forward, as the Crescent Sash Lock prevents that motion or action. NOTE: Make sure to nail these pieces to each the left and right side board for them to be effective.

-
STEP TWELVE – This part is a whole lotta REPEAT, as we add the trim. Measure and cut to fit each back, front and side section for the top & bottom as you work. Remember, if you don’t want nail holes. Use clamps to hold your trim in place and attach with nails from the inside of the box. Everyone has their own rhythm and style, so if you finish yours in a way that makes more sense to you, that’s fine.
REMINDER – Please remember if you are using nails from the front to complete your build, and you want to be able to remove the front piece, don’t nail your trim in on the far corners where the front and side of the box meet, or you won’t be able to take your front piece off.
Also, this was the third DIY Wood Christmas Tree Box we made, and we ran through the build so I could take photos and video in order to be able to share the process with you, so I didn’t sand everything perfectly for this demo.

-
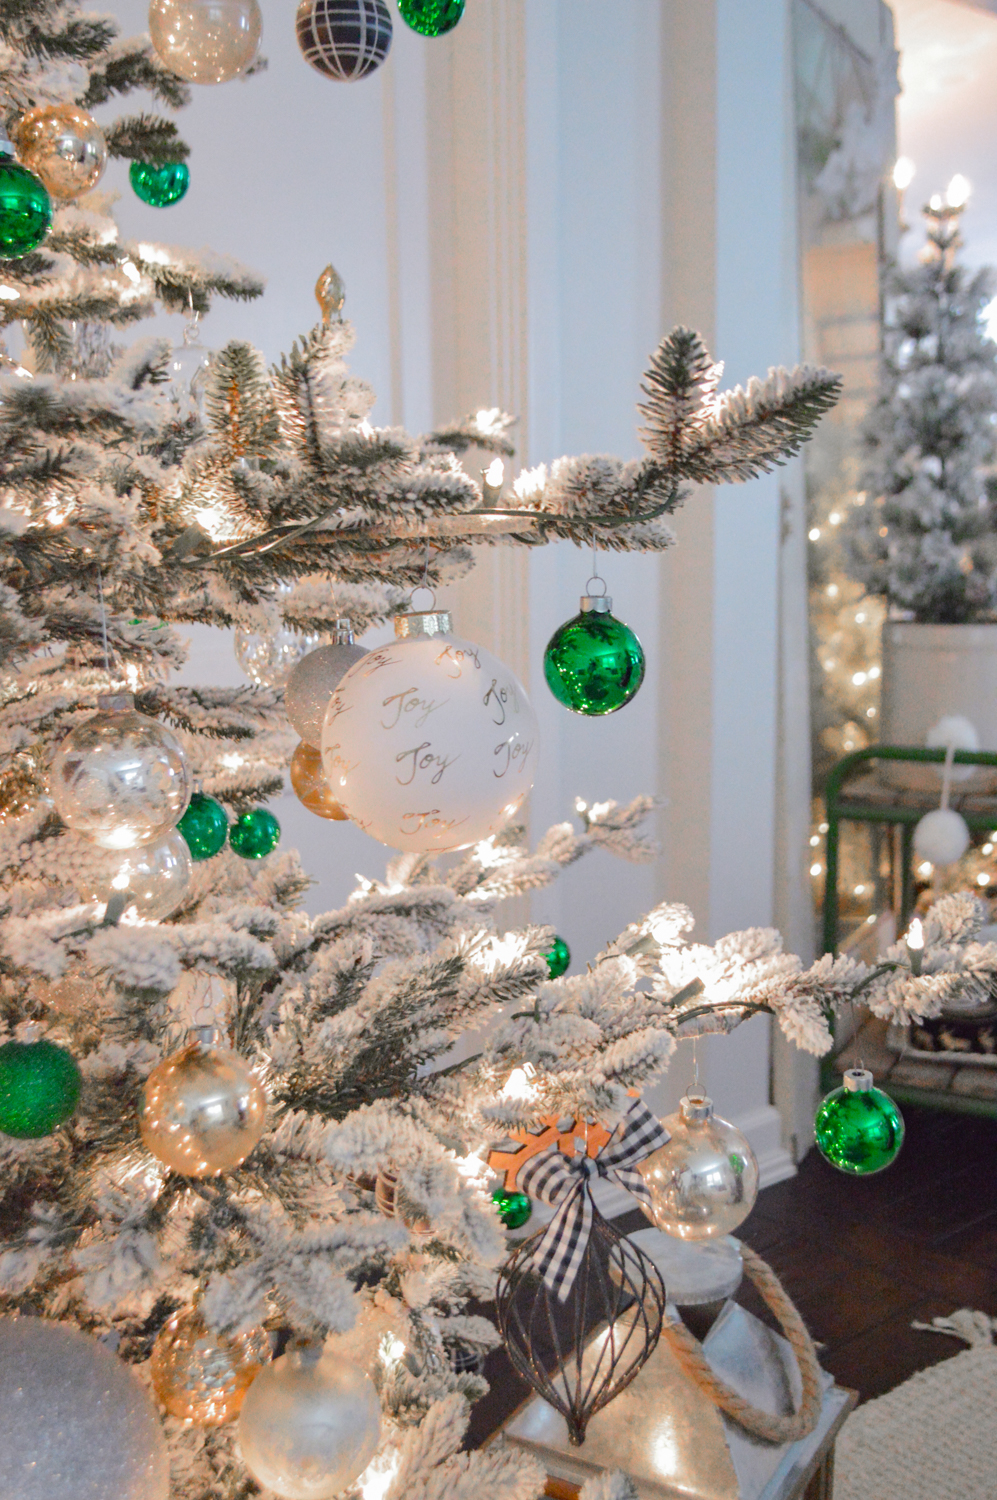
STEP THIRTEEN: Or perhaps step one, depending on your preference. The finish. I don’t like to finish before assembly because it inevitably gets dinged, damaged, marred… etc, and seems harder to fix and existing finish. Instead I do it after. I chose to wax our new wooden tree “collar”, but as I mentioned above, there are so, so many ways you could finish this to suit a particular taste or decor style.

We went really simple with our build, it was a very spur of the moment project and Jim was a sweetheart for even whipping it up for me! I had been looking online for a finish besides a tree skirt for our tree (with my stand, they hump all up in the middle and I don’t like the look at all!) but everything was ridiculously expensive, sold out, or wouldn’t arrive in a timely fashion. I requested something basic, because I didn’t want him out in the shop all day, he works so hard already! Well, he had the first one built before I knew it.
But funny thing is, we both loved making this so much, we are going to do another one with a chunky fat vintage trim and a little more personality. I’ll make sure to share it! xo Shan
PS: Any questions? Please give me a shout and I’ll clarify. Comment here, or message me at foxhollowcottage@gmail.com
See our 2020 Christmas Tree ~ DIY Wood Box and all [click here]
While every effort has been made to ensure the accuracy & effectiveness of the information displayed on this website, Fox Hollow Cottage is for entertainment purposes only. Any and all tutorials and/or demonstrations are not intended to substitute for, or be professional advice and I make no guarantees written or implied as to the procedures and information shared here. Create with my suggested methods, materials, and tools at your own risk. Please ensure you are following proper safety procedures and proper guidelines with anything used, and seek professional advice or services if you don’t know how to do something. Read my complete disclosure here.






I was just telling my husband on Sunday night after a disappointing deer hunting weekend, I had a new Christmas tree box I wanted him to make. My thought was designed to brighten his mood with a new project and a little something for me too – two birds one stone! Then BAMB! Monday morning comes with just exactly what I need with an email from you!! Happy Thanksgiving!
Oh that’s so sweet!! Just read it to Jimmy.
Happy Thanksgiving to you both.
Hope you get that Deer before the season is up.
Shannon
Shan! Is that tree real or no?
Hi Kathy, It’s a faux tree 😉
I blogged about it if you want a closer look and more details, I linked it for you.
https://foxhollowcottage.com/our-silver-gold-and-green-christmas-tree.html
Thank you so much for this DIY! Such the craze these days for Christmas Trees and have to admit, the tree skirt look is getting old and plus they never stay in place (especially when your Lab wants to check out the tree all the time 🙂
Cannot wait to make my tree box!
I love them in the right circumstance. And on the right tree, but for me, it’s bunched up and there is a big hump in the middle with my style tree stand.
I’m loving our boxes, and can’t wait to see yours!
MERRY CHRISTMAS 🙂