How To Make And Hang A Chunky Wood Wall Shelf
We are so excited to share this tutorial on how we turned some reclaimed vintage wood crown molding into these super chunky wood wall shelves! We are even sharing how we hang/mount them on the wall so they are super secure!
Hey Foxy Friends — I know we’ve owed you this one has awhile, and I finally got a few spare minutes to share how to make and hang a chunky wood wall shelf! I’m gauging that this DIY project just crosses over from beginner to intermediate. But I have every confidence y’all can do it with a little time and patience!

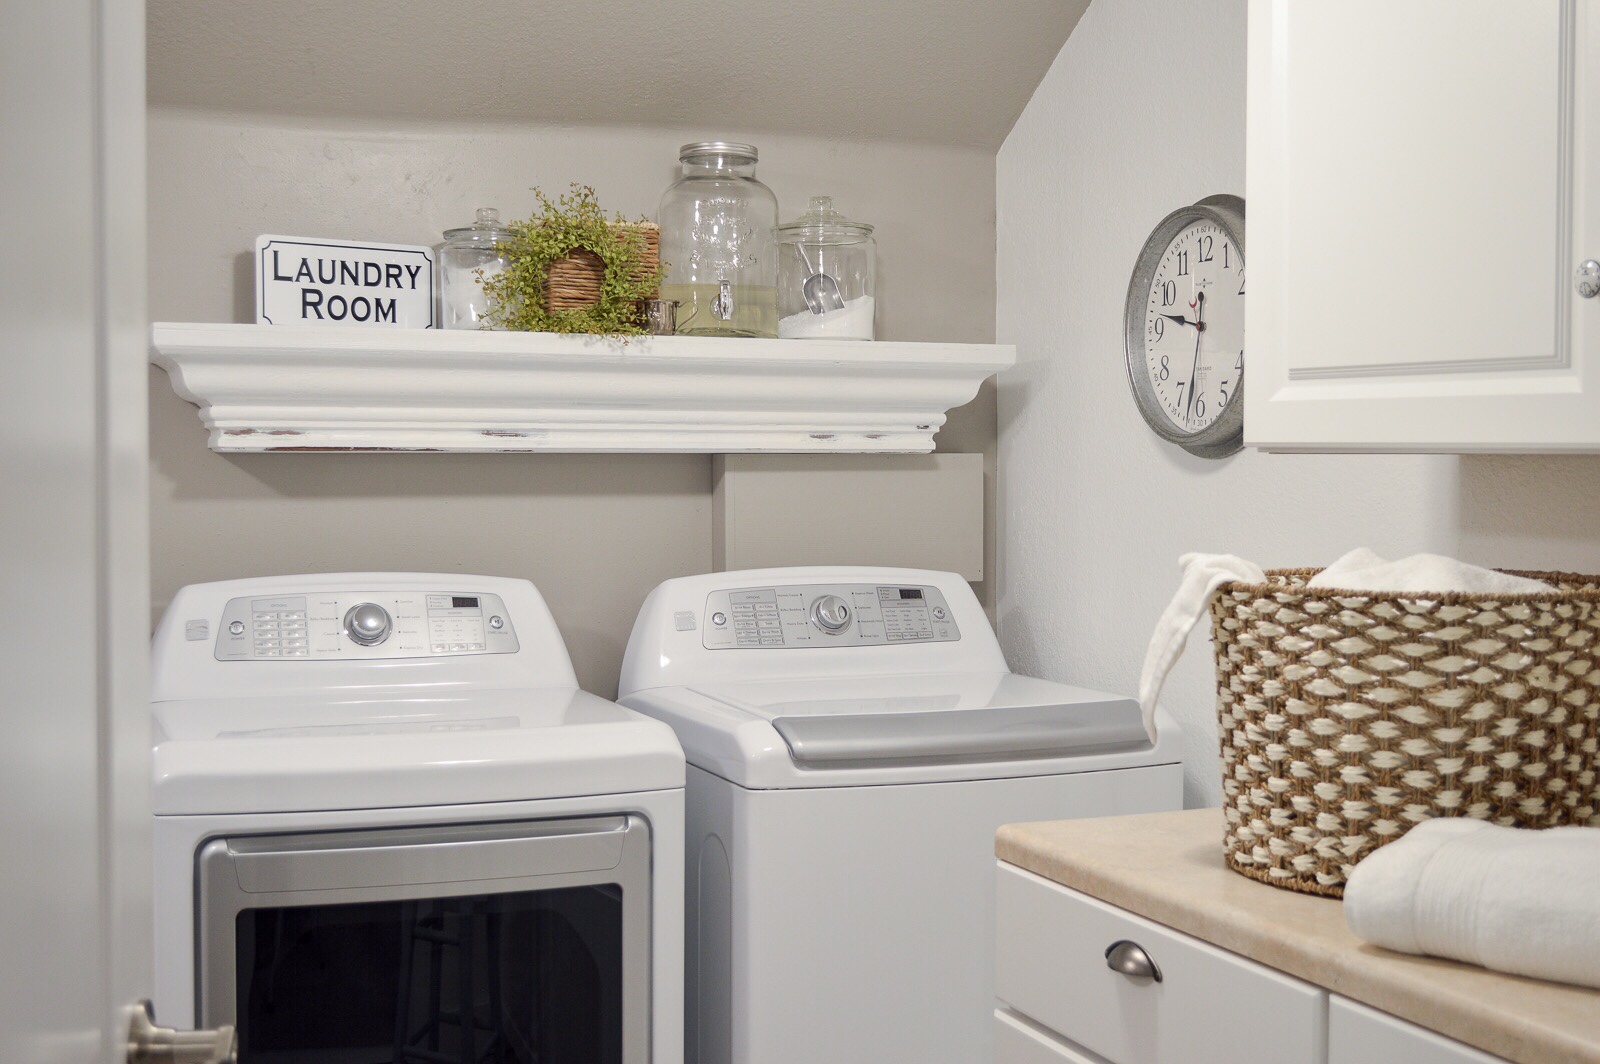
We made the first chunky shelf out of some vintage wood mouldings we scored at an estate sale a few years ago. We knew we wanted to do something special with it, but we were not sure exactly what that would be. When we gave our combination laundry room & powder bathroom a refresh, I knew I wanted to change the shelf over our washer and dryer to something more our style.

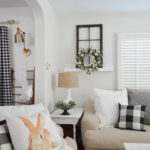
I think this design has a very Pottery Barn vibe, and it feels to me like a perfect blend between cottage & farmhouse! The previous one worked, but it was very sleek and utilitarian. Thankfully, Jimmy was game and was able to whip up exactly what I envisioned!
We decided to use some of our precious stash, and together we came up with a design that used both the crown moulding, as well as some additional moulding we bought with it, to create a seriously fat & chunky shelf. And when I say we… I mean, Jimmy mocked it up, and I said YES it’s perfect I love the design!
The great thing about it being custom is we were able to make it the exact length we needed and the perfect depth too, so that we could easily and fully open the washing machin lid! You’ll most likely want to make your shelf to fit your space, with both a custom length and depth. And it’s really easy to customize! For example, we made our shelf 55 inches long and 9 inches deep.

YOU WILL NEED:
Nail gun, lumber: crown moulding & favored trim, board for top shelf and bottom, compound miter saw, tape measure, construction pencil, stud finder, level, drill & bits, screws, scrap lumber (for wall hanging), wood putty, sand paper, paint, paint brush.
LUMBER:
- One board for the top shelf (we used Douglas Fir)
- Crown Moulding (ours was vintage, the wood species was Douglas Fir)
- Additional decorative moulding (again, ours was vintage, the wood species was Douglas Fir) – often this wood piece is coordinating, sometimes called a double stack crown moulding
- Lumber, cut to fit for closing up/finishing the bottom
- Scrap for creating the brace and wall hanging portion
TOOLS:
- Tape measure, construction pencil
- Compound miter saw/miter box
- Miter saw stand (makes it easier to use the saw)
- Sand paper
- wood putty
- paint & brush
- stud finder
- level
- drill and bits
- screws
- scrap lumber
TO MAKE YOUR SHELF:
-
Measure your main, large crown moulding piece to your desired length and make your 45* cuts to fit the one front and two side pieces together. Nail in place. You can glue and nail if desired. Set aside.
-
Next, repeat the same process with your smaller moulding pieces, cutting exactly the same length & depth as your larger crown pieces, and join them together.
-
Next, cut a board to fit along to bottom of the smaller moulding section. Nail this to the lower trim section. This will give the shelf a finished look.
-
Lastly, you will add what should be your largest board (this will be the top of your shelf) to fit atop the upper part of the crown moulding. Nail into place. This can exactly match the crown moulding, or you can go larger and extend it to create a lip or more of a profile for your shelf.
-
Fill any nail holes with putty, sand, sand rough edges, paint, stain or finish to your taste.
This next part is just something Jim completely made up. It will help you securely hang your shelf on the wall.
-
Jim added three sections of 2 inch thick scrap wood to the inside of the shelf, and screwed a length of 2 x 2 (checked for level) to it. Make sure you’ve got the 2 x 2 level! It’s very important.

-
Find the studs in your desired hanging location. Attach a pre-drilled 2 x 2 to the wall, again, check for level.
-
TIP: Pre-drill to prevent splitting your wood, and add screws about halfway in to make it easier to attach to the wall, all while keeping it level!


-
Lift the shelf to the wall and fit the 2 x 2 between the top of the shelf, and the 2 x 2 on the inside. Check for level if desired and make any adjustments. Drill through the top of the shelf (up close to the wall) right down into the 2 x 2 you screwed into the wall. That shelf shouldn’t be going anywhere now! Fill and touch-up over the screw holes. (You can counter sink them if you want to get fancy)
Our combination laundry/powder bath isn’t fancy, but it’s neat, clean & tidy and I love my chunky shelf! It’s the little bit of cute, in my mostly functional space!

While we were at it… Jim created a way to cover the exposed water & hose section by the washer. It’s simple and we used what we had on hand. Wood.
And afterwards, I painted it the same exact color as the wall.

We used wood as I said, and he made a box to cover the space, but still allow the hoses to exit the bottom.
To mount it, he made a little notch in the top of the box.


And added a screw & washer underneath the shelf.


The box slips onto the screw and slides snug up against the wall, but it’s really fast to remove if we need to!


Some of these photos were quickies with my cell phone but I think they give the general idea. If I missed or skipped anything, please leave a message and I’ll get back to you as fast as I can!
Back a few months ago we used the same general build-guidelines when we created a shelf for our living room. This time, I opted to leave the very chippy original paint color as-is.

Without painting to marry it all together, you can really see the top shelf addition.

I didn’t have the heart to paint over the thick old chippy paint though…

We shall see how long it lasts… I’ve been thinking of a soft black. Only time will tell. I most definitely get whims.
Thanks oodles for tuning in, you guys reading means the world to me!!!!
I know posts & projects have been a bit sparse. I had a post almost ready to publish explaining what’s been going on with me, but some new issues popped up and it’ll be a just a bit longer and then I hope to share more with you. Right now, I don’t even know. Yikes! Love & light, xoxo Shannon

PS: I’ve also got a tutorial for How To Make A Picture Ledge Shelf! These are so great for any room in your home, and super for slim hallways as well.

Subscribe for free today to receive all my latest DIY tutorials, decorating ideas, upcoming projects & more, sent right to your in-box!

Join us on our adventures... and let's make our houses "homes" together!
Your email address will never be shared or sold. I promise!
More Ideas & Inspiration
 How To Make A Picture Ledge Shelf
 Farmhouse Kitchen Vintage Wood Bakery Sign
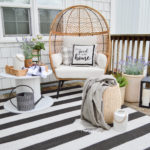 Cozy Spot For One Spring and Summer Deck Refresh
 Fence Board Planked Wall How To
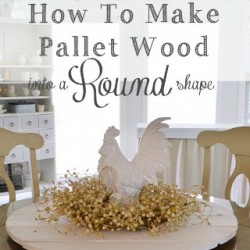 How To Make Pallet Wood into A Round Circle Shape
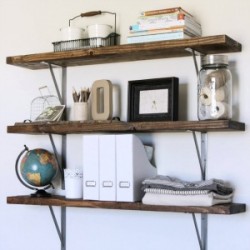 Farmhouse Flair Diy Wood Storage Shelf How To
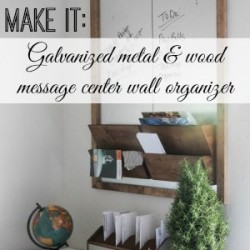 Diy Office Wall Organizer Message Center Tutorial
 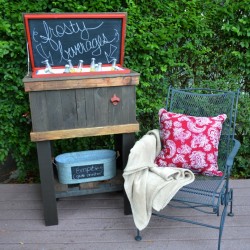 How To Build A Wood Deck Cooler
Loved your post and so good to see something from you! I only just discovered your site awhile back. I binge read your posts and was dying to see something new.
Hi Debbie! Welcome, and thank you for the sweet comment. I don’t know if I’ve ever been “binged” 😉 That made my day!
I love these chunky shelves! I especially love the cottage green one in your living room! I appreciate how you left it the original color with the original chippy paint!
I hope if you ever want a change that you don’t paint over it, but instead replace it. What stories it could tell!! It looks like the same beautiful color green as the work bench my dad built and painted years ago! ( If you ever need someone to gift it to someday, I would love to be that someone!?)
I really enjoy your blog! Happy Easter!!
Hello! I’m so glad you liked it 🙂 The green is fun, but very limiting… the bathroom/laundry version was painted white and I know I will eventually paint this one as well. So try to squint and forgive me when you see it. I won’t get ride of it, as it will still hold good memories and be very loved, as my husband and I junked for the wood and he built it for me. Happy Easter!!