Hi there!
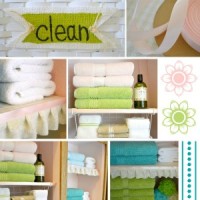
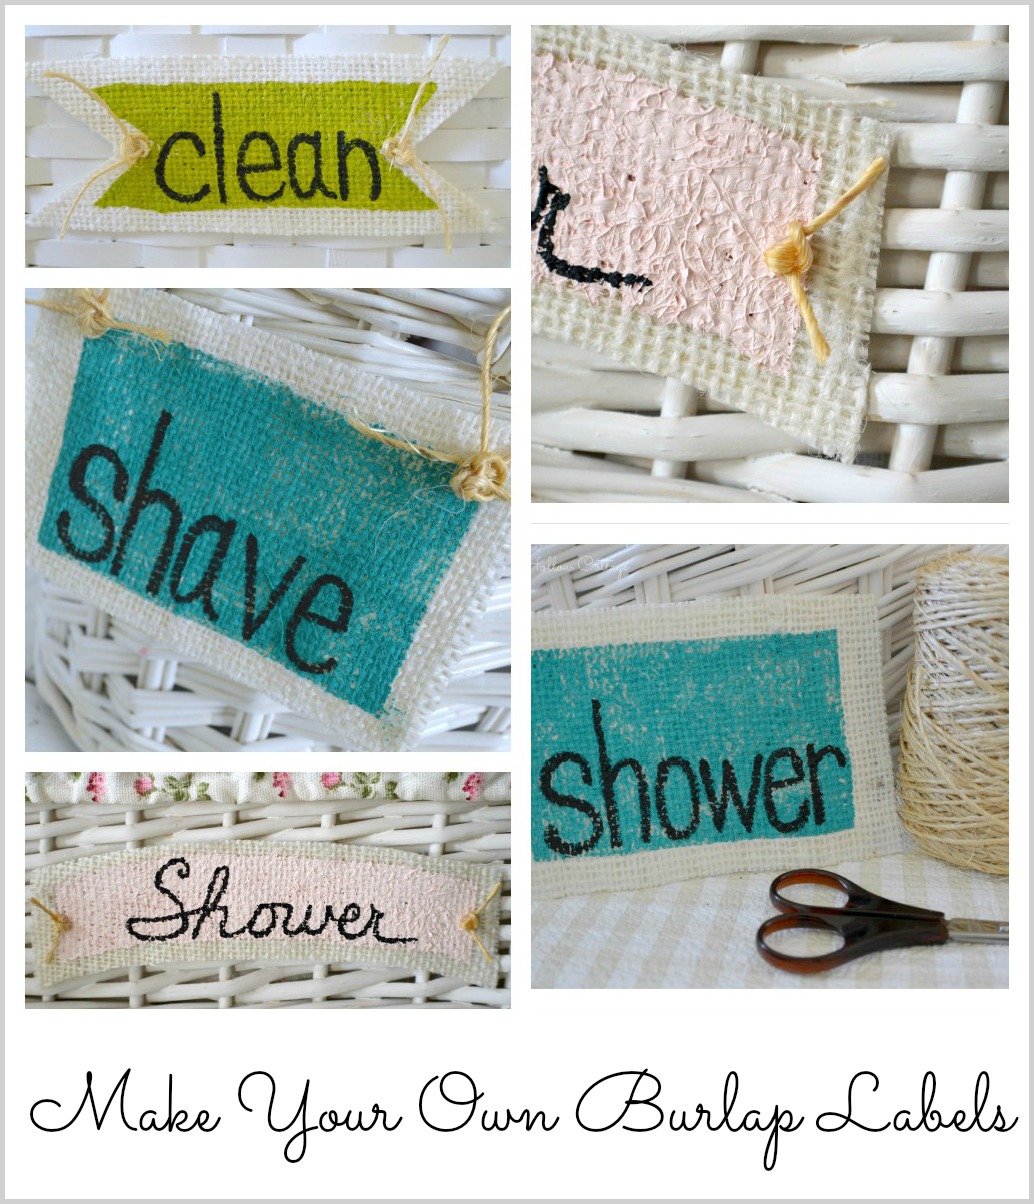
If you saw my recent Linen Closet Makeover you might have noticed the burlap label/tags I made. If you did, and you liked them… then you’re in the right place, because I’m sharing the simple tutorial on how to make them with you here on the blog today.
How To Make a Painted Burlap Label/Tag
To make label/tags like mine, you will need;
-burlap
-felt (for backing)
-paint color(s) of choice
-paint pen
-paint brush; med and small/fine size
-twine
-glue gun
-Elmers craft bond spray adhesive
Step One
Cut your burlap to desired size. Next, cut your felt a pinch smaller then your burlap so it fits nicely behind it. You will back the burlap with a pc. of felt.
Step Two
Lightly spray your felt with the Elmers craft bond and place the felt and burlap together.
Press firmly and smooth.
(Tip; I sprayed my felt piece right over my trash can to avoid worrying about over spray messiness.)
Step Three
Place your paint color of choice on the burlap surface and paint away! I used the new Maison Blanche Paint La Craie shade in “Colette” because it’s aqua. If you read
FHC or follow me on facebook, you’ll know I am a total aquaholic so this was a given for me!
(tip; You can get nice straight lines if you follow the texture of the burlap weave.)
Step Four
Place you text of choice on the burlap with a Elmers paint pen.
The paint pen offers more control then a paint brush, and I find it easier to use my regular hand writing to put the text on the burlap this way.
Step Five (optional)
If you like, you can go over the paint pen text with a fine brush and black craft paint to bulk it up a bit and fill in.
Step Six
Tie your twine in a knot, then knot again. Snip ends to desired length. Affix with glue gun to corners or the desired location on your project.
You can also attach a small piece of twine
as a hanger (shown below) to the back of the label/tag
or you can glue/affix it directly on your basket or surface of choice, like this…
These are the tags I made for the baskets I used when I organized my linen closet. The makeover needed a little oomph and they sure did the trick! You can find my before, as well as lots of inspiration for getting your closets organized if you visit here.
Don’t you love it when the little things just make a space really come together? I do!
And I love them lots more when they don’t take a lot of skill or time to achieve.
That’s It.
Cute. Cheap. Easy.
Totally me.
Hopefully you too.
Have fun if you make some!!
If you need some La Craie paint of your own
I would be happy to help you.
PS; I’ll try to get a tutorial together soon on How To Make Ruffled Burlap Shelf Accents.
Sharing This Post At;
This content is original to Fox Hollow Cottage and belongs to Shannon Fox.
Appearance in full on any site other then Fox Hollow Cottage is theft!
Appearance in full on any site other then Fox Hollow Cottage is theft!





Super excited to found this tutorial! I just purchased some Maison Blanche chalk paint from a local store here in Va and I’m excited to try it — looks like my burlap gets a facelift!!!
FUN! Have fun with it. I’m sure you’ll love the results. It’s like buttah on furniture 🙂
Hi, I was wondering what shades of green and pink you used. They were adorable!
Sorry for the delay. The pink is Debutante by Maison Blanche and the green is Yellow Citron 503 from Folk Art by Plaid. Hope that helps (: Happy crafting!!
Love this!! We’re putting amazing colored burlap on our site soon and think this is a perfect use!
Love these in your organized linen closet and on these cute baskets! Mine would have to say “dirty” and “clean your room”! Think that would work?!
Pinning these – love them and need to get more burlap in my life!
Kelly
Stopping by from the linkup. These are absolutely adorable!! I WILL be making these 🙂 Thanks for sharing!!