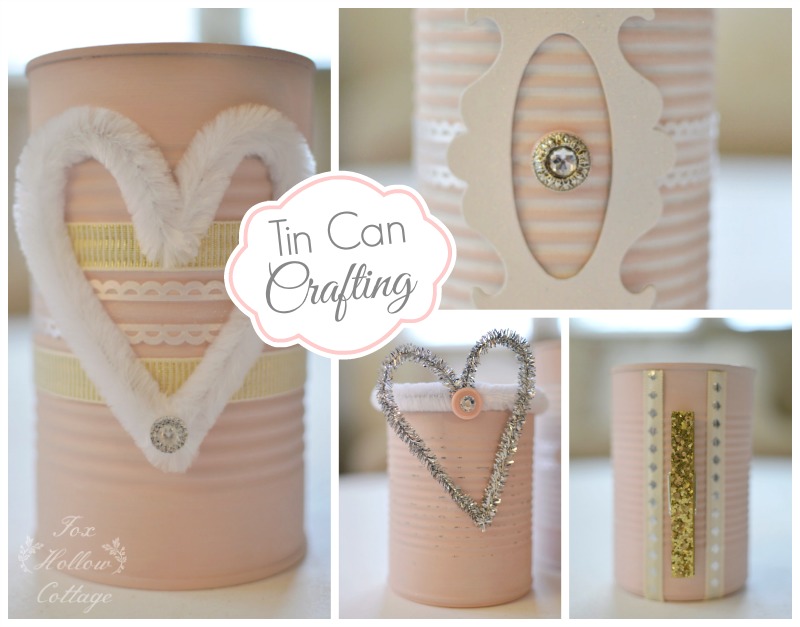
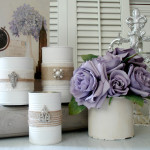
Shabby Pink Painted Tin Cans: a repurposed craft
Last night I realized I had never painted any tin cans in a pale pink. Well, I’ve not painted tin cans in lots of colors, but I really felt the need to rectify the pale pink situation. So I fixed that today.
I mean, with the big V coming. I knew some pretty pink cans could come in handy.
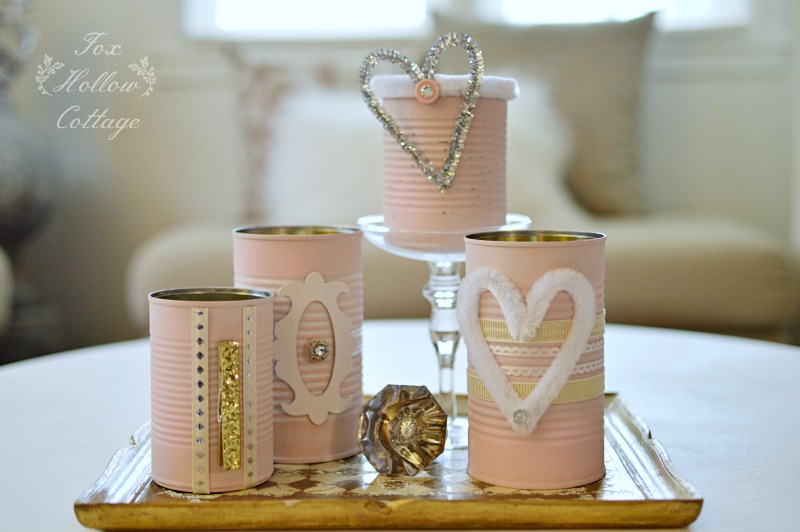
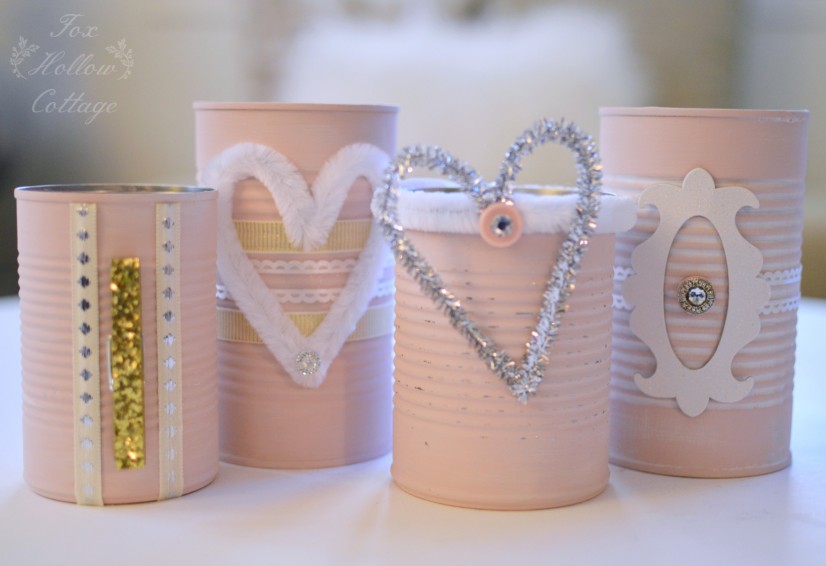
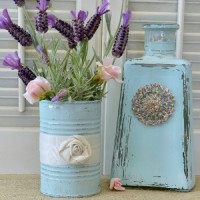
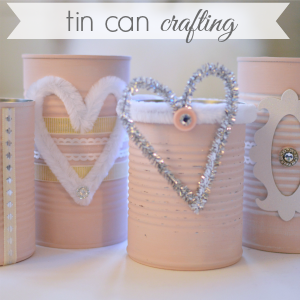
I’ve got just the job for them too! (I’ll elaborate on that later) For now, lets look at my Debutante pink pretties. I love this soft, subtle, grown-up pink.
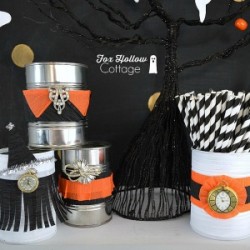
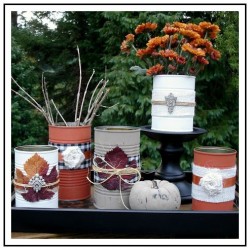
I’ve crafted with tin cans a few times now and it’s just as fun today and it was the very first time. They are a free base and it just takes the smallest amount of ribbon, lace, buttons… pipe cleaners… whatever you have lying around to make them something special. Is it cut crystal? No. But Hello. Crystal can break. So these have that going for them. Works for me!
TO MAKE:
1 – Gather your clean, dry tin cans. Any size will do. (make sure there are no burs that can cut your hand, or wear gloves when painting.) Always be safe!
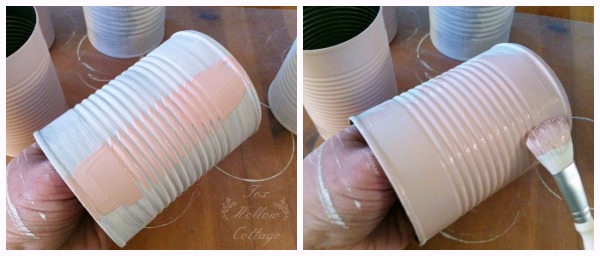
2 – Paint your cans in your color of choice. I used a base coat of Maison White and a top coat of Debutante. Both are Maison Blanche Vintage Furniture Paint colors. I doubled up so I could distress or lightly layer the pink coat on top of the white. I like lots of options.
3 – The awesome thing about using Maison Blanche is that I was able to hit it with a hair dryer in between coats so I never had to wait for the paint to dry! Works for me. Miss Ihatetowaitpants.
4 – Once you cans are dry. Distress if desired. You can use about anything to knock the paint of the metal surface. I’ve used steel wool, sanding blocks and today, I used the side of my needle nose pliers. Since the first two were downstairs. And I was not.
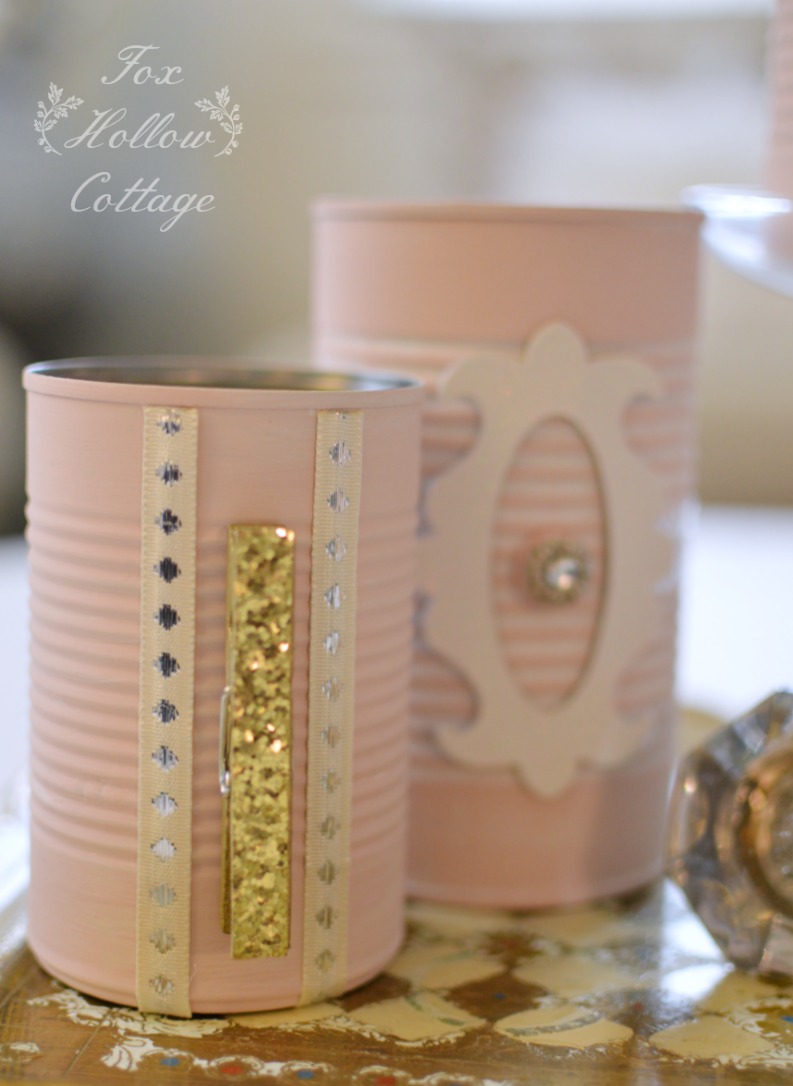
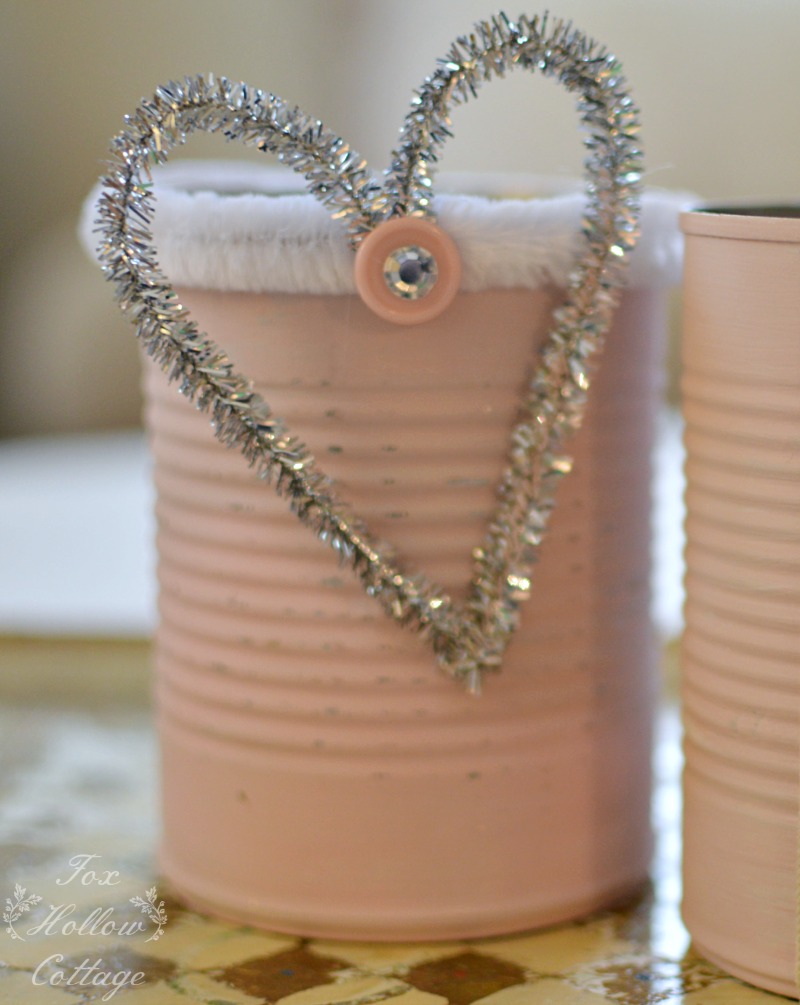
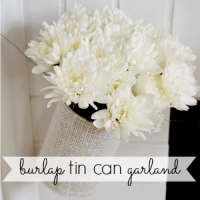
5 – This is the best part! Getting to decorate. I used ribbon, lace, scrap booking chip board pieces, pipe cleaners (tinsel and chenille), button, gemstones and a glittered clothespin. (that will hold the card holder when I fill it with flowers)
6 – Start saving that recycling, but not for the bin. Once you make tin can crafts, it’s easy to get hooked!!
I also wanted to share a few tips for painting your tin cans that have worked for me.
1 – I put my hand right in the can. I works great and you don’t smudge anything holding it from the inside. Brilliant right? It was my one good idea that year. So yay. (this is why I said be careful earlier) So far I’ve been fine, the most I get is a little paint on my hand.
2 – Paint the can as pictured below. First applying the paint up and down. Then working it into the ridges side to side. I usually do this in three sections, then smooth it all out with a few continues strokes. You get nice, smooth, even coverage this way.
3 – I lay a sheet of wax paper down and set the cans on that as I move onto the next one. Works great and your paint doesn’t stick.
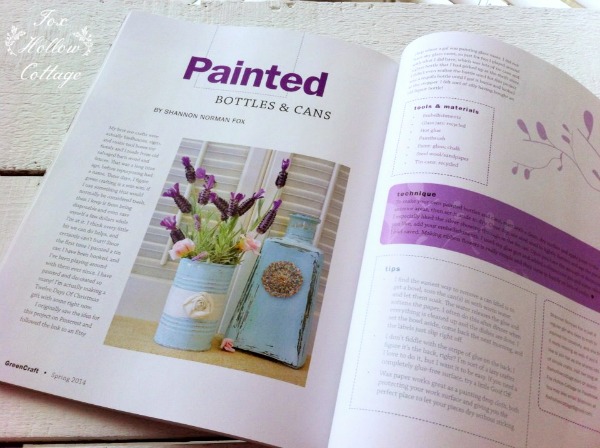
While you’re here I wanted to share some happy news. My first tin can project, the Tin Can and Tequila Bottle, just got published in a beautiful crafting magazine called Green Crafts. Have you ever read it? It’s wonderful. There are so, so many fantastic and original ideas in it. I’m pretty humbled my little craft made it on those pages.
Just goes to show, you just never know what people will like?
Thanks for stopping in today! I’ll try to take some pictures of these all dolled up for Valentine gift giving.
It was too early to add flowers today.

Click on the image below to visit the post.


These are so pretty! Love simple DIY and repurposing things – pinning these to make next year!
Thank you. Me too! And they are. Have fun making them!!
What a very pretty idea, Shannon!
Thanks sweet lady!! Hope you are feeling well and healing fast!!
Love your blog site
Well thank you Georgianne! and Welcome (:
These are so sweet and pretty, Shannon! Pinning, of course. Congrats on the Green Crafts feature, you go girl!! xo
Thanks Claire!! It was a nice email to receive and they were really wonderful to work with.
Adorable! Love that shade of pink! Happy V day!!~~Angela
Hi Angela! Thanks so much and happy {heart} day to YOU too (:
Shannon,
These are so sweet. Love the pink and the blue version. How cute. Congrats on your feature.
Kris
Thanks so much Kris. I’m loving that delicate pink… might have to make a few “keepers” {winks}
Pretty in PINK 🙂
I love the pink…perfect for Valentine’s day AND SPRING (when it finally arrives!)
Just keep thinking, Spring. Spring. Spring!
(Our rain finally arrived) So it’s feeling like Spring here. LOL!!!
Shannon, these are adorable! Love the hair dryer idea too. Last week I was drying painted 8×10 canvas with mine. Whatever works, right!
Huggs, Nancy
Oh I know. I too LOVE that I can use my hair dryer on the paint with high chalk content. It makes it so fast and easy to work with.
Right up my alley for sure!
Honey you hit these out of the ball field!!
Thanks! Back at ya with that cool blue rain vase!!
I’m a pink gal from way back ~ these are so pretty, Shannon!
Ha! I was JUST at your place… admiring those S’mores tartlets. Yum!!