Painted Pumpkins (plus tips for great results!)
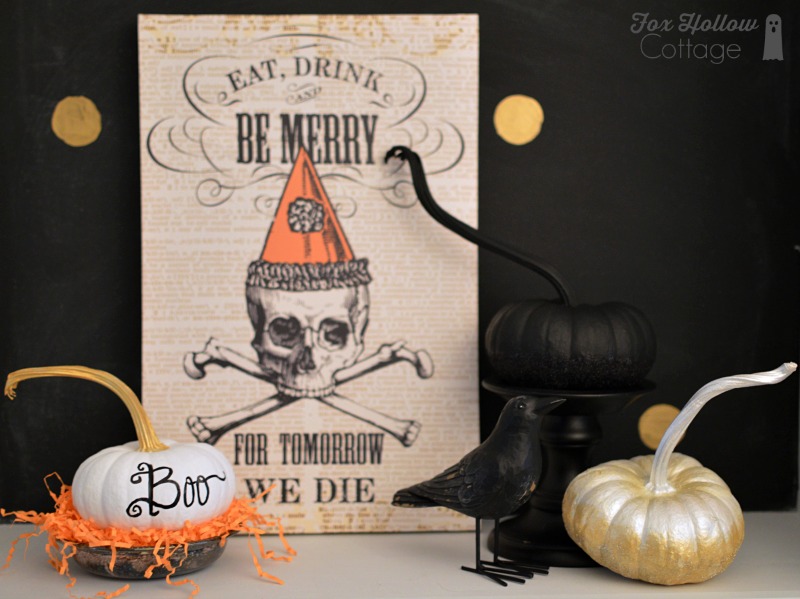
BOO!
I’m back.
.. and being the nut I am, I’ve fast forwarded through Fall and I’m running full speed into Halloween.
I did some pumpkin painting and I am way too excited to shelve this project and pretend it’s not done and share it later.
Plus, I have a couple tips to make painting them easier. Which equals more fun in my book!
I know it’s early and I’m not trying to cram Halloween down your throat, but I am what I am and when I sat down to work on my Fall Pumpkins they went rouge and demanded to be Halloween pumpkins.
They were quite forceful.
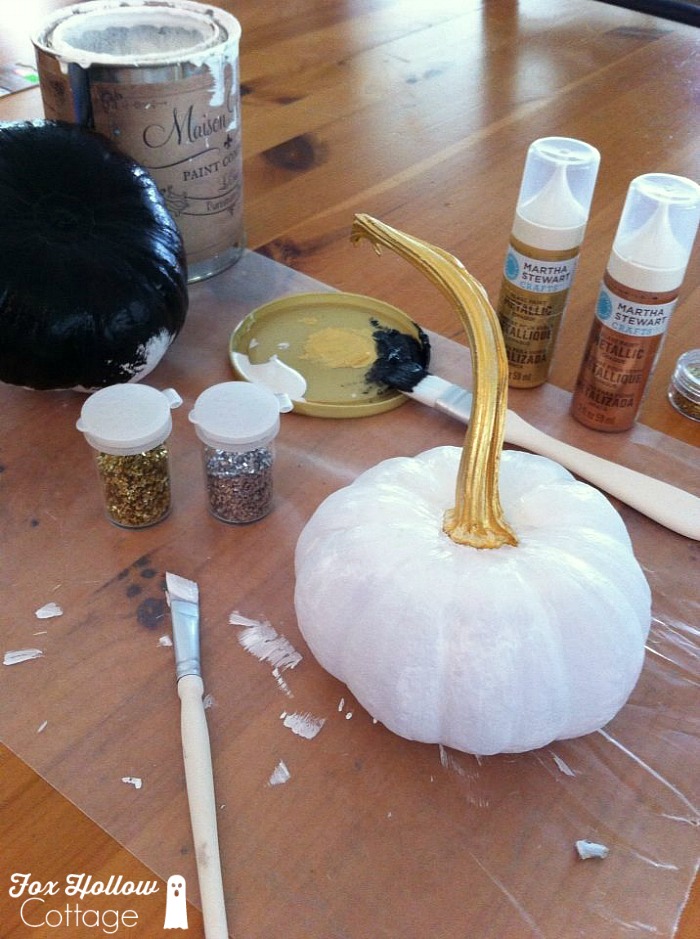
Here are my tips:
- start with a clean, dry pumpkin.
- wash with a mild soap and water solution.
- avoid the stem.
- dry thoroughly.
- spray paint your pumpkins with flat/matte paint – it’s the fastest way to get a good base coat.
- if you plan to paint the stems, spray paint those too.
- pumpkins are glossy so the spray paint adheres really well!
- (even if you are using chalk paint, I think this is a big time-saver)
- depending on the look you are going for, spray painting might be the only step you need. (there are tons of varieties including metallics)
- combine glossy, pearl and matte finishes using different paints, glazes and glitters.
- for writing on or making designs, try a paint pen (lots of control) or stencils.
- for outdoor pumpkins, finish with a clear sealer. they come in glossy and matte finishes.
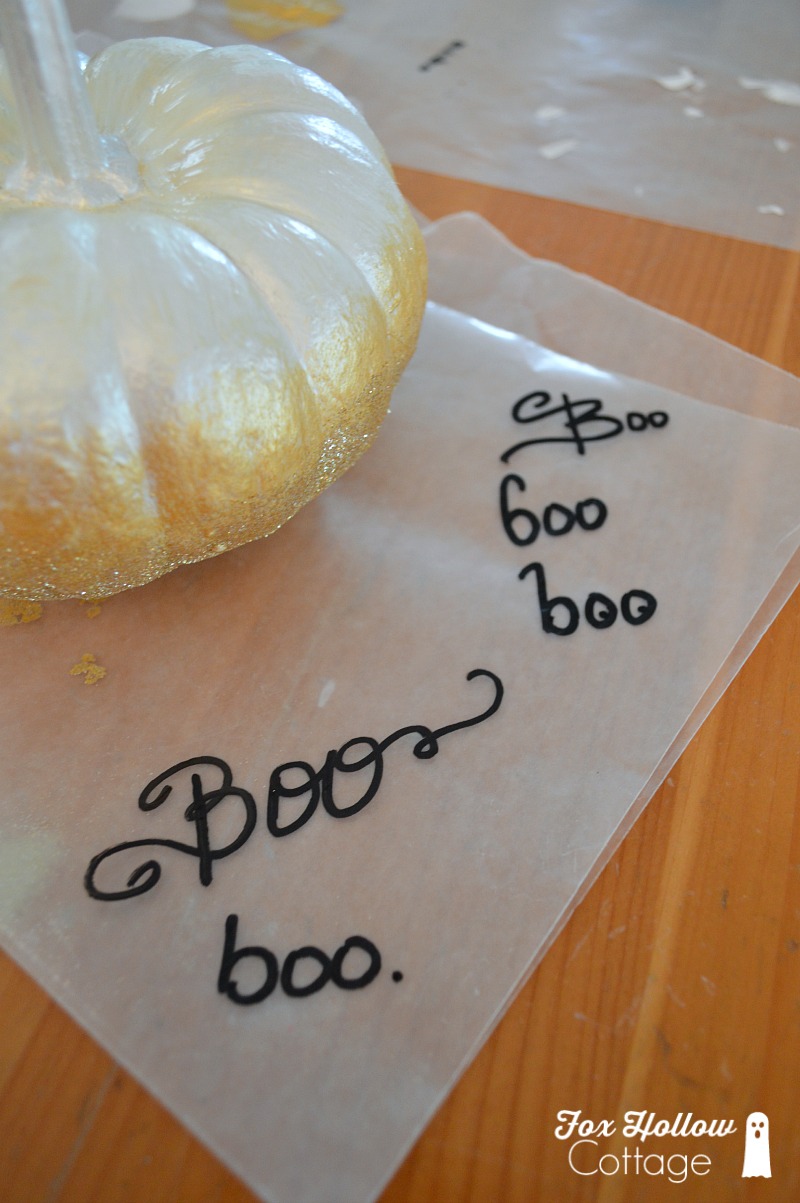
- wax paper is the perfect work surface for painting pumpkin.
- elevate so you can get along the undersides too.
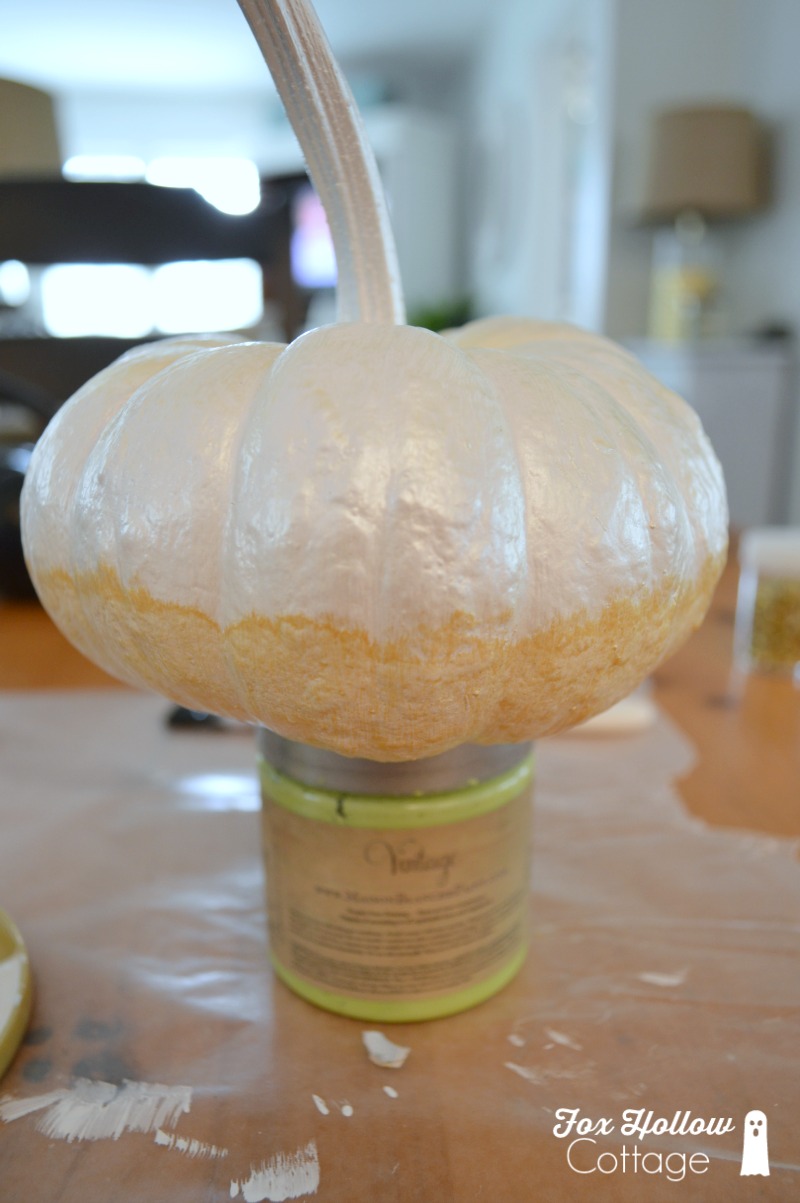
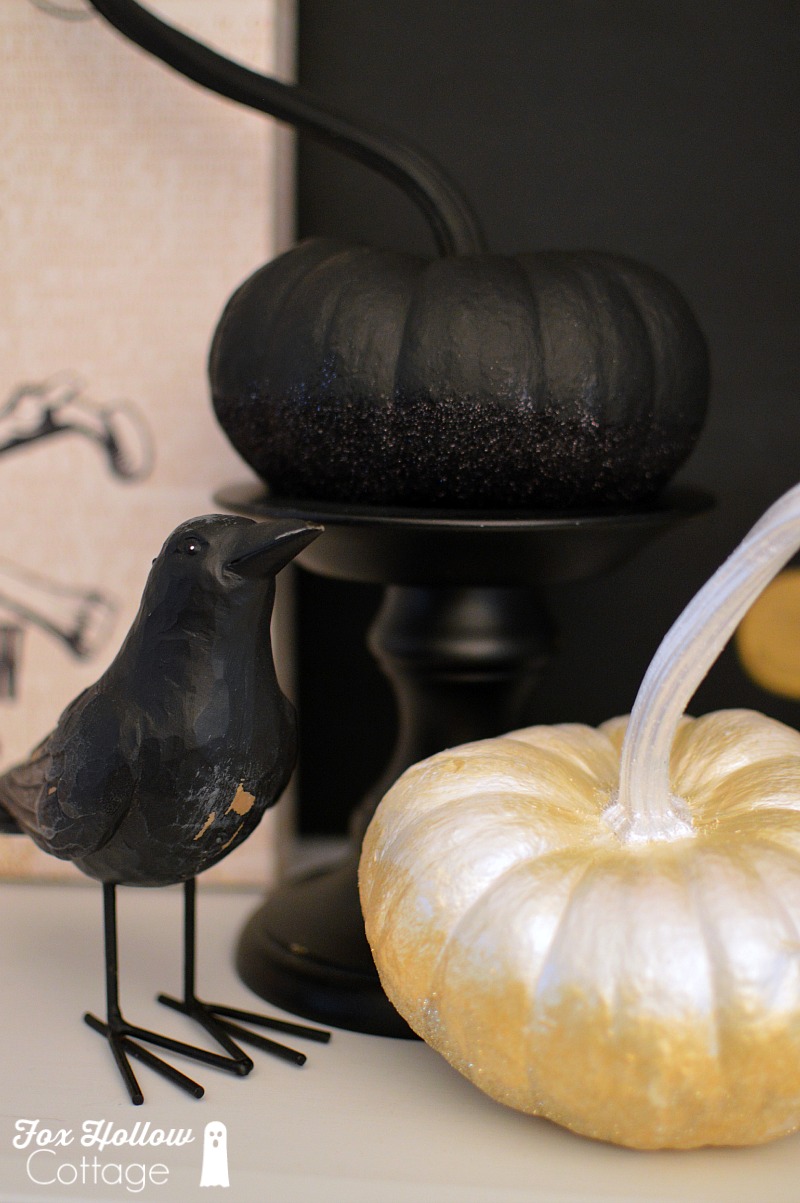
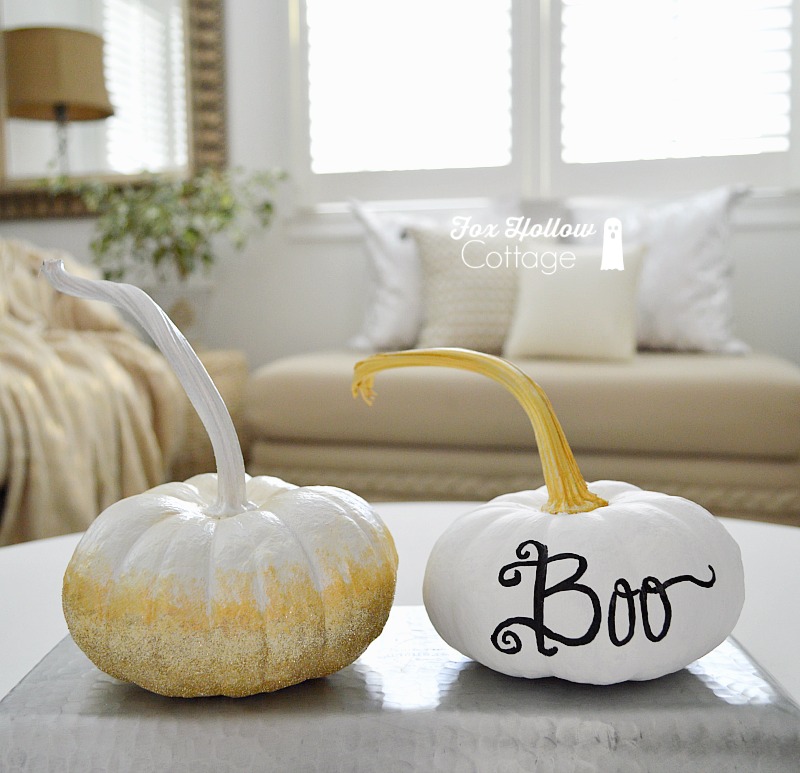
How To Make a Gold Ombre Glitter Dipped Pumpkin:
- Here I started with a matte white base, let dry.
- Next I applied pearl white to the stem.
- I painted the whole pumpkin with a pale gold. let dry.
- For the last paint color, I started from the bottom and worked my way up, blending an antique gold paint into the pale gold.
- The finishing touch was a good dose of gold glitter at the bottom/base of the pumpkin.
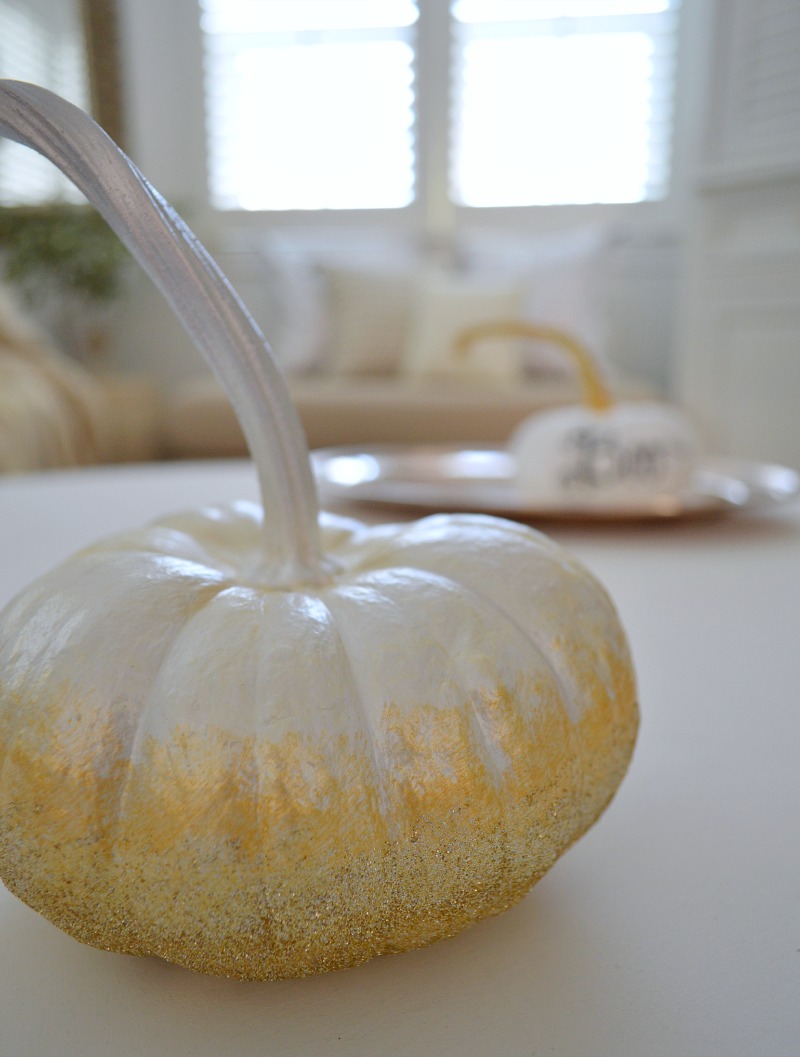
You’ve gotta have sparkle!!
Or rather… I’ve gotta have sparkle.
I tried to do an all black matte pumpkin like this one that I’ve admired for some time.
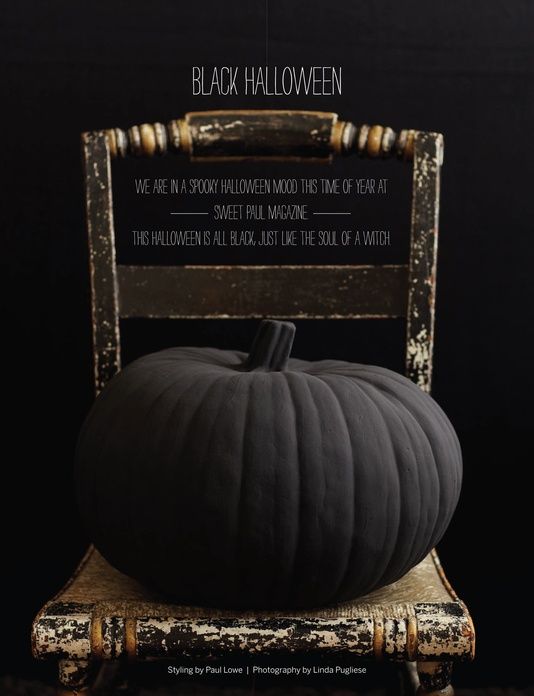
(Pumpkin by Sweet Paul Magazine – Click on the photo to visit)
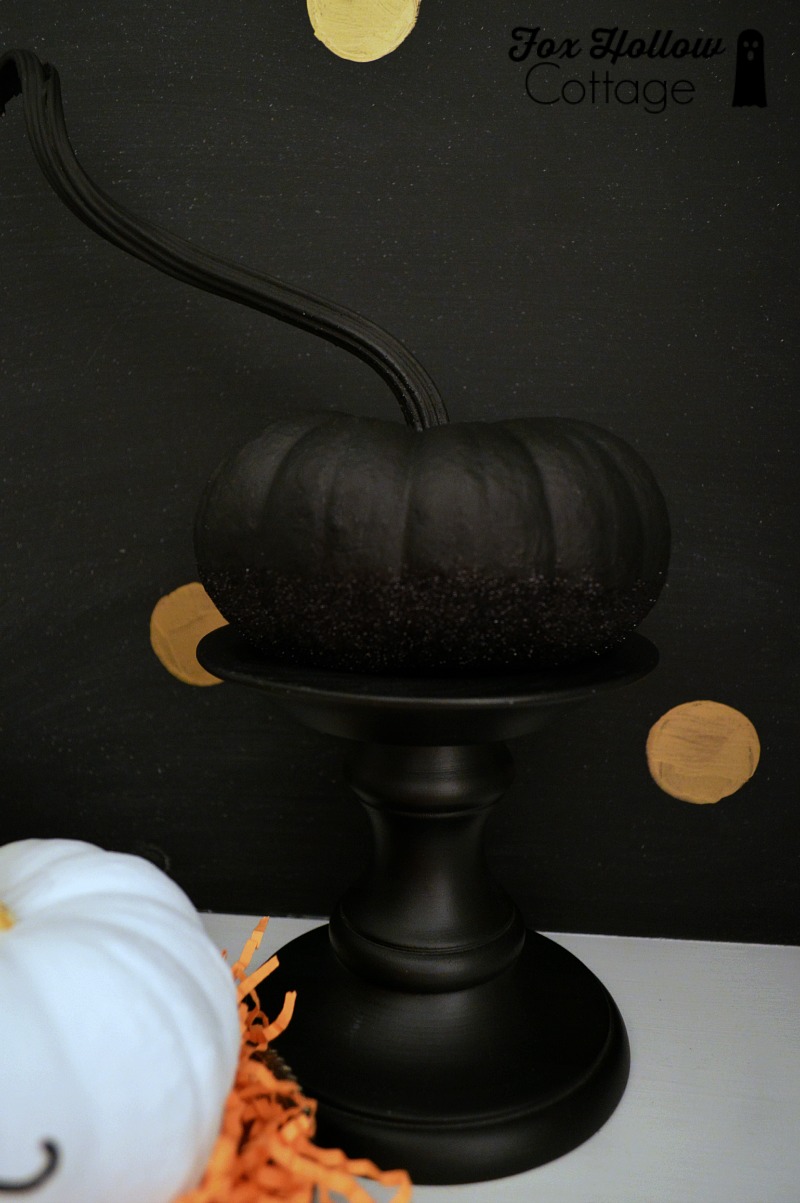
… but I accidentally got glitter on it.
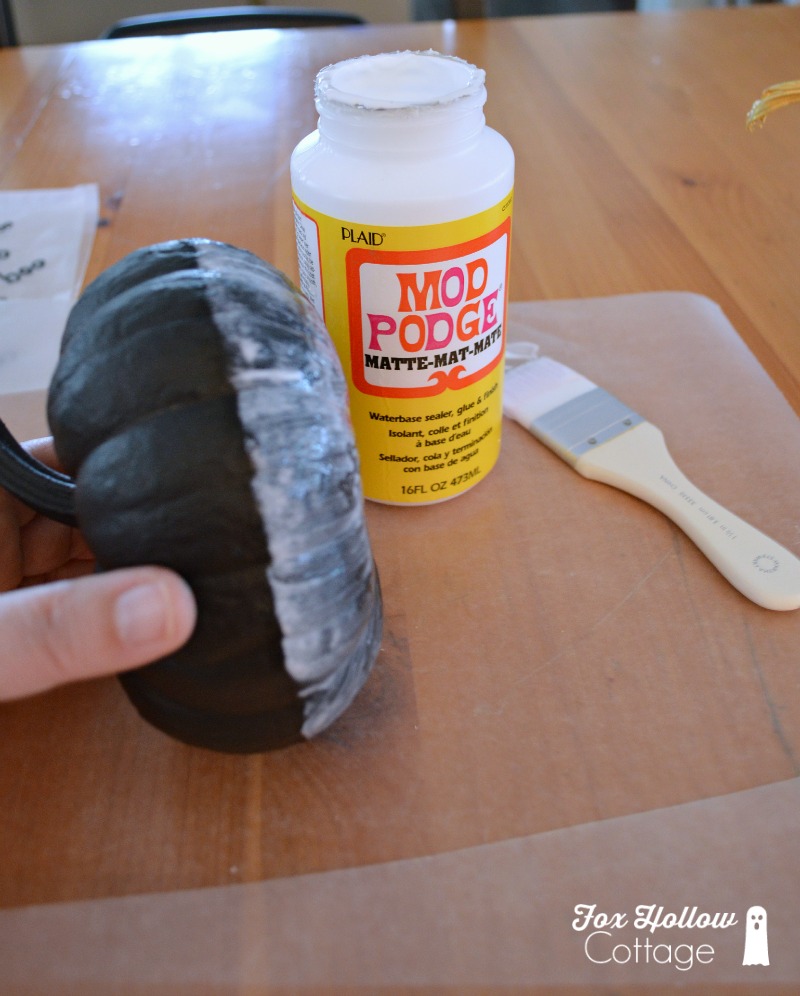
Hold the punkin on it’s side, roll and apply Mod Podge as you do. Trying for a straight line.
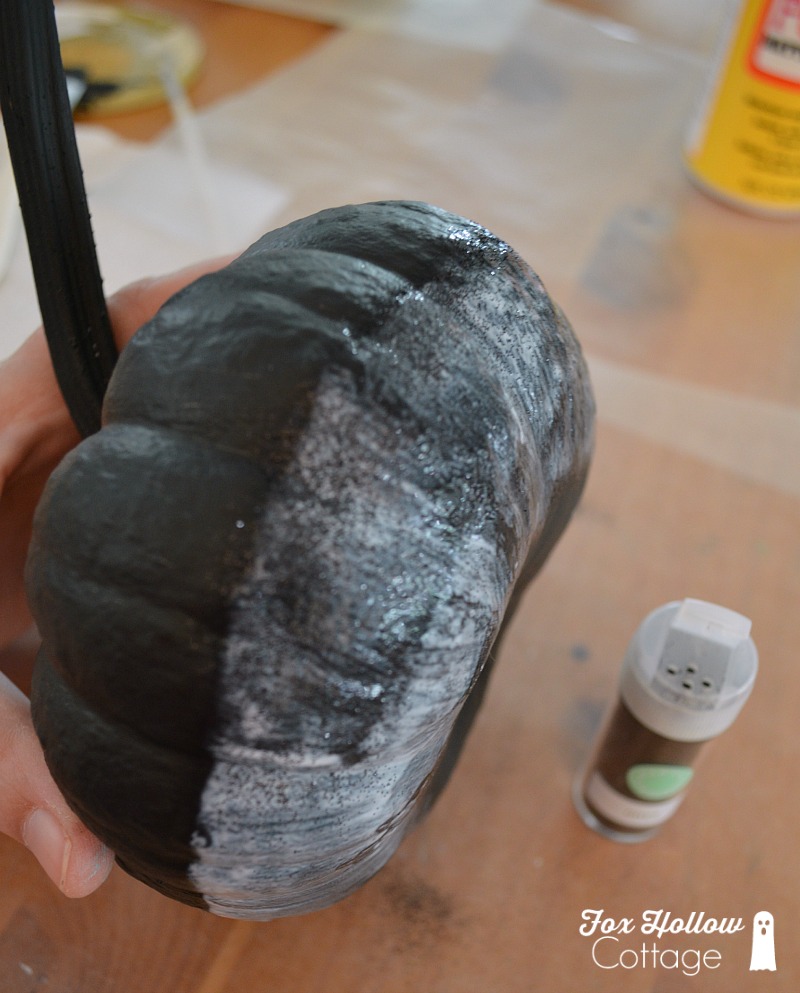
Sprinkle liberally with Martha Stewart Black Onyx glitter.
Her glitter is so fine.
Wrist-whip and a Snap!
Just kidding.. really though.
I love her glitter. It was a Christmas present to myself one year. I didn’t need anyhting, but I wanted this. It was perfect. I got a few three packs in just the shades I wanted. They are my special glitters. lol
I use the cheap stuff too.
Anyhoo.
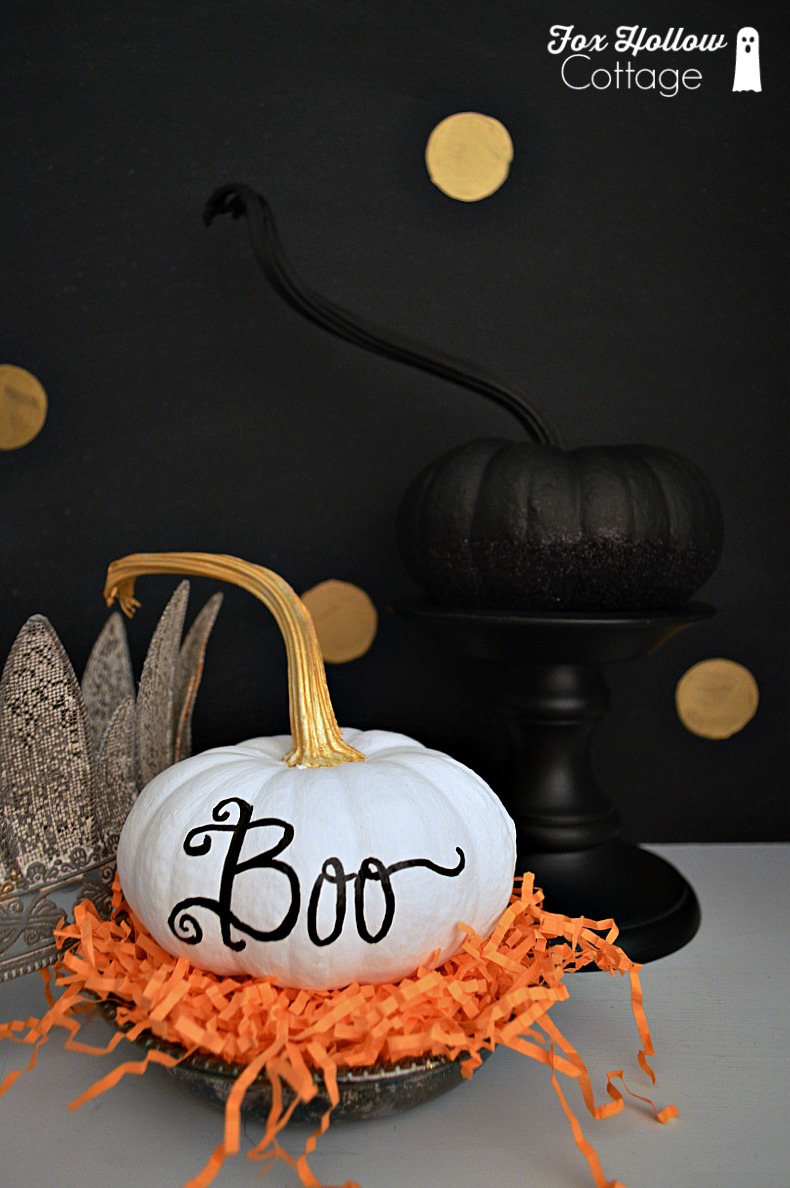
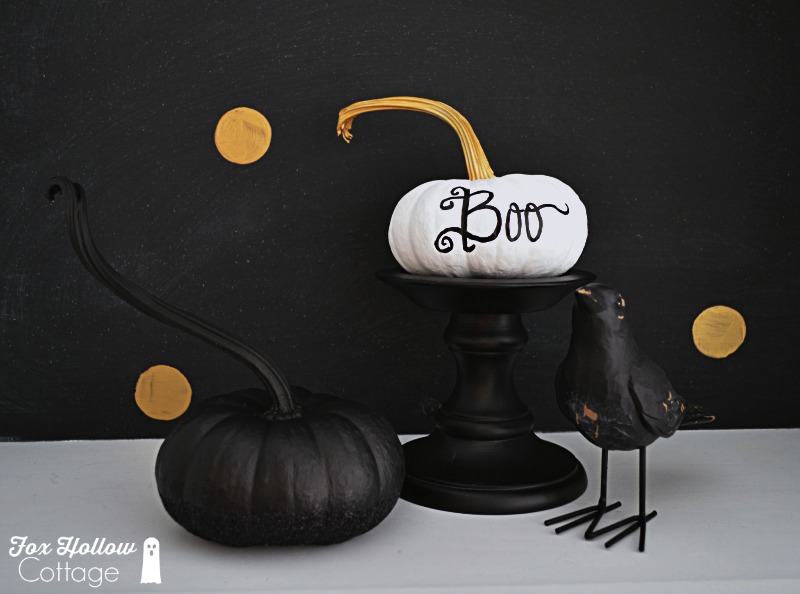
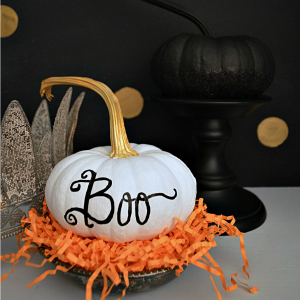
Onto the BOO!
Totally easy.
I started with a matte white base, added a nice coat of Magnolia and gold kissed the stem with some Martha Stewart.
You can see I have some chunky glitter out I was considering jazzing-up the stem with, but I changed my mind.
Maybe on a future pumpkin???
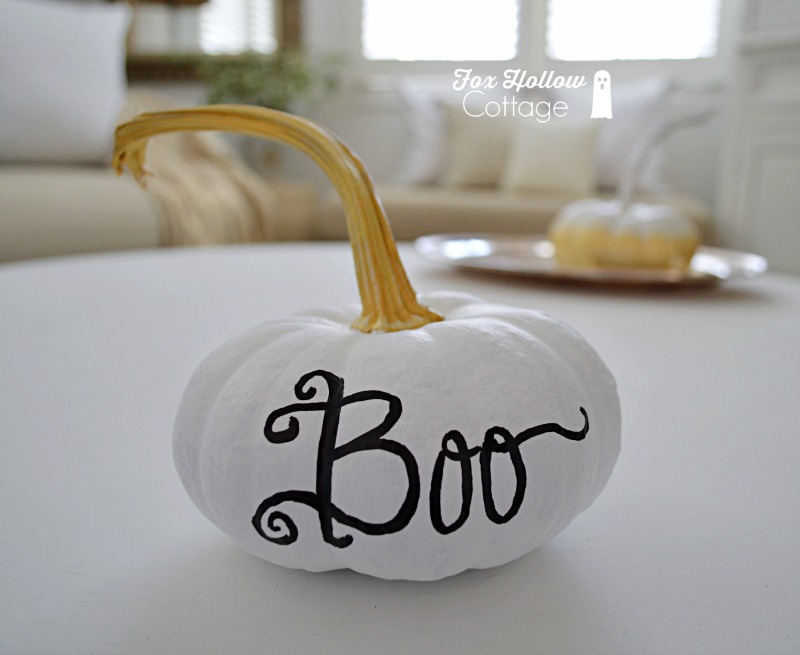
The BOO was almost too easy.
I cheated and wrote it out with a paint pen.
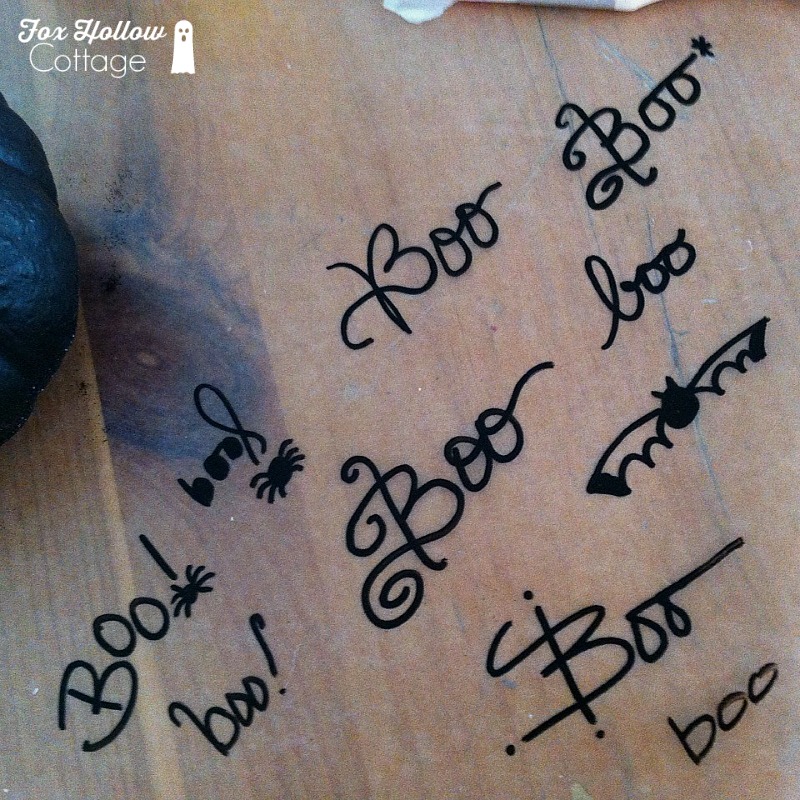
(after doodling on a piece of wax paper)
… or two.
You want another tip?
Instead of trying to copy a text or font you see… write in your own hand.
It’s so much easier than trying to copy some other writing!
My punkins are not perfect… and ya know what?
They don’t have to be!!!!
Now go fiddle, have fun and enjoy the process.
Get your glitter out and make a mess!!
xo ~Shannon
If you found this article helpful
please feel free to Pin & Share!


More Ideas & Inspiration
 Martha Stewart Decoupage Halloween Craft
 Fall Vintage Kitchen Decorating
 I Saved Santa Claus
 Beautiful Aged Terracotta Pot Paint Makeover
 DIY Dollar Tree Christmas Ornament Lights
 Morris Manor Farmhouse Home Tour
 Summer Cottage Nautical Home Decorating
 Style Showcase 79 | Best of Home Decorating + DIY Ideas
I couldn’t resist – I HAD to make those glitter pumpkins! I’m kind of obsessed with your ideas ;P I linked to you again today – thanks again for sharing your awesome ideas!
These are so cute!! Just wanted to let you know that I linked to this post from my blog roundup of no-carve pumpkin decorating ideas. Thanks for sharing!! http://theroadtocrazy.blogspot.com/2014/10/31-days-of-halloween-2014-day-11-31.html
Such a cute idea!
Happy Fall Hani ~ Thank you 🙂
Love, love, love these Shannon!
Thanks Kelsey, Back at ya! I love your punkins as well!!
Love the glitter and pearl ones. You have some really beauties there.
That sparkle gets us doesn’t it?
Sigh… glitter. 🙂
Adorable!!! Can’t wait to paint some for my fall decorations! Thank you!
Happy Sunday! Glad you like. When you do, share your pics with me on the FHC facebook page, would love to see!!
Yes, avoid the stem at all costs.
I love the fact that you say they don’t have to be perfect…sometimes that stops me from doing craft projects!!!
They don’t! Give it a try, enjoy the actual crafting and have fun!! My BOO is not written perfect. And if you don’t want to write, try polka-dots, stripes.. of just the solid color pumpkin. Happy, happy Fall to you!!
Oh I love them! Especially the white & gold sparkly one. Thanks for the painting tips.
.. but of course sweet G! I figured I better pass on my hard earned knowledge. hehehe