Snowed In: Vintage Bottle Brush Christmas Tree Ornament
Learn how to make DIY Christmas ornaments to adorn your tree with for a special custom holiday look!

Why yes! I do have a slightly obsessive personality. Thanks for noticing.
In true Fox Hollow fashion, I made one clear glass ornament craft… and then another… and another. I will admit to hunting the house trying to find more tiny things to stuff inside these clear glass ornies too. I did make myself stop but it was fun while it lasted!
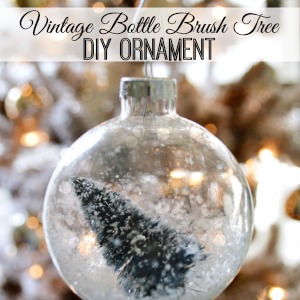
This ornament features a tiny, bottle brush tree. Via the Dollar Tree of course. Remember, not only am I obsessive, I’m cheap as well. Great combo. My hubby is a lucky man. hahaha. If only I liked to cook? Hey, I keep a clean house. He can’t have everything.
Well… mostly clean, except when I’m crafting. Then the house is a little disaster’ish , plus that also means I’ve probably been too busy to cook. Oops.
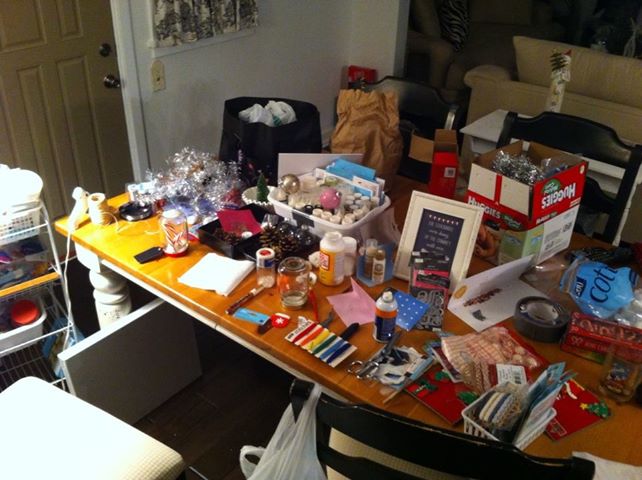
You can see I’ve got printables, pine cones, ornaments and snow globes going. I was in the mood.
Man am I glad that man loves me {big grins}. Hi honey!!
.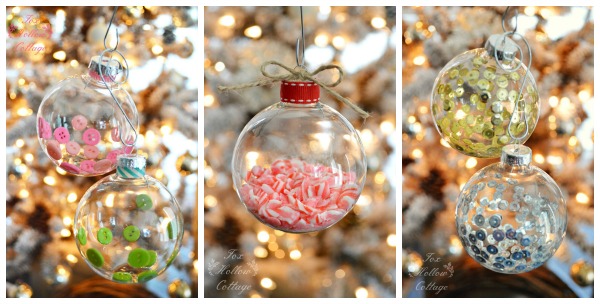
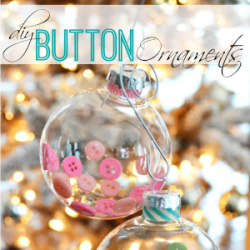
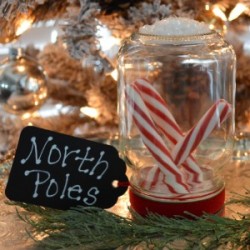
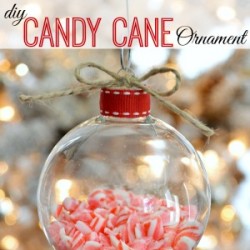
So far I’ve made; Sequin Ornaments, Button Ornaments, Candy Cane Ornaments and now these Bottle Brush Tree Ornaments. I also made some vintage mica snow ornaments, and some iridescent sequin/glitter hybrids as well… but I’ll spare you those. They are no-brainers. (The pure mica filled ornament is gaw-geous though!! ) You should totally make some of those is you lean towards vintage.
Okay, that is mean to tease, so here is a peek…
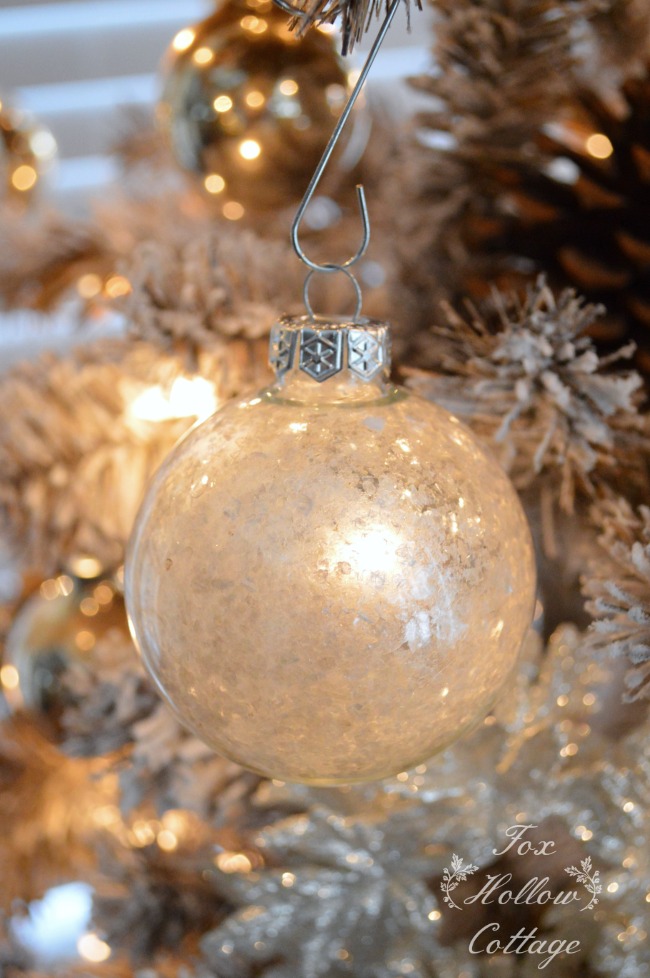
(and you make them just like the sequin ornament.)
They just about glow. Serious Christmas magic going on folks!!
Anyhow… back to the Bottle Brush Tree version.
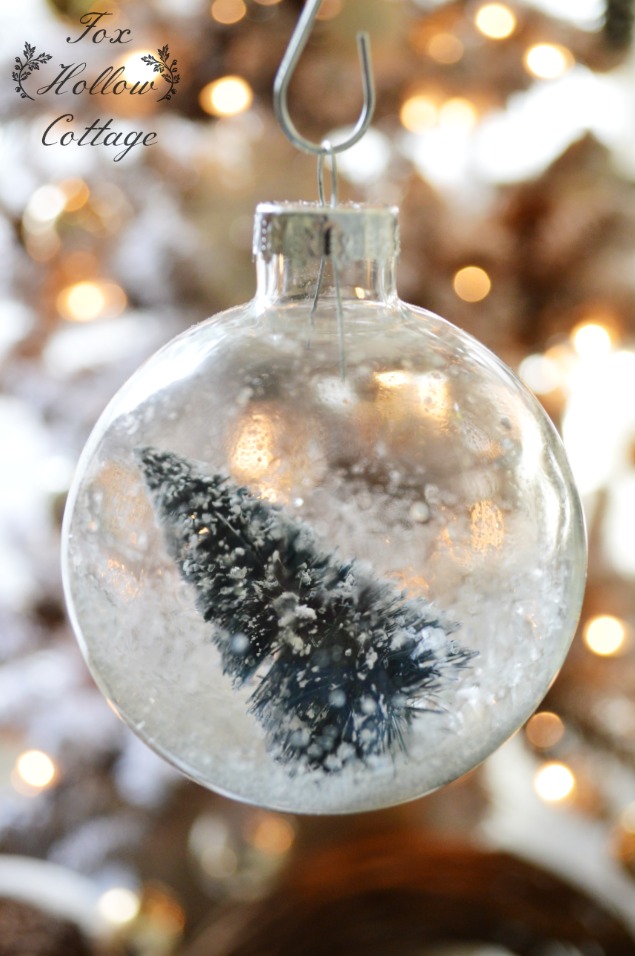
TO MAKE:
-
TINY TREE PREP — Remove the plastic bottom off your bottle brush tree. They just screw off. I could only find the real dark green so I altered mine. If you need to do that too, then hold it by stem and lightly brush with white craft paint for a frosty/snowy look. While still tacky, dip or dust with mica snow/glitter type medium of choice. Set aside to dry. If your tree is your desired color to start with, lightly mist with spray glue and add mica or glitter. Again, set aside to dry.
-
Next, remove ornament top and set aside. (you can find a great quality ornament here) affiliate link
-
Add a splash of floor wax to your clear glass ornament. A small funnel comes in handy. Cover with thumb, lightly swirl about half way up the ornament. DO NOT COAT or you won’t be able to see the tree!
-
Insert funnel into wax bottle and make a quick flip to pour excess wax back in the bottle.
-
Add your filling to the ornament. In this case, VINTAGE MICA SNOW! If you can’t find it, semi sheer diamond dust is fine. You do not want an opaque finished project, you want to see the wee tree.
-
Lighty swirl. Just up the sides about halfway, like a little snow flurry.
-
Set Aside.
-
No get your dry tree and cut off the wire stem with wire cutters.
-
Starting with the tip down, insert your tree by gently pushing while swirling at the same time.
-
Replace ornament top.
-
Jiggle around till it sits how you like it.
-
Admire your whimsical, vintage-y ornament!!
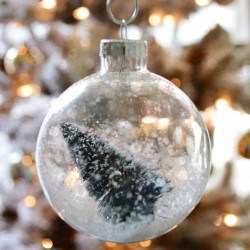
I hope it’s feeling Ho-Ho-Ho wherever you are!
Just a little Merry Christmas from me to you.




So. Cute. You have to stop. i am all stocked up on “Foxy” cuteness this year. LOL Pinning. xo
Hi, I`m so glad that I found you, I`m really impress by your work.
Lovely and inspiring page.
Have a Lovely Very Merry Christmas.
Kat
p.s
We are doing very soon a giveaway for our lovely friends, so please pop in to see what we have.