Make A No Sew Fabric Pumpkin
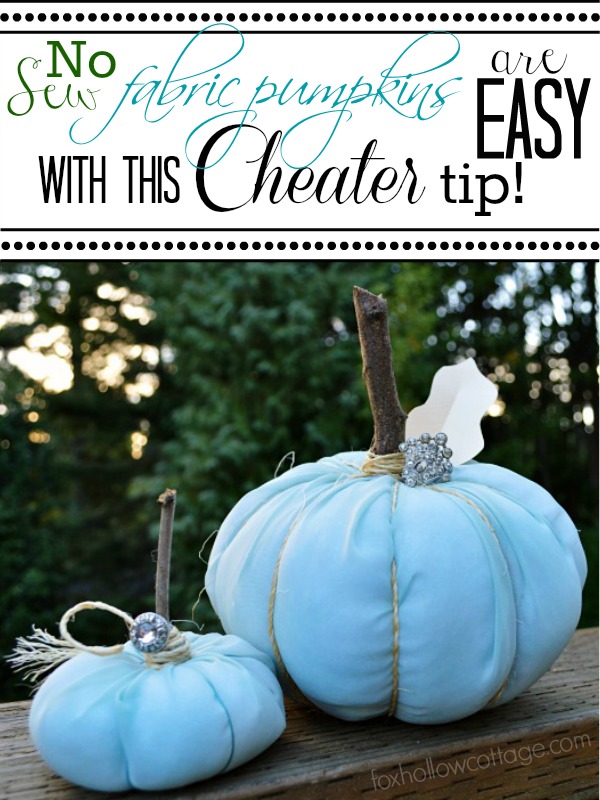
Guess what! I am going to show you how to make a no sew fabric pumpkin.
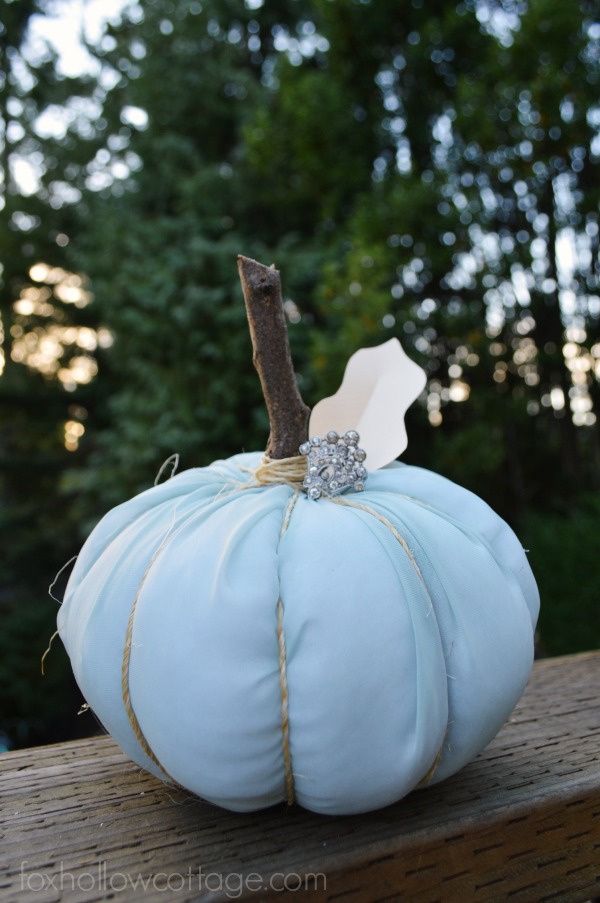
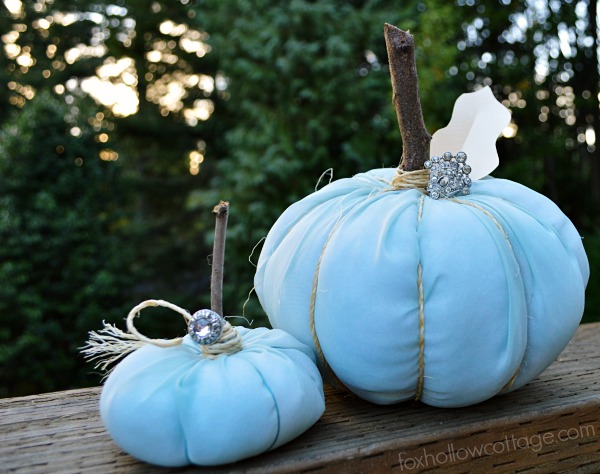
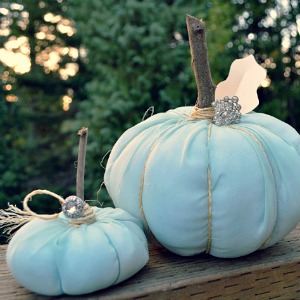
Say what? Yep. So true. I was messing around yesterday, trying to get my mojo in motion and thought I’d try my hand at fabric pumpkins. This is what I came up with, after some help from my foxy friends!
I had this idea and I gave it a shot. I think I like it!! It’s fun to try new things. You never know when something will turn out well. These are super easy, you don’t have to sew them, but they look like you did. Win!
Now, if you want to make some of your own, I’ll have to walk you through it verbally… because I really needed two hands to put these together, and I don’t have a private photographer following me around! I know, shocker right? What is up with that! So you’ll have to suffer with my typing. Sorry.
YOU WILL NEED:
1. Chiffon Fabric
2. Stuffing (I used the guts of a pillow headed for the trash.) Serious. Just bought the boys fresh ones.
3. Glue Gun (my secret lovah. this guy has been around over 20 years!)
4. Jute Twine
5. Blingy Button (vintage goodies if you’re got them!)
6. Sticks (fresh picked out back)
7. Needle and Thread
8. Scissors
9. Any White Paint (to quickly base coat so no orange peeks out the chiffon)
10. A Dollar Tree faux pumpkin! (another brand and larger will work too!)
FOR THE TINY PUMPKIN: (this one has a teeny bit of sewing)
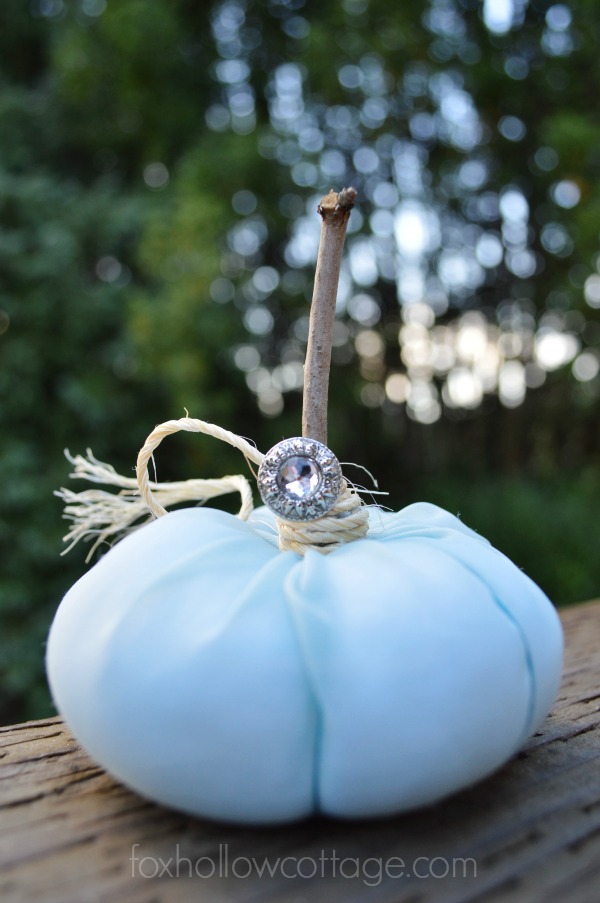
Cut a portion of fabric, lay it out — Set stuffing in center — Gather fabric — Shape, smoosh and finagle — Tie at top — Use thread to run up the center from the bottom, coming out the top — Repeat and make ribs to give it a “pumpkin” look — Wrap with jute twine — do not cut twine — add dollop of glue — set stick in glue — continue wrapping with twine to secure stick — attach blingy cut button to jute — glue in place — cut twine — fray ends — curl and pinch/hold to set curl — All done!
FOR THE LARGE No Sew PUMPKIN:
Place fabric laying flat — Set Dollar Tree (or other) foam pumpkin in center —
*remember, I painted my pumpkin white first using this trick
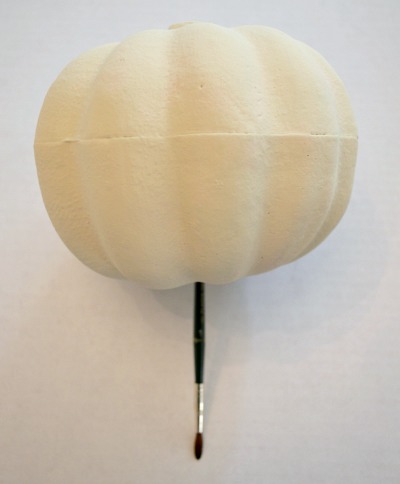
Just pop a craft brush, bamboo skewer, etc… in the pumpkin to hold while you paint!
Continue: Adjust your stuffing in flat , pulled apart sections — Lightly gather fabric, placing stuffing against the pumpkin as you tighten the fabric towards the top — Work to your satisfaction — Tie fabric at top with rubber band leaving 1 inch reveal — Poke a hole in the center of the pumpkin stem top, not too big — work fabric into hole with craft brush handle, chop-stick, etc… — it doesn’t matter if the rubber band come off, it was only temporary — add a good dollop of glue down in the hole — insert stick — add ribs with jute twine — affix with small drop of glue, pull down side in natural indent, glue at bottom and snip off — Do this until you have the desired amount of ribs — Wrap stem in jute twine — Cut willy nilly free hand leaf from scrapbook paper — Pinch at center and make a crease — Glue at stem base — Add any and all manner of blingy baubles — The more sparkle, the better!!
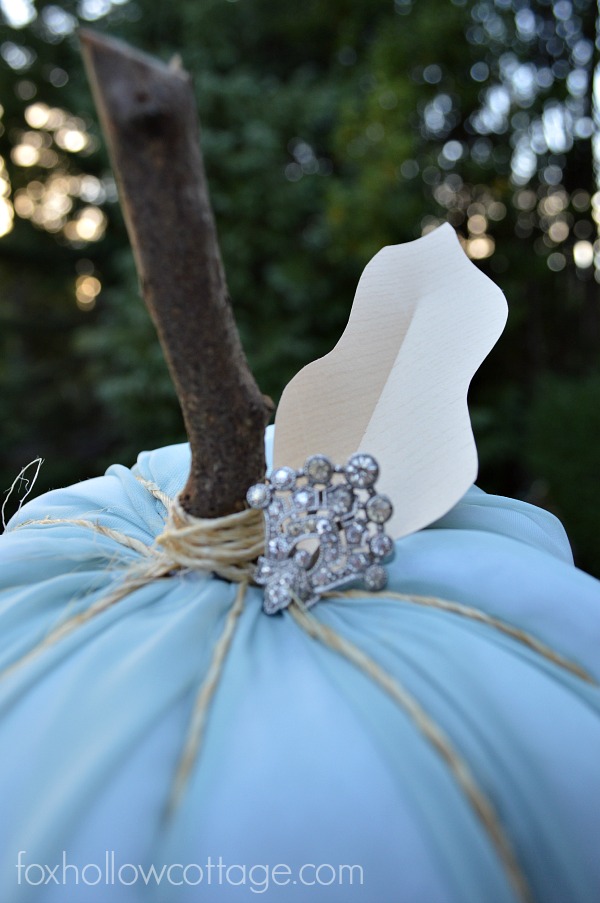
Then, go outside and take pictures in the waning evening light.
Oh wait! That’s just me.
Then stand back and say; “I just totally MADE that!”
Oh. Wait. That was me again.
Thanks a bunch for stopping by!!!!
.
PS – If you liked this post, why not pin it for later!!
Or just to pin it to share, that would be cool too {winks}
.
PPS – If you are super PUMPKIN Crazy… then join Debbie, Jessica and I for




this is amazing!!!!!
Thanks so much!!!! I love to cheat 😉
These turned out great! I’d love if you’d link up to The DIY’ers. http://homecomingmn.blogspot.com/2013/10/diyers-32-and-marathon-weekend.html
These are really cute and I like the touch of bling!
Cynthia
Such cuteness up in here! Loving all of your Pumpkins, girl. Pinning. Oh and lol “lovah” – my glue gun finally went to Craft Heaven and had to be replaced a few months back. It was like losing a bestie after 20 years! The new Glue Gun and I are still in the “dating” phase. haha
xoxo
Oh so adorable!
I am in love with yours and think I’ll try it!!! That blue is the right blue for my little added touches to my livingroom and kitchen and I love the little bling added to the top…so me!
Them are some very fancy pumpkins. Love the colors and the bling. Thanks for sharing
WOW Shannon…they are AMAZING!!! I truly mean that…LOVE THEM!!!! : ) hugs…
Thanks Andrea! Now lets see if I can make oodles more. I’d love to pile them all up together! We’ll see… 😉
QT for sure, another winner Shannon!
CUTE, CUTE, CUTE! 🙂
Shannon,
Toooooooo Cute.
Kris